


Adjusting the Resolution, Density, and Image Quality
3-14
Basic Sending
3
3
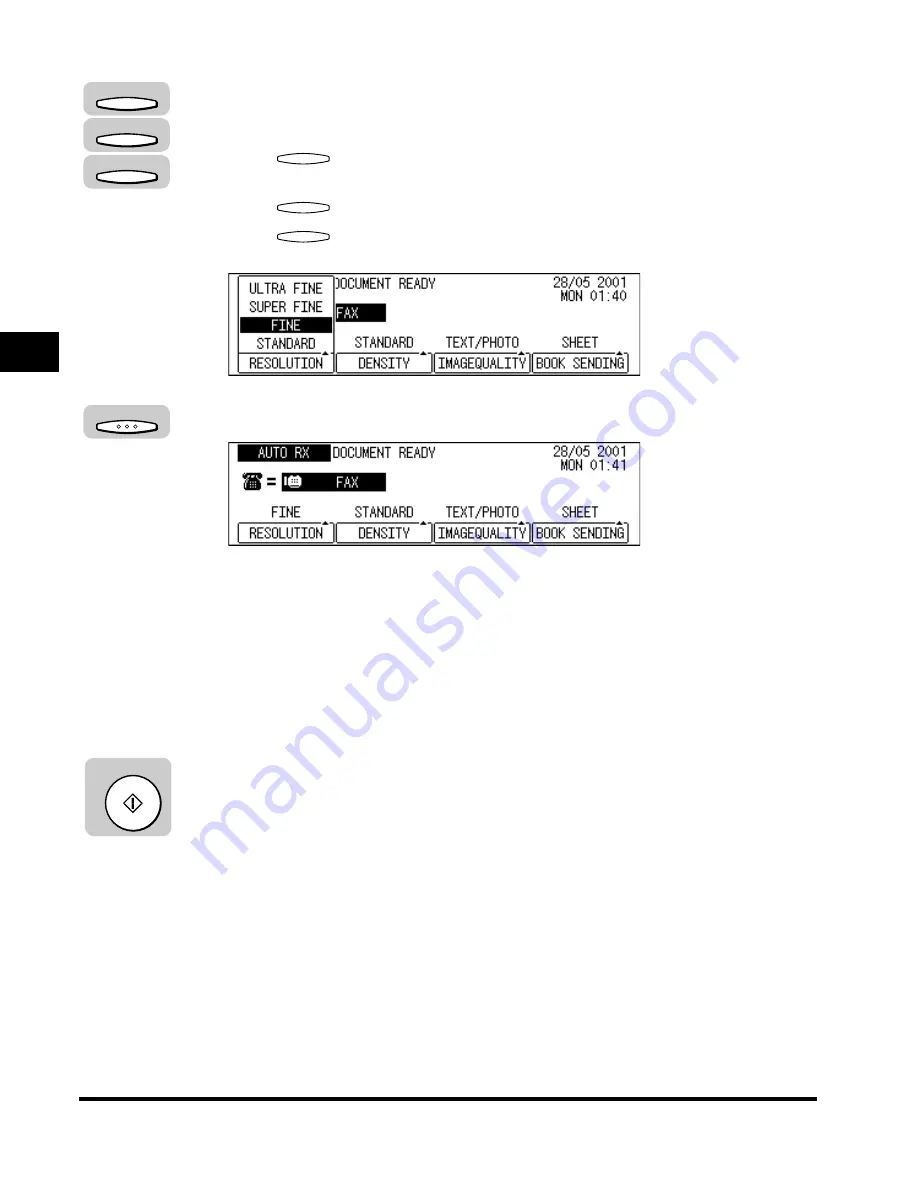
Press [F1] (RESOLUTION), [F2] (DENSITY), or
[F3] (IMAGEQUALITY).
Press
(RESOLUTION) repeatedly to select the desired resolution
setting.
Press
(DENSITY) repeatedly to select the desired scanning density.
Press
(IMAGEQUALITY) repeatedly to select the desired the image
quality setting.
4
After adjusting the scan settings, press [OK].
5
Specify the destination.
You can specify the destination using various sending methods. (See “Using
Regular Dialing,” on p. 3-27,, “Using Speed Dialing,” on p. 2-30, or “Redialing
When the Line Is Busy,” on p. 3-29.)
If necessary, set other sending modes, before specifying the destination. (See
“Sending Methods,” on p. 3-21, or Chapter 4, “Additional Sending Features.”)
6
Press [Start].
Scanning starts.
F1
F2
F3
F1
F2
F3
OK
Start
Summary of Contents for IMAGERUNNER 2010F
Page 2: ...imageRUNNER 2010F Facsimile Guide ...
Page 83: ...Using Speed Dialing 2 38 Speed Dialing 2 ...
Page 123: ...Checking Transaction Results 3 40 Basic Sending 3 ...
Page 185: ...Transferring Documents 5 32 Receiving Documents 5 ...
Page 207: ...Using a Memory Box 6 22 Memory Features 6 ...
Page 305: ...Changing the Fax Default Settings 10 22 Special Fax Features 10 ...
Page 321: ...Receiving a Fax on Line 2 11 16 Dual Line Functions Optional 11 ...
Page 358: ...Report Samples 15 3 Appendix 15 ...


