


Changing the Fax Default Settings
10-16
Special F
ax F
eatures
10
Changing the Fax Default Settings
The standard mode is the combination of functions the machine resumes when
[Reset] is pressed.
Follow the procedure below to adjust the standard mode to suit your needs.
NOTE
•
The standard mode is resumed when:
- you press
(FAX) to switch to the fax mode
- the machine finishes scanning documents
- the auto clear function works in the fax mode
- the registration/setting operation is finished
•
The following six items can be adjusted for the standard mode:
- RESOLUTION
- SCAN DENSITY
- IMAGEQUALITY
- BOOK TX SCAN SIZE
- TX MODE
- TX STAMP
1
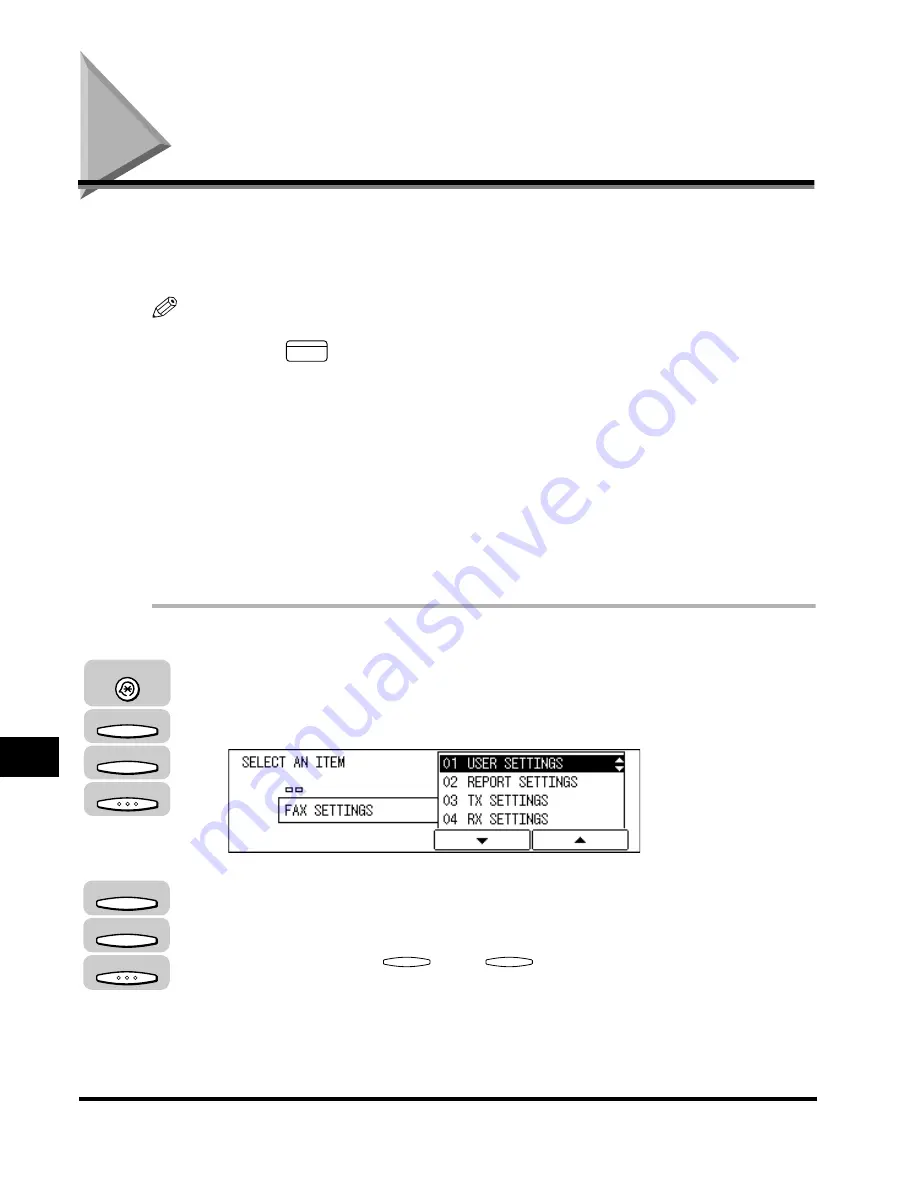
Press [Additional Functions]
➞
press [F3] (
▼
) or [F4] (
▲
) to
highlight <03 FAX SETTINGS>
➞
press [OK].
The FAX SETTINGS menu appears.
2
Press [F3] (
▼
) or [F4] (
▲
) to highlight <07 SYSTEM
SETTINGS>
➞
press [OK].
Each time you press
(
▼
) or
(
▲
), the next or previous menu option
becomes highlighted.
If a system administrator’s ID and password are set, enter them after selecting
<07 SYSTEM SETTINGS>. (See Chapter 6, “System Manager Settings,” in the
Reference Guide
.)
FAX
Additional Functions
F3
F4
OK
F3
F4
OK
F3
F4
Summary of Contents for IMAGERUNNER 2010F
Page 2: ...imageRUNNER 2010F Facsimile Guide ...
Page 83: ...Using Speed Dialing 2 38 Speed Dialing 2 ...
Page 123: ...Checking Transaction Results 3 40 Basic Sending 3 ...
Page 185: ...Transferring Documents 5 32 Receiving Documents 5 ...
Page 207: ...Using a Memory Box 6 22 Memory Features 6 ...
Page 305: ...Changing the Fax Default Settings 10 22 Special Fax Features 10 ...
Page 321: ...Receiving a Fax on Line 2 11 16 Dual Line Functions Optional 11 ...
Page 358: ...Report Samples 15 3 Appendix 15 ...


