


1
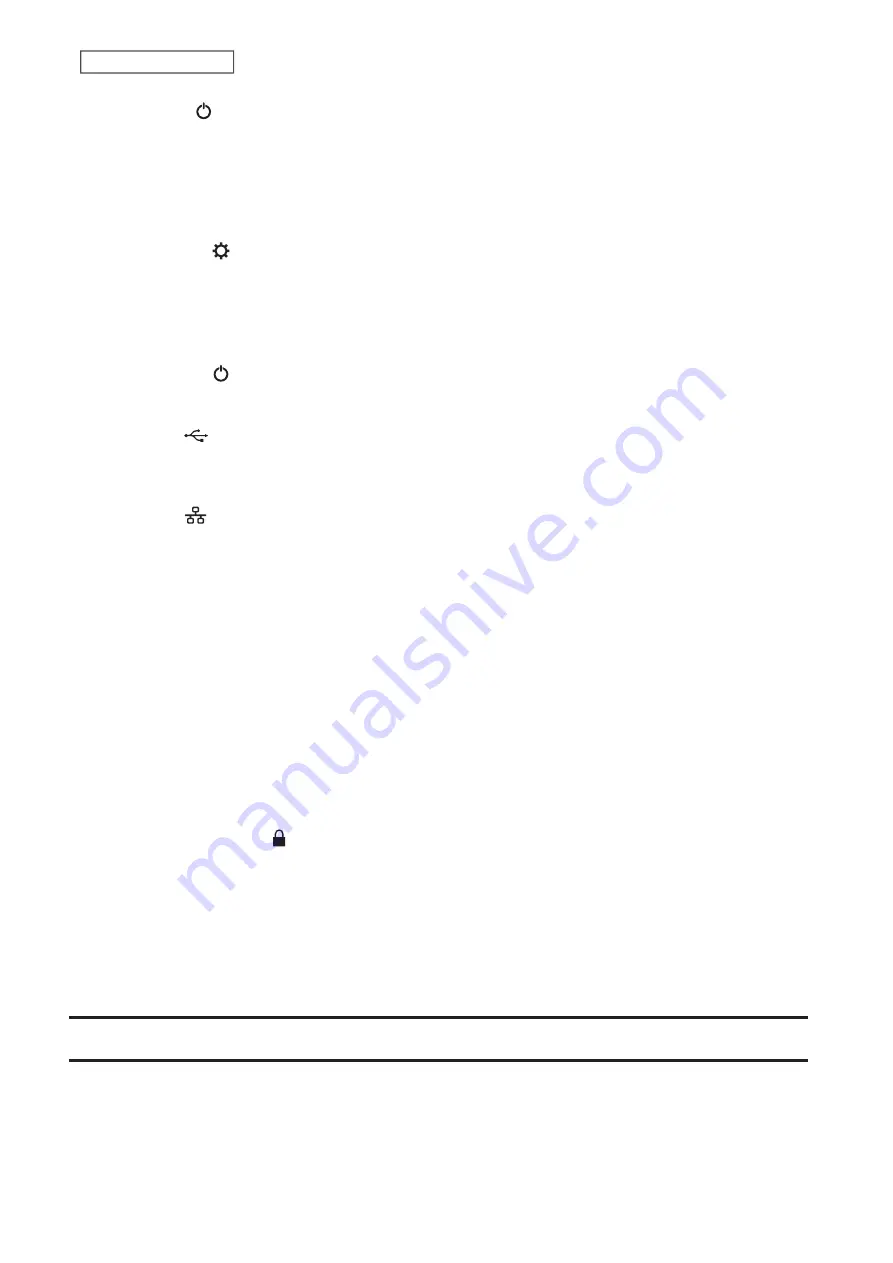
Power LED ( )
Glows white while the LinkStation is on.
Blinks white while the LinkStation is booting or shutting down.
If an error occurs, the power LED blinks red.
If there is a status message, the power LED blinks amber.
If there is new firmware available, the power LED glows amber.
2
Function LED ( )
Glows white while the USB device is connected and blinks during USB device dismounting and Direct Copy.
3
Function Button
Use this button for rebuilding the RAID array after replacing the defective drive or performing Direct Copy.
4
Power Switch ( )
Move the switch up and down to power the device on and off.
5
USB Port (
)
Compatible USB drives, USB memory devices, and USB UPS devices can be connected. USB hubs are not
supported.
6
LAN Port (
)
Connect to a router, hub, or switch on your Ethernet network with the included Ethernet cable.
7
Link/Act LED
Glows green when the LinkStation is connected to a network and blinks when the connection is experiencing
activity.
8
Power Connector
Use the included power cable to connect to a surge protector or outlet.
9
Power Status LED
Glows green when the power cable is connected.
10
Fan
Spins to prevent overheating inside. Do not block the fan.
11
Anti-Theft Security Slot ( )
Use this slot to secure your LinkStation with a cable lock (not included).
12
Drive 1 Error LED
If there is an error on the drive in slot 1, this LED will light.
13
Drive 2 Error LED
If there is an error on the drive in slot 2, this LED will light.
Turning the LinkStation On and Off
Move the power switch to the
on
position to turn the device on.
To turn off the LinkStation, move the switch to the
off
position and wait for the unit to fully shut down before
unplugging it. Don’t unplug the AC adapter without properly shutting down the LinkStation first.
When the power LED turns off, the shutdown process is completed.
8
Chapter 1 Getting Started
Summary of Contents for LinkStation 500
Page 38: ...2 Click the RAID tab 3 Click the array to delete 37 Chapter 5 Disk Manager ...
Page 40: ...2 Click the RAID tab 3 Click Create RAID Array 39 Chapter 5 Disk Manager ...
Page 57: ...3 The system log window will open 56 Chapter 6 System Information ...
Page 66: ...2 Click Folder Setup 3 Select a shared folder for the DLNA server 65 Chapter 7 Services ...
Page 77: ...76 Chapter 7 Services ...
Page 97: ...2 From Settings click System Settings 3 Click Firmware 4 Click Browse 96 Chapter 8 System ...
Page 100: ...2 Click Folder Setup 3 Choose the folder to set as a backup destination 99 Chapter 8 System ...


