Chapter 2 Configuration
Configure and manage your LinkStation using the Settings interface, accessible from a browser window. Open
the interface using the appropriate procedure below or type the LinkStation’s IP address into the URL field of your
browser.
Opening Settings
Using a Computer
Note:
Firefox, Google Chrome, Internet Explorer 9 or later, Safari 8 or later are supported. If you have difficulty
viewing Settings, check whether you have a proxy server enabled in the browser settings. If you do, disable the
proxy server.
1
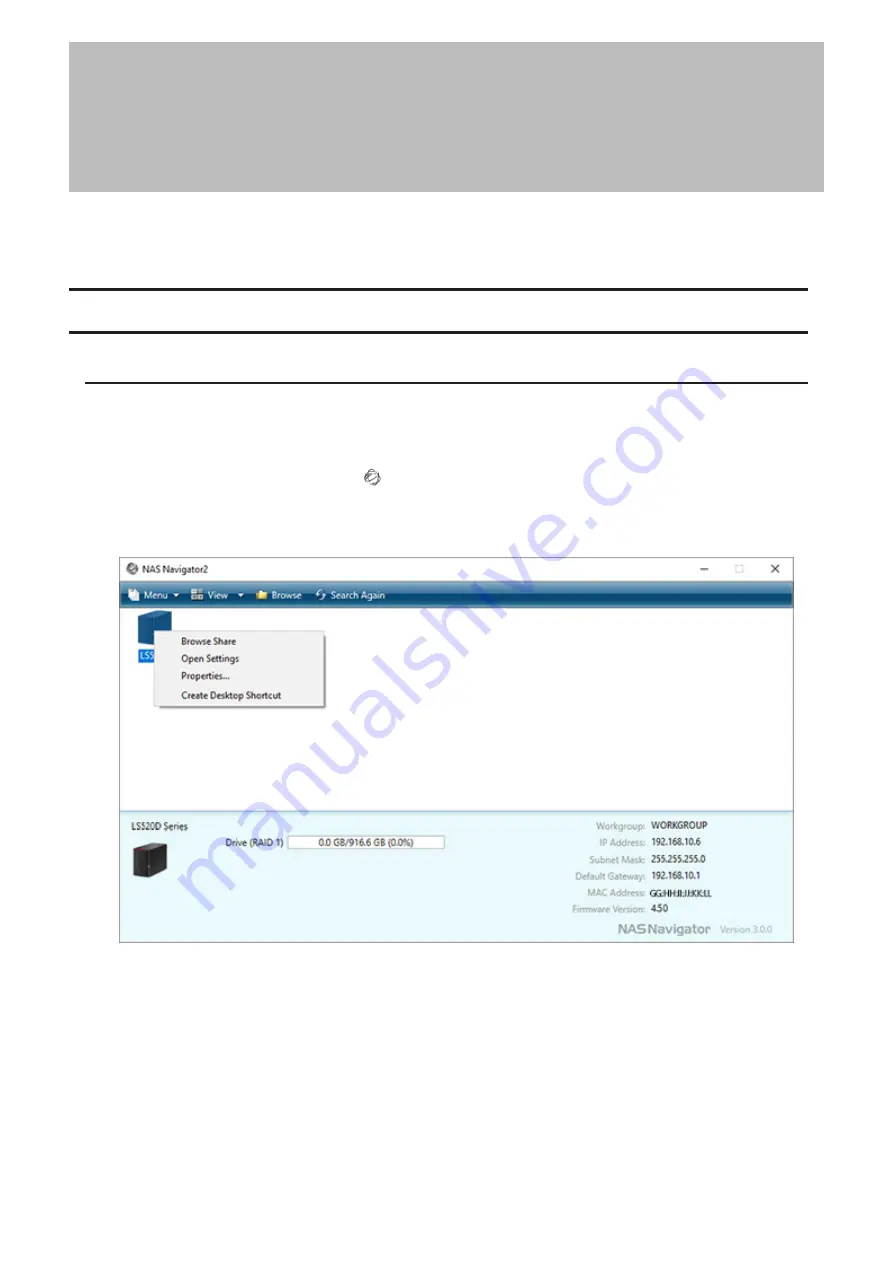
Double-click the NAS Navigator2 icon ( ) to start NAS Navigator2.
2
Right-click your LinkStation’s icon and select
Open Settings
. For macOS, select the LinkStation’s icon while
holding down the control key, then select
Open Settings
.
13
Chapter 2 Configuration
Summary of Contents for LinkStation 500
Page 38: ...2 Click the RAID tab 3 Click the array to delete 37 Chapter 5 Disk Manager ...
Page 40: ...2 Click the RAID tab 3 Click Create RAID Array 39 Chapter 5 Disk Manager ...
Page 57: ...3 The system log window will open 56 Chapter 6 System Information ...
Page 66: ...2 Click Folder Setup 3 Select a shared folder for the DLNA server 65 Chapter 7 Services ...
Page 77: ...76 Chapter 7 Services ...
Page 97: ...2 From Settings click System Settings 3 Click Firmware 4 Click Browse 96 Chapter 8 System ...
Page 100: ...2 Click Folder Setup 3 Choose the folder to set as a backup destination 99 Chapter 8 System ...


