if you replace a drive with a larger-sized drive. To expand the capacity, refer to the
section above.
• If there is existing data on the replacement drive, back it up as all data on the drive will be lost during the
replacement process.
• If sending a defective drive to Buffalo for replacement, please keep the cartridge as Buffalo will only replace the
drive and not the cartridge.
• To avoid damaging the LinkStation with static electricity, ground yourself by touching something made of metal
before handling any sensitive electronic parts.
• Do not change the order of the drives on the LinkStation. For example, pulling out the drive in slot 1 and
replacing it with the drive in slot 2 may cause data to be corrupted or lost.
Step 1 - Replacing a Defective Drive
1
Turn the LinkStation off and remove all cables.
2
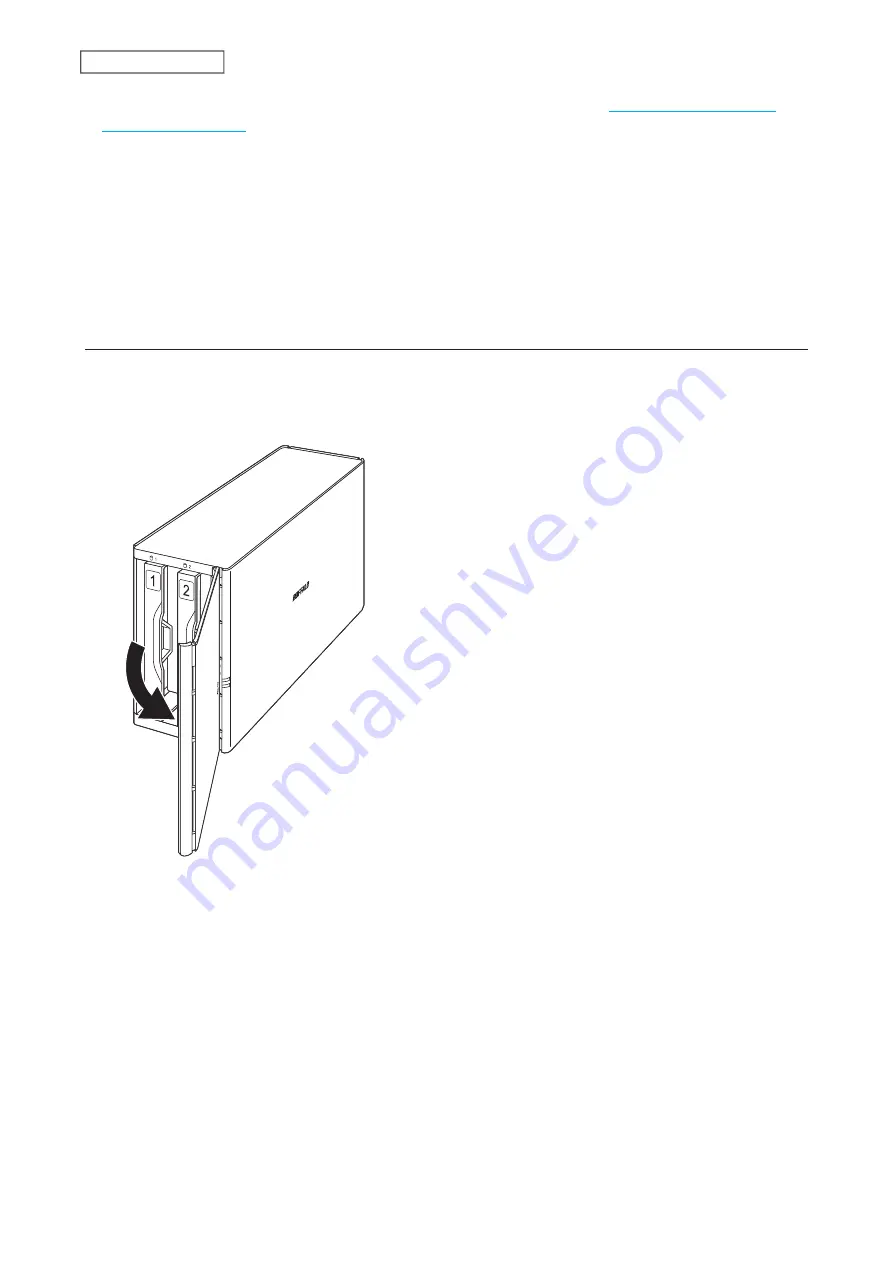
Squeeze the left side of the front panel and swing it open.
48
Chapter 5 Disk Manager
Summary of Contents for LinkStation 500
Page 38: ...2 Click the RAID tab 3 Click the array to delete 37 Chapter 5 Disk Manager ...
Page 40: ...2 Click the RAID tab 3 Click Create RAID Array 39 Chapter 5 Disk Manager ...
Page 57: ...3 The system log window will open 56 Chapter 6 System Information ...
Page 66: ...2 Click Folder Setup 3 Select a shared folder for the DLNA server 65 Chapter 7 Services ...
Page 77: ...76 Chapter 7 Services ...
Page 97: ...2 From Settings click System Settings 3 Click Firmware 4 Click Browse 96 Chapter 8 System ...
Page 100: ...2 Click Folder Setup 3 Choose the folder to set as a backup destination 99 Chapter 8 System ...


