6-201
Disassembly / Replacement / Adjustment
Assembly
(1)
To perform the assembly, take the reverse procedures to disassembly operation.
(2)
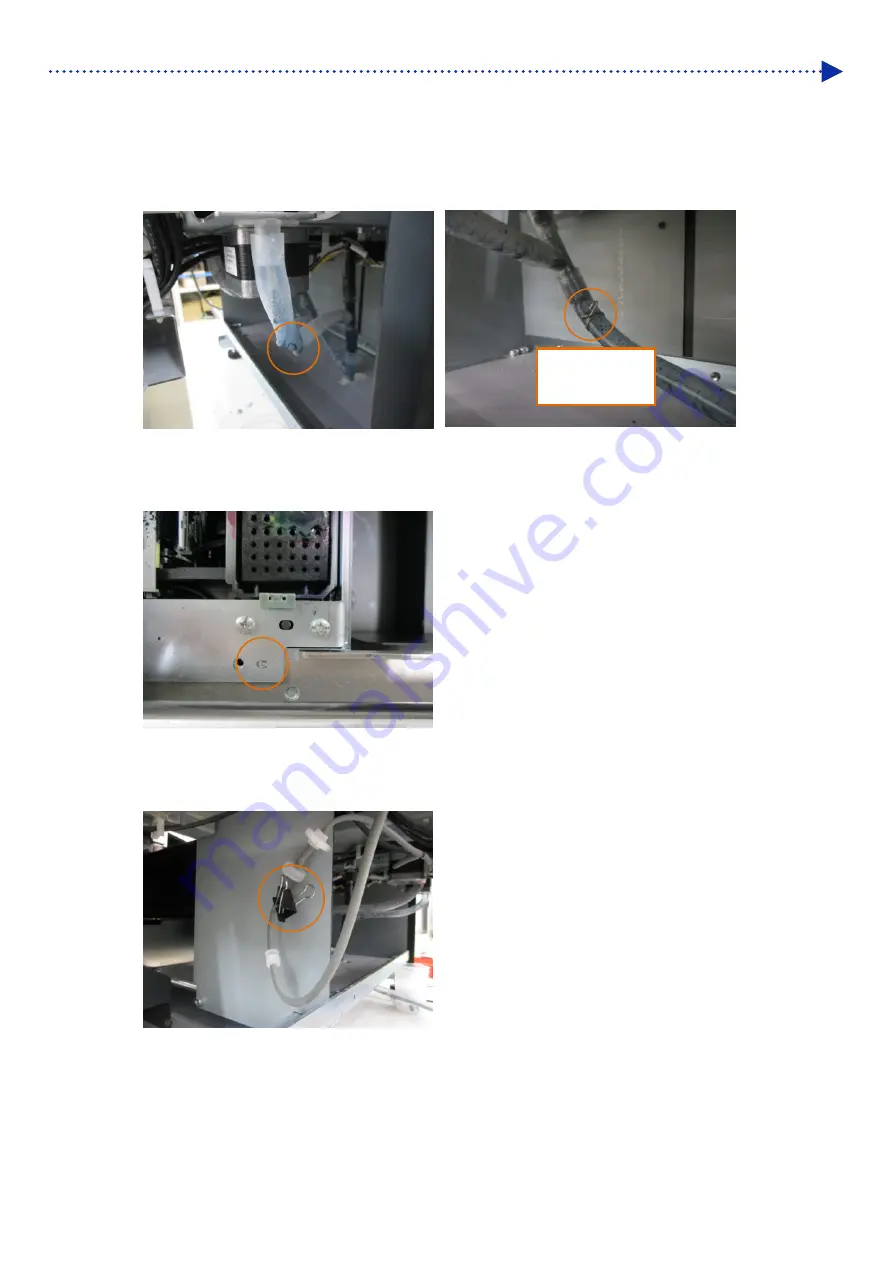
The waste ink tube must be assembled without causing distortion or breakage.
(3)
When attaching the tube in the main unit, assemble it so that the boss located on the front of the main unit does not
run on the main maintenance unit.
(4)
As it is impossible to detect the introduction of the cleaning solution on the main unit side, be sure to remove the
rubber band or clip clogging the tube extending from the cleaning solution tank.
(5)
After turning on the power, be sure to perform head cleaning and print the nozzle-check pattern to check the head
state.
Attach the tube
stopper 2.
Summary of Contents for GTX-4
Page 1: ...GTX 4 GARMENT PRINTER Service Manual ...
Page 175: ...5 10 Regular Maintenance X0204 Cleaning conditions Pre cleaning state Post cleaning state ...
Page 186: ...5 21 Regular Maintenance X0205 Cleaning conditions Pre cleaning state Post cleaning state ...
Page 456: ...9 1 9 Block diagram Control circuitry ...
Page 463: ...Appendix Setup Manual ...


