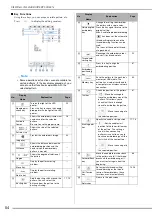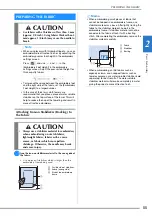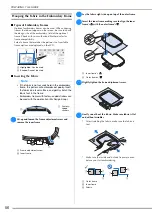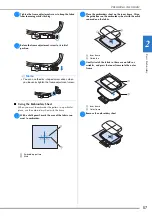
EDITING PATTERNS
48
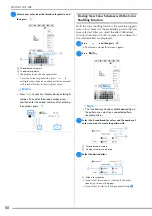
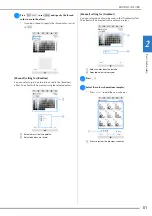
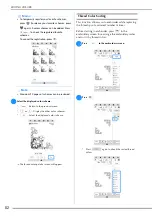
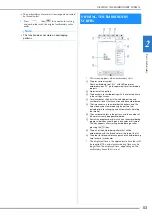
a
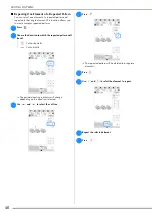
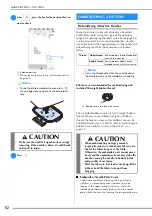
Select the repeated pattern and assign the thread mark
at the center of the bottom of the pattern.
*
Refer to “Assigning Thread Marks” on page 47.
b
Press ,
then .
c
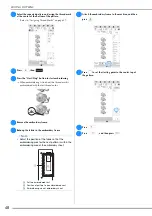
Press the “Start/Stop” button to start embroidering.
When embroidering is finished, the thread mark is
embroidered with the last thread color.
d
Remove the embroidery frame.
e
Rehoop the fabric in the embroidery frame.
f
Attach the embroidery frame to the machine, and then
press .
g
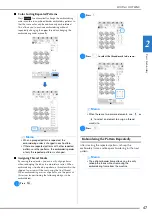
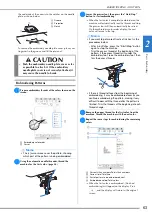
Press
to set the starting point to the center top of
the pattern.
h
Press .
i
Press
, and then press
.
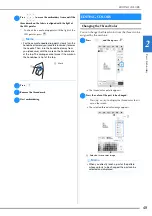
Note
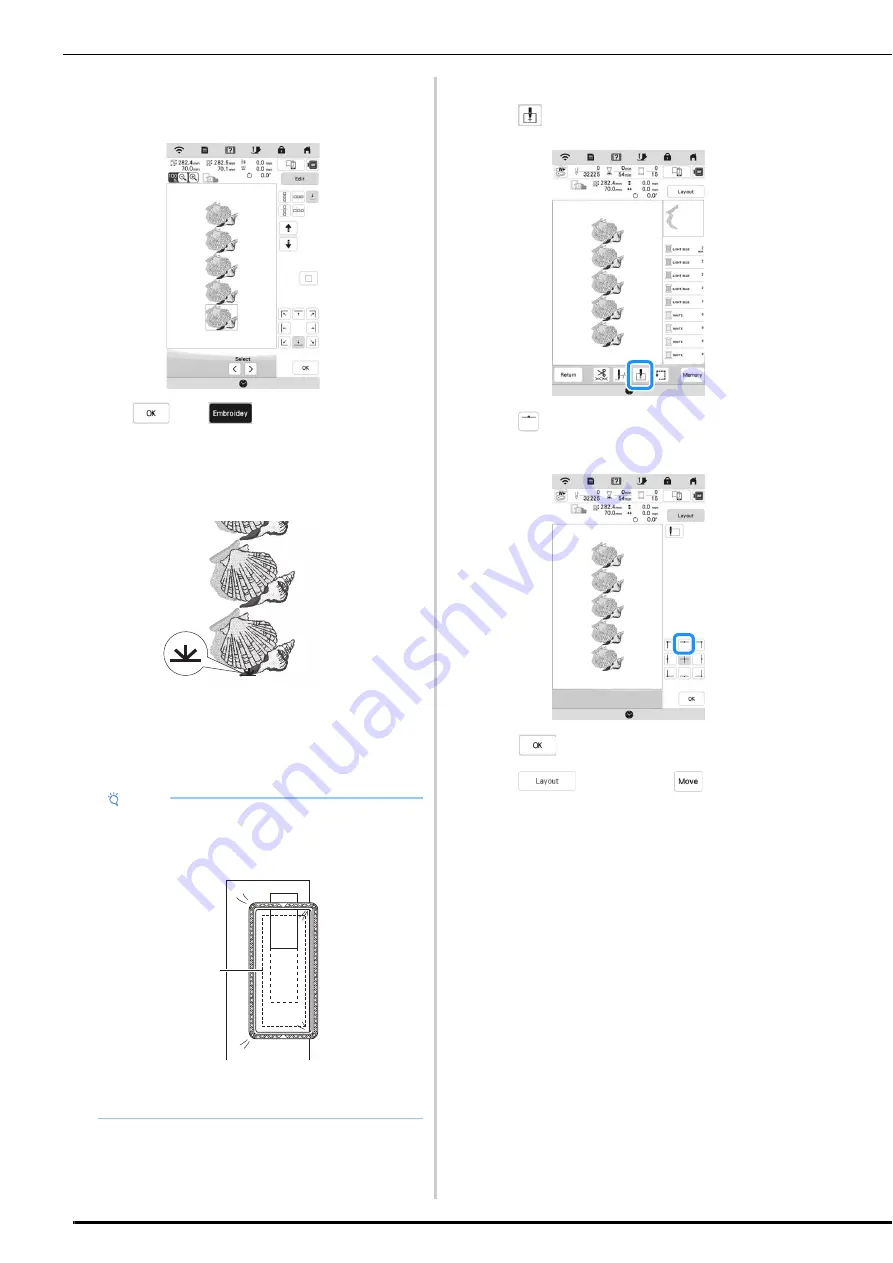
• Adjust the position of the fabric so that the
embroidering area for the next pattern is within the
embroidering area of the embroidery sheet.
1
Pattern embroidered first
2
Position of pattern to be embroidered next
3
Embroidering area of embroidery sheet
c
a
b
Summary of Contents for 882-W80
Page 2: ......
Page 10: ...CONTENTS 8 ...
Page 34: ...CHANGING THE NEEDLE 32 ...
Page 35: ...Chapter 2 Basic Embroidery ...
Page 70: ...ADJUSTMENTS DURING THE EMBROIDERY PROCESS 68 ...
Page 71: ...Chapter 3 Advanced Embroidery ...
Page 86: ...EMBROIDERY APPLICATIONS 84 ...
Page 87: ...Chapter 4 My Design Center ...
Page 106: ...STIPPLING 104 ...
Page 107: ...Chapter 5 Appendix ...
Page 123: ......

