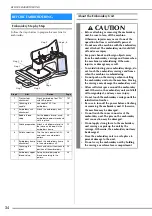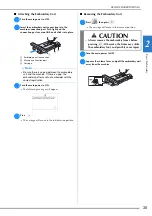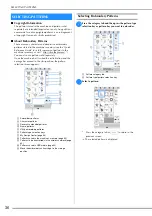
UPPER THREADING
G
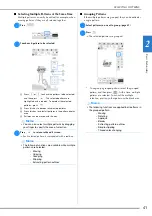
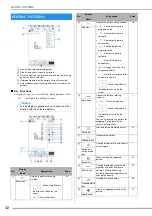
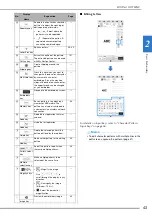
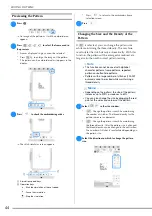
etting
Re
ad
y
29
1
g
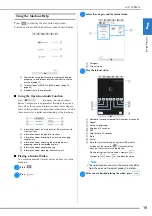
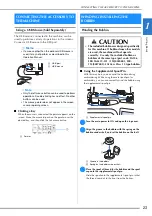
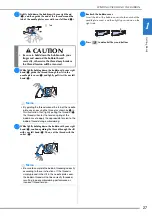
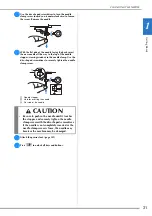
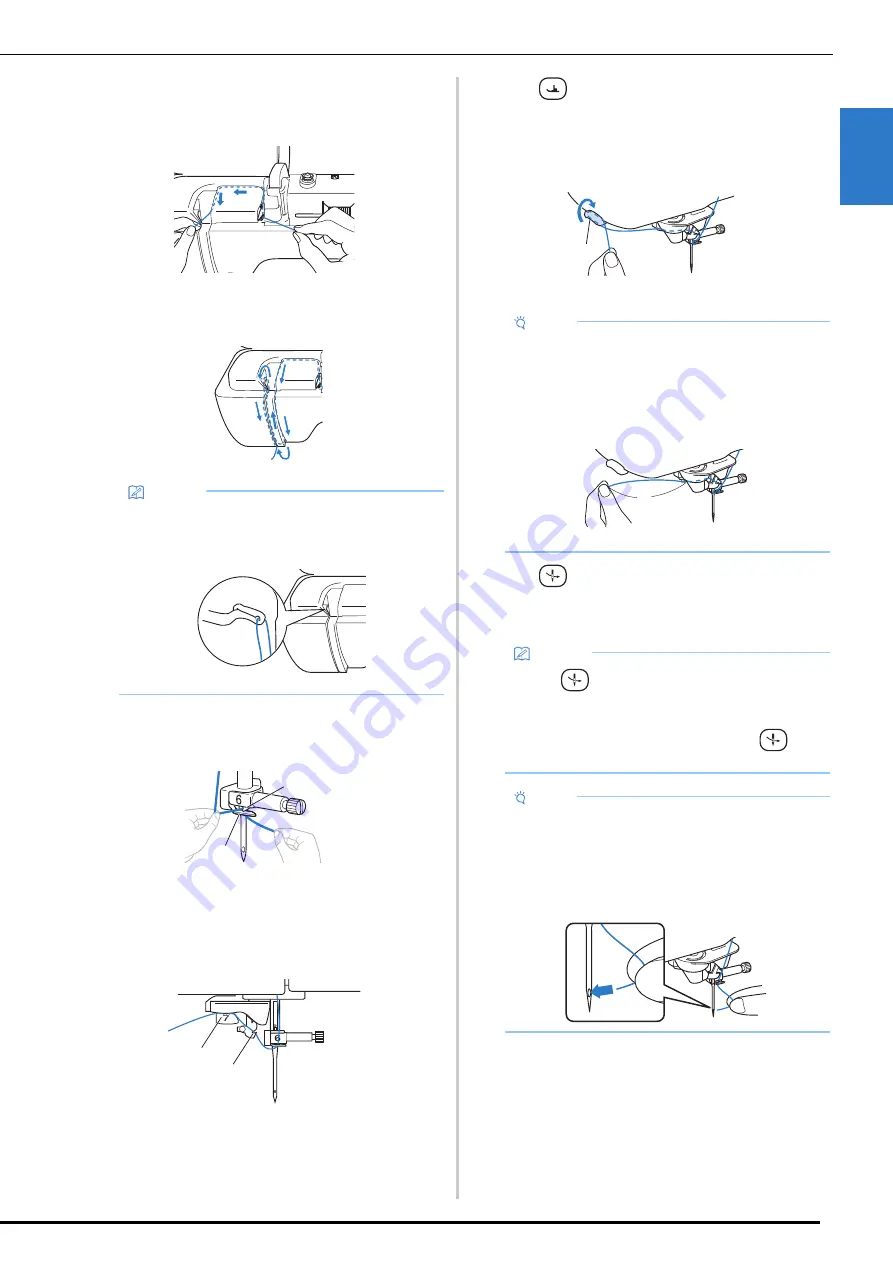
While holding the thread in your right hand, pass the
thread through the thread guide in the direction
indicated.
h
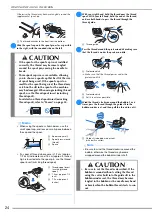
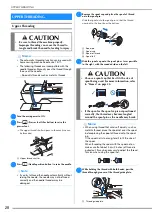
Guide the thread down, up, then down through the
groove, as shown in the illustration.
i
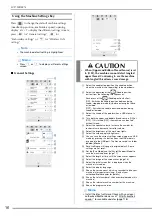
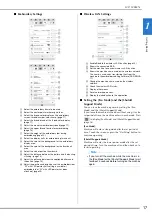
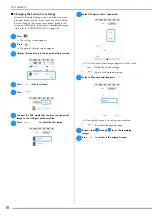
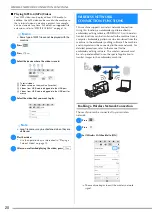
Pass the thread through the needle bar thread guide
(marked “6”) by holding the thread with both hands
and guiding it as shown in the illustration.
1
Needle bar thread guide
2
Tab
j
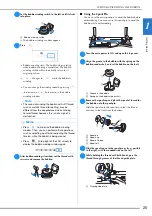
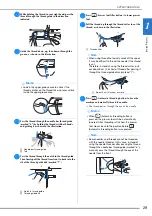
Pass the thread through the notch in the thread guide.
Then firmly pull the thread from front to back into the
slit of the thread guide disk (marked “7”).
1
Notch in thread guide
2
Thread guide disk
k
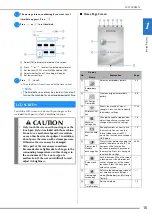
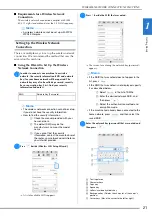
Press
(Presser foot lifter button) to lower presser
foot.
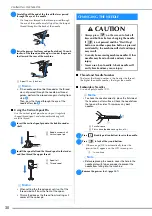
l
Pull the thread up through the thread cutter to cut the
thread, as shown in the illustration.
1
Thread cutter
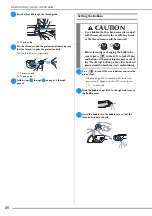
m
Press
(Automatic threading button) to have the
machine automatically thread the needle.
The thread passes through the eye of the needle.
Memo
• Look in the upper groove area to check if the
thread catches on the thread take-up lever visible
inside the upper groove area.
a
b
a
b
Note
• When using thread that quickly winds off the spool,
it may be difficult to thread the needle if the thread
is cut.
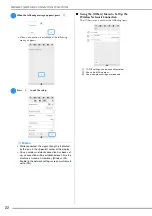
Therefore, instead of using the thread cutter, pull
out about 8 cm (3 inches) of thread after passing it
through the thread guide disks (marked “7”).
1
About 8 cm (3 inches) or more
Memo
• When
(Automatic threading button) is
pressed, the presser foot will be automatically
lowered. After threading is finished, the presser
foot moves back to the position before
(Automatic threading button) was pressed.
Note
• Some needles and threads cannot be threaded
with the needle threader. In this case, instead of
using the needle threader after passing the thread
through the needle bar thread guide (marked “6”),
manually pass the thread through the eye of the
needle from the front.
a
a
Summary of Contents for 882-W80
Page 2: ......
Page 10: ...CONTENTS 8 ...
Page 34: ...CHANGING THE NEEDLE 32 ...
Page 35: ...Chapter 2 Basic Embroidery ...
Page 70: ...ADJUSTMENTS DURING THE EMBROIDERY PROCESS 68 ...
Page 71: ...Chapter 3 Advanced Embroidery ...
Page 86: ...EMBROIDERY APPLICATIONS 84 ...
Page 87: ...Chapter 4 My Design Center ...
Page 106: ...STIPPLING 104 ...
Page 107: ...Chapter 5 Appendix ...
Page 123: ......

