SELECTING PATTERNS
38
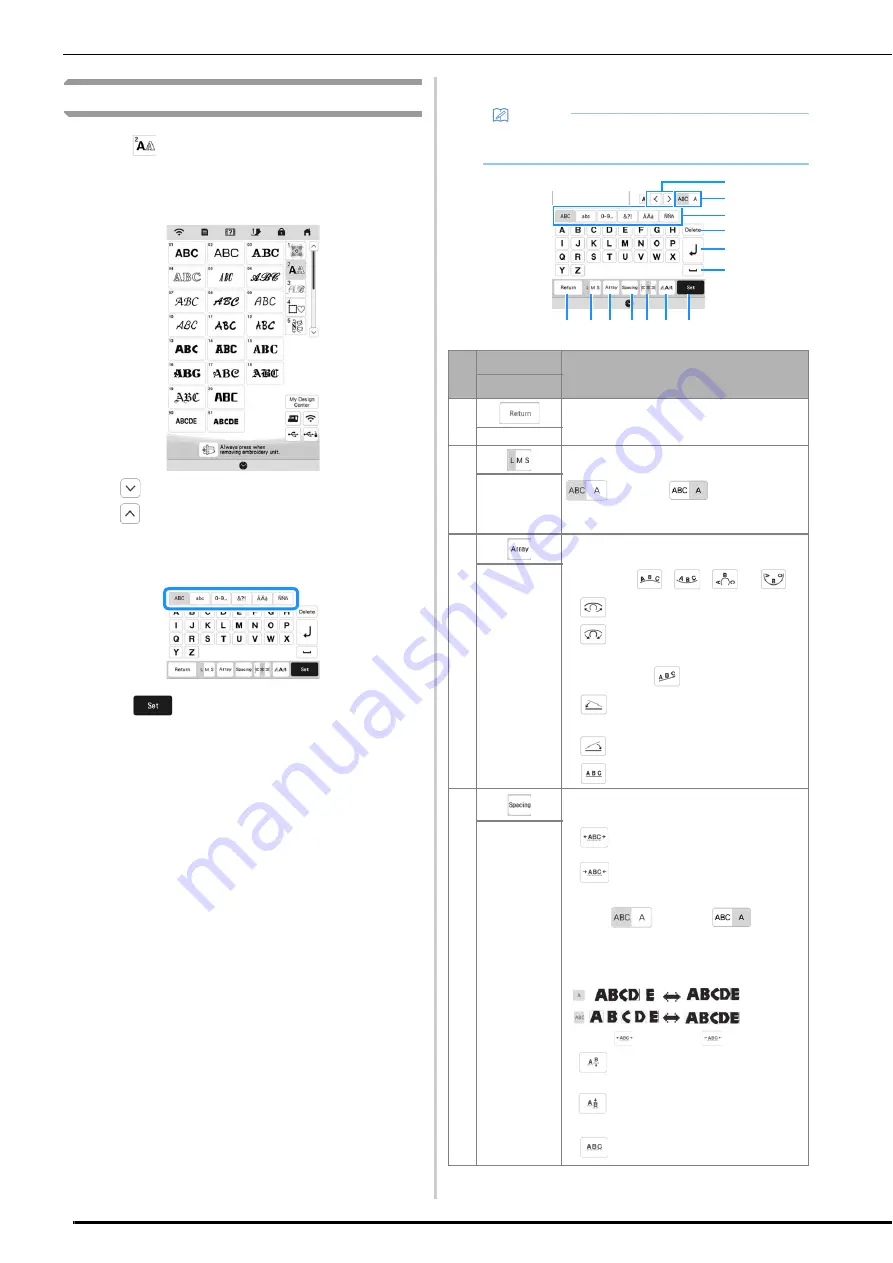
Selecting Character Patterns
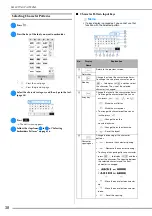
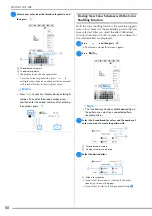
a
Press .
b
Press the key of the font you want to embroider.
*
: View the next page.
: View the previous page.
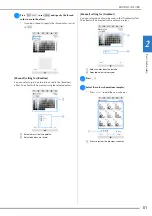
c
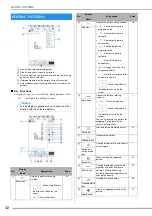
Select the character category and then type in the text.
(page 38)
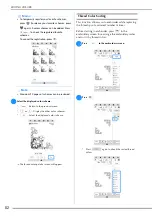
d
Press .
The edit screen appears.
e
Follow the steps from
d
to
g
of “Selecting
Embroidery Patterns” on page 36.
■
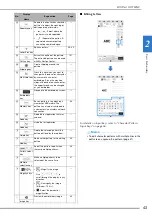
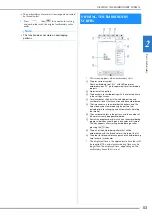
Character Pattern Input Keys
Memo
• If a key display is grayed out, you cannot use that
function with the selected pattern.
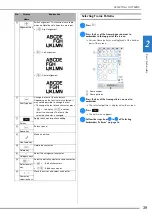
No.
Display
Explanation
Name
1
Return to the previous screen.
Return key
2
Change the size of the character patterns.
To change the size of one character, press
to display
and then select
the character. The size of the selected
character is changed.
Size key
3
Change the layout of the character patterns.
• To arrange the character patterns on an
arc,
press , ,
or .
: Make the arc flatter.
: Make the arc rounder.
• To arrange the character patterns on an
incline, press
.
: Change the incline
counterclockwise.
: Change the incline clockwise.
•
: Reset the layout.
Array key
4
Change the spacing of the character
patterns.
•
: Increase the character spacing.
•
: Decrease the character spacing.
• To change the spacing after one character,
press
to display
and then
select the character. The spacing between
the selected character and the next
character is changed.
•
: Move the one selected character
up.
•
: Move the one selected character
down.
•
: Reset the spacing.
Character
spacing key
0
9
8
A
B
C
5
7
6
4
3
1 2
Summary of Contents for 882-W80
Page 2: ......
Page 10: ...CONTENTS 8 ...
Page 34: ...CHANGING THE NEEDLE 32 ...
Page 35: ...Chapter 2 Basic Embroidery ...
Page 70: ...ADJUSTMENTS DURING THE EMBROIDERY PROCESS 68 ...
Page 71: ...Chapter 3 Advanced Embroidery ...
Page 86: ...EMBROIDERY APPLICATIONS 84 ...
Page 87: ...Chapter 4 My Design Center ...
Page 106: ...STIPPLING 104 ...
Page 107: ...Chapter 5 Appendix ...
Page 123: ......

