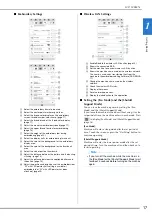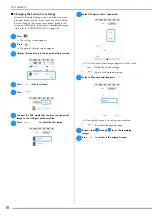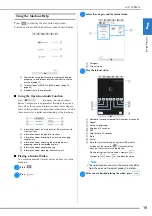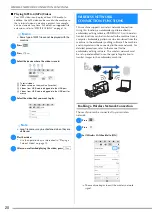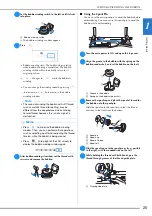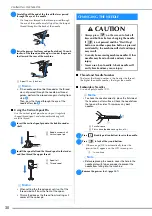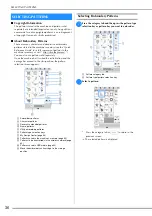
CHANGING THE NEEDLE
G
etting
Re
ad
y
31
1
d
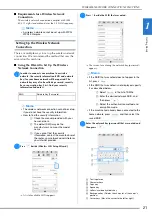
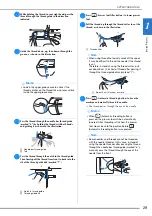
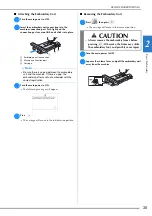
Use the disc-shaped screwdriver to turn the needle
clamp screw toward you (counterclockwise) to loosen
the screw. Remove the needle.
e
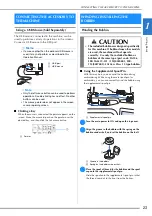
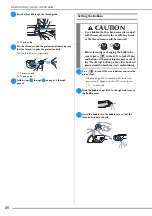
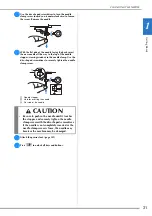
With the flat side of the needle facing the back, insert
the new needle all the way to the top of the needle
stopper (viewing window) in the needle clamp. Use the
disc-shaped screwdriver to securely tighten the needle
clamp screw.
1
Needle stopper
2
Hole for inserting the needle
3
Flat side of the needle
f
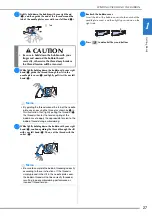
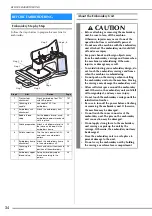
Attach the presser foot. (page 107)
g
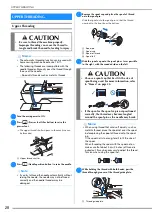
Press
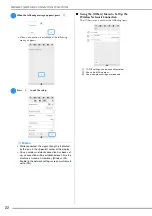
to unlock all keys and buttons.
CAUTION
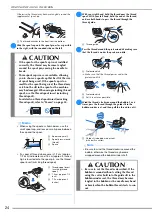
• Be sure to push in the needle until it touches
the stopper, and securely tighten the needle
clamp screw with the disc-shaped screwdriver.
If the needle is not completely inserted or the
needle clamp screw is loose, the needle may
break or the machine may be damaged.
a
b
c
Summary of Contents for 882-W80
Page 2: ......
Page 10: ...CONTENTS 8 ...
Page 34: ...CHANGING THE NEEDLE 32 ...
Page 35: ...Chapter 2 Basic Embroidery ...
Page 70: ...ADJUSTMENTS DURING THE EMBROIDERY PROCESS 68 ...
Page 71: ...Chapter 3 Advanced Embroidery ...
Page 86: ...EMBROIDERY APPLICATIONS 84 ...
Page 87: ...Chapter 4 My Design Center ...
Page 106: ...STIPPLING 104 ...
Page 107: ...Chapter 5 Appendix ...
Page 123: ......

