


Creative embroidering
137
2022-08 EN 5020079.40A.04
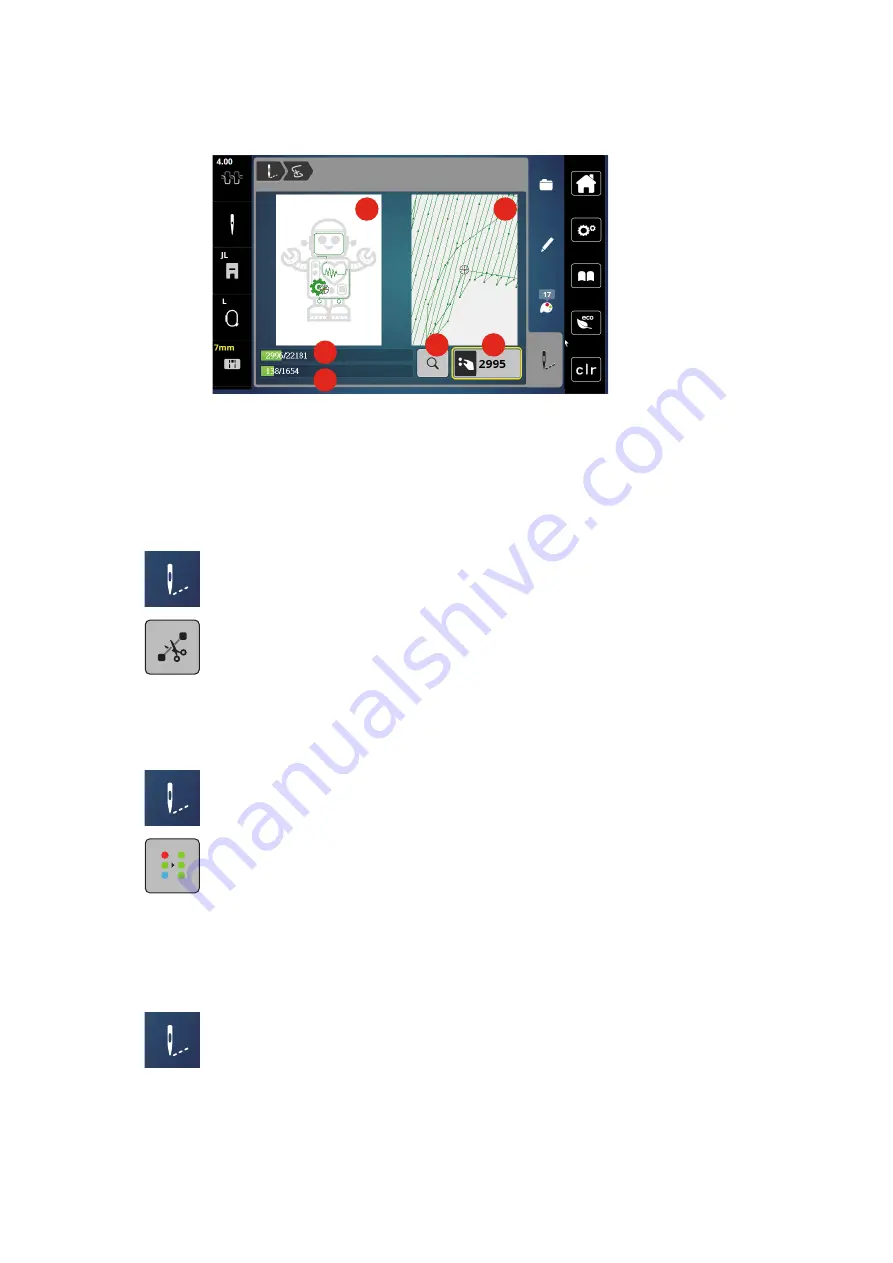
> To select the desired stitch via the input, tap «Magnifier» (6).
1
2
5
6
3
4
– The number in the yellow-framed icon (5) indicates the number of stitches of the embroidery process.
> Set the needle position back so that the new start is made a few stitches before the thread has broken.
Cutting Connecting Stitches
The function is activated as standard and the connection stitches are automatically cut. If the function is
deactivated, the connection stitches must be cut by hand.
> Select the embroidery design.
> Tap «Embroidery».
> To switch off the function, tap «Cut Connecting Stitches».
> To switch on the function, tap «Cut Connecting Stitches» again.
Multi-colored Embroidery Design On/Off
Multi-colored embroidery designs can also be embroidered in one color.
> Select the embroidery design.
> Tap «Embroidery».
> Tap «Multi-colored Embroidery Design On/Off».
–
The embroidery design is embroidered in one color.
Color Indication
Every color of the embroidery design can be selected individually. The hoop moves to the first stitch of the
current color. The currently active color can be embroidered individually or in another sequence.
> Select the embroidery design.
> Tap «Embroidery».
> Touch the icon Scroll up to select the previous color of the embroidery design.


