


Stitch Designer
102
2022-08 EN 5020079.40A.04
> If a stitch design ends with reverse stitches or is a closed shape, a forward stitch must be inserted on the
same vertical axis as the first stitch so that the design can be sewn continuously.
– The preview window on the left-hand side of the display shows whether a stitch pattern is sewn
continuously or not.
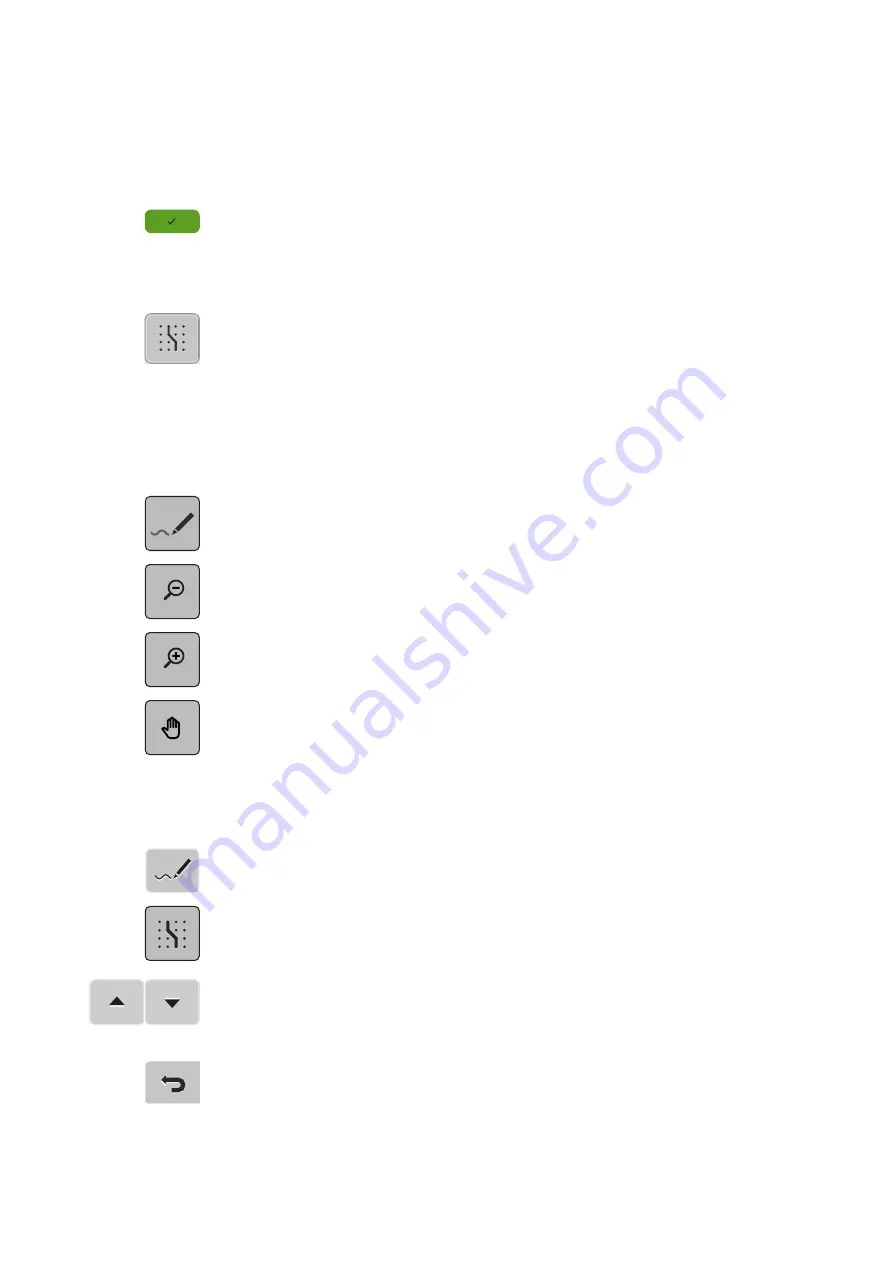
> Tap «Confirm».
– The stitch design is displayed and can be sewn.
– Lines longer than 3 mm are automatically divided into sections of equal length.
Creating Stitch Designs Using Screen Dots
> To show grid points, tap «Engaging at the Grid».
– Every inserted point is automatically placed on the nearest grid point.
Free hand drawing
> Using the finger or the touchscreen pen, touch the stitch pattern view and draw a stitch design.
11.3 Editing the View
> Select a stitch pattern, alphabet or buttonhole.
> Tap «Stitch Designer».
> To minimize the stitch pattern view, tap «Zoom Out».
> To enlarge the minimized stitch pattern view, tap «Zoom In».
> Tap «Move View».
> Moving the view of the design.
11.4 Inserting Points
A new point is inserted after a current position indicated by a white dot.
> Select a stitch pattern or alphabet.
> Tap «Stitch Designer».
> To show grid points, tap «Engaging at the Grid».
– Every inserted point is automatically placed on the nearest grid point.
> To select the point, tap «Scroll Up» and «Scroll Down».
> Tap the desired position in the «Stitch Pattern View».
– The new point is inserted after the selected point and can be moved to the desired position with the
multi-function knobs.
> To undo the last work step, tap «Undo Entries».
> To redo the last work step, tap «Redo Entries».


