6.2.1
Using the Projection Study Wizard
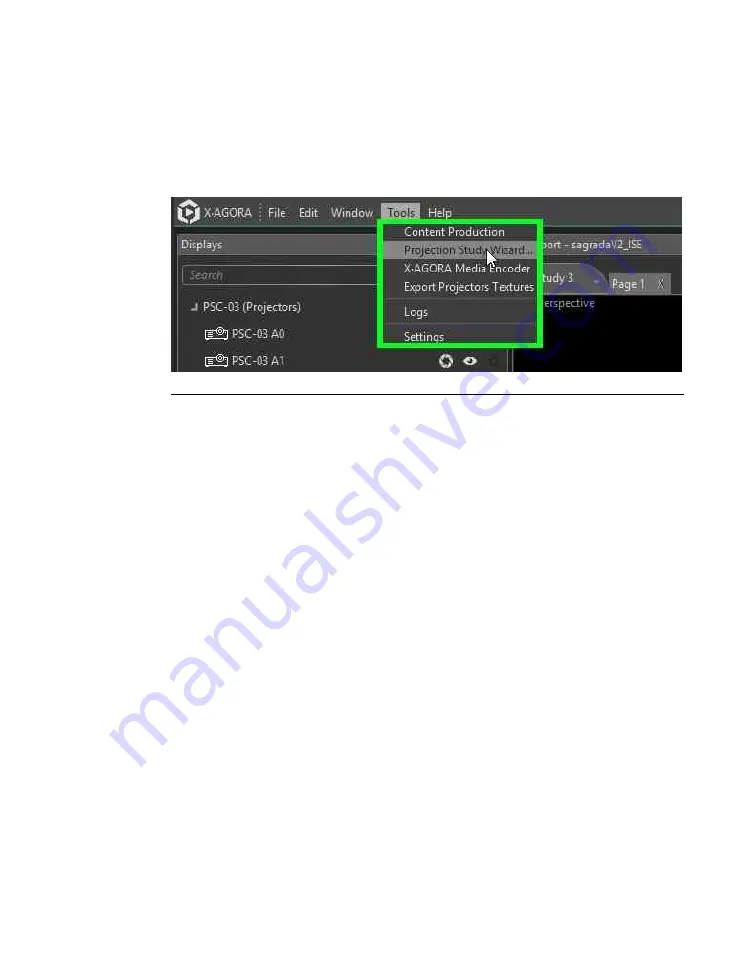
To open the Projection Study Wizard, select the Tools in the menu bar, and select Pro-
jection Study Wizard from the Tools menu. (See
Figure 6.2, “Projection Study wizard”
.)
You can also select an object (plane, curved plane, screen, curved screen, or imported
object) from your scene and click the
Create Projector Array
button in its properties.
Figure 6.2. Projection Study wizard
Projection Study workflow
1.
If no object is selected
, choose between aiming the projectors at a
wall
(i.e.
horizontally), at a
floor
(i.e. vertically), or at a
curved convex or concave
wall
.
2.
If no object is selected
, define projection dimensions.
3.
Adjust "Distance"/"Throw ratio."
Keep in mind that these are relative parameters. Change one, and the
other is adjusted proportionally.
4.
Choose an aspect ratio setting.
"Auto" mode chooses a combination of aspect ratios to best conform
to the desired coverage area. Alternatively, you can set all projectors
to a fixed aspect ratio.
131
Barco Pn: 60600325
Barco Media Server XPR-Series User Guide
Section 6: Tools
Summary of Contents for XPR-600
Page 1: ...Barco Media Server XPR Series User Guide Part number 60600325 Version 00 00 January 22 2016...
Page 4: ...HighEndSystems Barco Pn 60600325...
Page 11: ......
Page 17: ......
Page 19: ......
Page 63: ......
Page 79: ......
Page 131: ......
Page 145: ......
Page 235: ......
Page 237: ......
Page 247: ......
Page 255: ......
Page 267: ......


