K-Series Loom User Manual
Weaving Instructions
Warping The Plain Beam
Page | 87
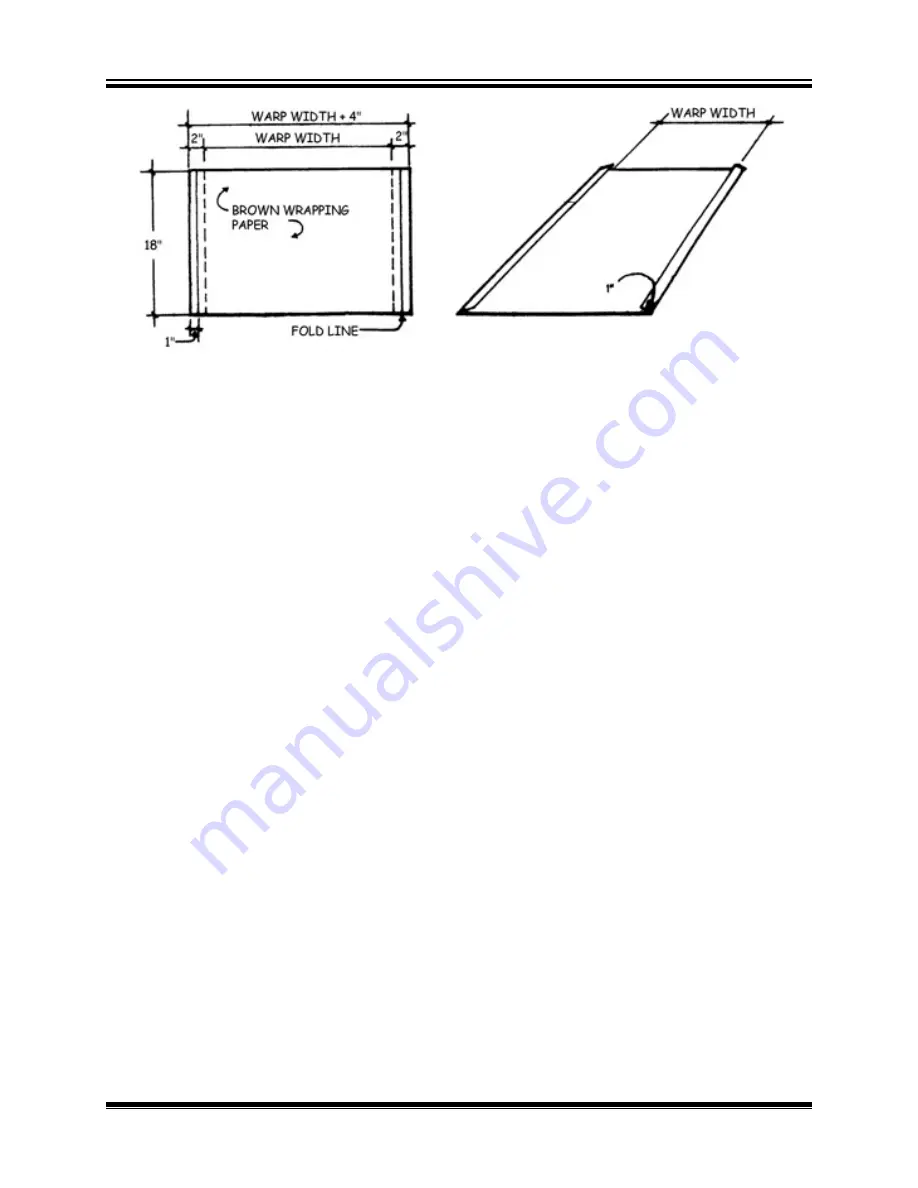
Figure 88 - Prepared Paper with Folded Edge
Winding The Warp
Remember, wind the warp on tightly under a lot of tension. The amount of
tension used will vary depending on the warp material, but a good rule to
remember is that the tension of the wound-on warp must as great as the
tension during the weaving operation. You will need one person to hold a
warp under tension on the back and one person to wind the warp on the
beam using a handle. The person winding the warp can also insert the
paper. For a wide, heavy warp, several helpers may be required.
If you have to do it yourself, you can use the jerking method. Make one turn
around with your beam crank and then go to the back of the loom and jerk
one narrow section (2-3 inches in width) at a time to make the newly wound
warp tight on the beam. The idea of this method is that the warp does not
need to be under tension all the time, but the part that is on the beam has
to be tight. Make another turn, go to the back of the loom, and jerk all the
sections again and so on. If you have a wide warp, you might need to do
multiple jerking motions after each turn.
Threading Cross
When you come to the end of your warp, insert lease sticks at either side of
your Threading Cross. Tie the two sticks together at each end.
Removing The Raddle
When the warping is completed, free the warp from the Raddle. If you have
an AVL Raddle, first untie the security strings, lift the Raddle top off, and
remove the warp from the Raddle. Afterwards, replace the top on the Raddle
and leave it in its place on the back of the loom as it will not interfere with


