A-Series Dobby Loom Assembly Manual
Overhead Beater (Optional)
Overhead Beater (optional equipment)
Page | 101
2)
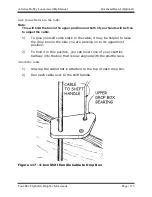
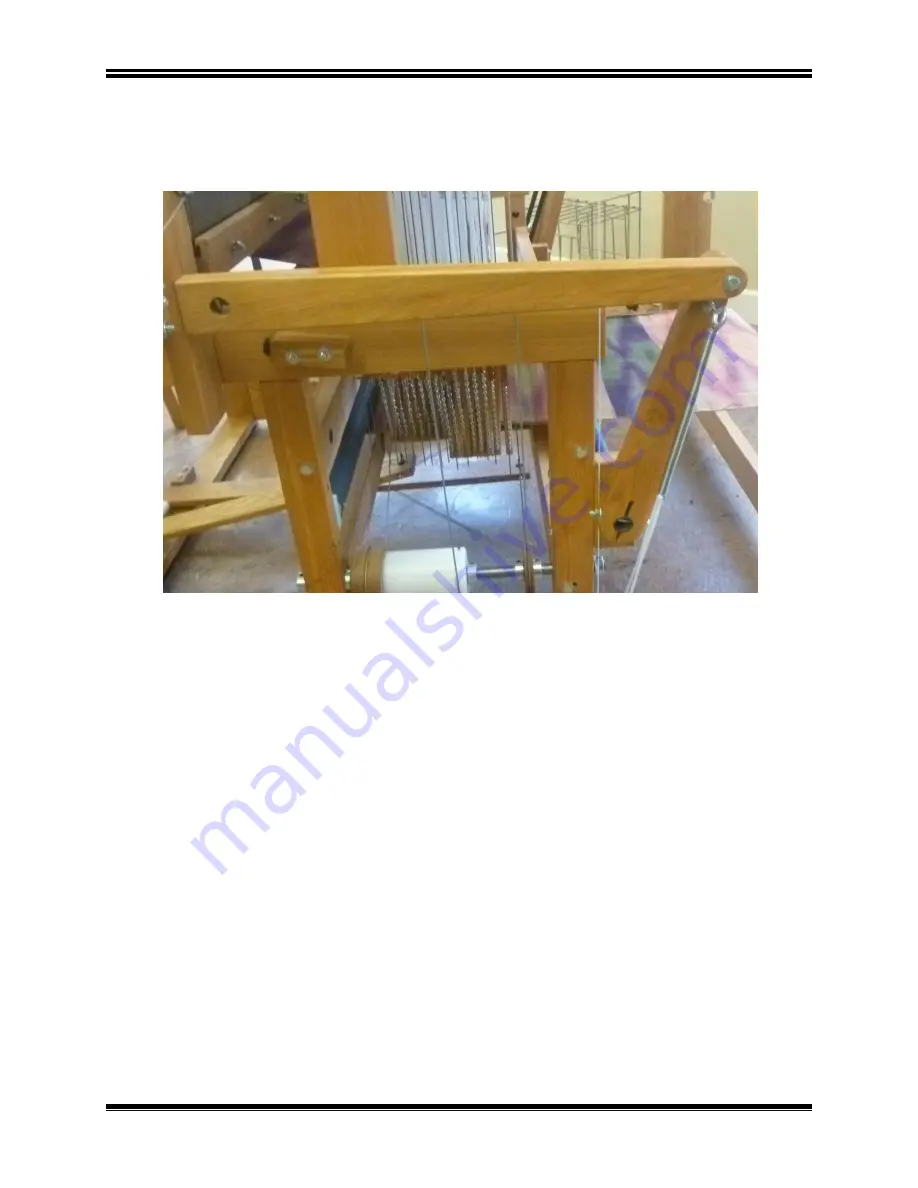
Insert two 5/16" x 5" hex bolts, washers, and square nuts through
the shuttle race and uprights into the nut access hole of the push
arm.
Figure 103 - Push Arms and Tilt Arms
3)
Tighten these bolts making sure that the outer face of each push
arm is flush with the outer edge of the uprights.
4)
Repeat for the other side of the loom.
Tighten bolts
1)
At this point you can tighten the bolts on the beater, except for the
racking adjustment bolts. Make sure the beater is relatively square
and centered in the loom.
Rack the Beater
You will rack the beater to make sure it is square to the loom so that it beats
your fabric properly. You can tell if the beater is square to the loom by
seeing if the beater hits one bumper before it hits the other. If the beater
should come “out of square” in the future, you will need to repeat this
adjustment, loosening the bolts before you start and tightening them
securely after.


