


Addressing Emails with the UAD
Issue 1.0 June 2002
99
4
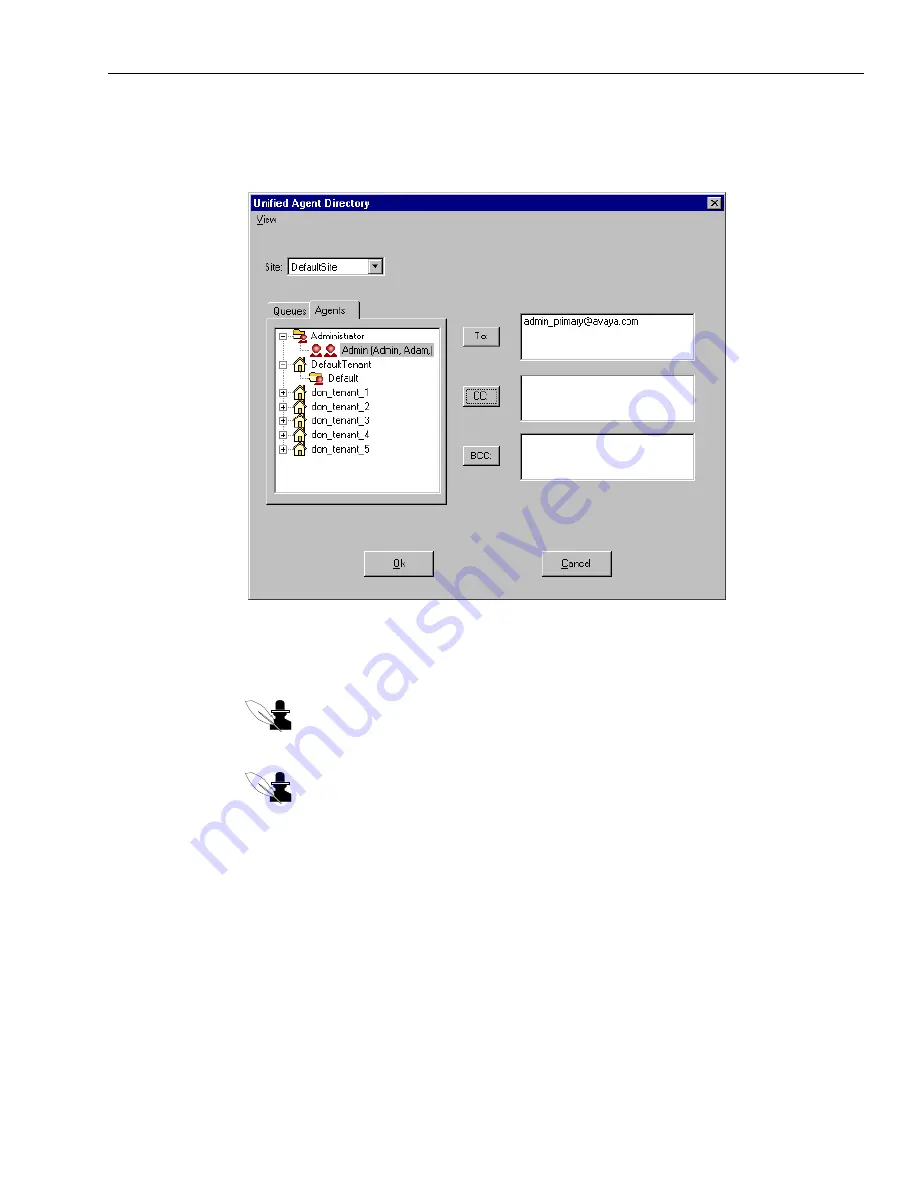
Navigate through the Queues, Agents, or any other tab available to you, opening groups as
necessary, until you find the queue or person to whom you want to address this email. In the
following illustration, the administrator has been selected in the To field:
5
Select the desired name and then click the To, Cc, and Bcc button to add that person’s email
address to the box on the right side of the window. (You can double-click to automatically add
the name to the To box.)
Note:
The “To” field is disabled for a Normal Reply and for a Request for Additional
Information because the email is automatically addressed to the customer to whom
you are replying.
Note:
If you want to remove a name you added to the right side of the window, select
it and press the Delete key on your keyboard.
6
Repeat the above steps as desired to add the addresses of all the intended recipients to your
email.
7
Click Ok.
The email addresses are added to the email you are composing.
8
If you are doing any of the following tasks, return to the appropriate section to finish your
email and send it:
Summary of Contents for Interaction Center 6.0
Page 1: ...Avaya Interaction Center Release 6 0 Avaya Agent User s Guide DXX 1001 03 Issue 1 0 June 2002...
Page 12: ...12 Avaya Agent User s Guide...
Page 40: ...Chapter 1 Overview 40 Avaya Agent User s Guide...
Page 154: ...Chapter 5 Managing Chat Sessions 154 Avaya Agent User s Guide...
Page 178: ...Chapter 6 Performing Chat Email Tasks 178 Avaya Agent User s Guide...
Page 220: ...220 Avaya Agent User s Guide Index...