78
7
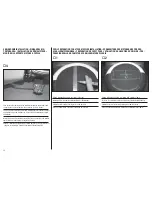
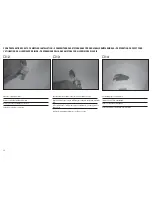
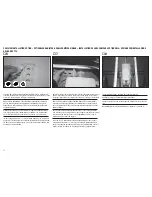
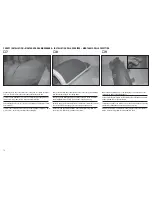
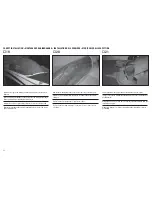
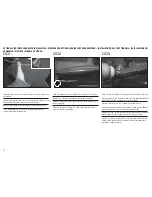
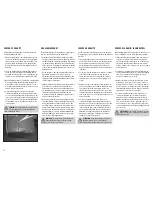
Continue the mold line to the sides of the canopy and cut outside the line by
1/16 inch. The black line in the picture above shows the mold line.
Schneiden sie im Abstand von 1/16 inch (1,58mm) weiter entlang der ange-
formten Linie. Die schwarze Linie zeigt die angeformte Linie.
Suivez la ligne moulée sur les côtés tout en restant à une distance de 1.5mm
vers l’extérieur.
Seguire le linee stampate anche sul fi anco della capottina e tagliare a 1,5mm
al loro esterno. La linea nera mostra la linea stampata.
8
9
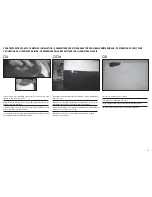
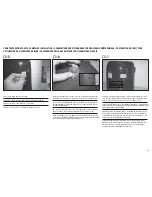
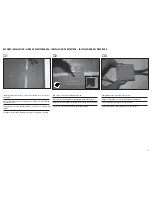
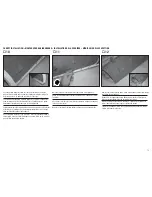
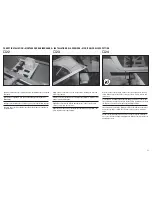
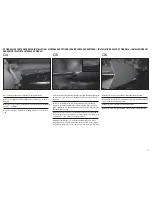
Remove the masking paper, and then mask the entire canopy with masking
tape. Mount the canopy in the canopy frame.
Entfernen Sie das Maskierpapier und bekleben dann die gesamte Kabinen-
haube mit Maskiertape. Setzen Sie die Haube in den Rahmen ein.
Retirez le papier et effectuez maintenant le masquage complet de la verrière
avec de l’adhésif de masquage. Posez la verrière sur sa structure.
Togliere la carta della mascheratura e mascherare tutta la capottina con
nastro apposito. Montare la capottina sul suo telaio.
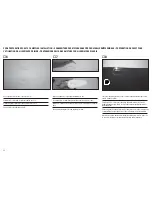
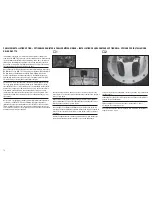
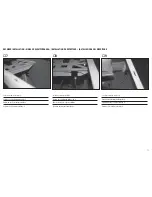
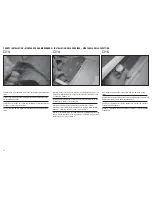
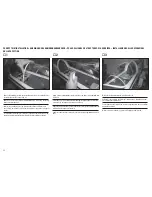
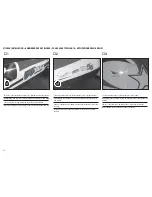
Make handles by folding a piece of masking tape. This helps to move the
canopy in the frame for fi nal adjustment.
Formen Sie Griffe durch falten von Maskiertape. Das hilft dabei die Kabinen-
haube im Rahmen korrekt auszurichten.
Fabriquez des poignées en pliant des morceaux de ruban adhésif. Cela vous
facilitera le positionnement de la verrière sur sa structure.
Creare delle maniglie con dei pezzi di nastro piegato su se stesso. Questo
aiuta a muovere la capottina nel posizionamento fi nale.
CANOPY INSTALLATION • MONTAGE DER KABINENHAUBE • INSTALLATION DE LA VERRIÈRE • MONTAGGIO DELLA CAPOTTINA
Summary of Contents for Composite QQ Yak 54 2.6 m
Page 99: ...99 ...

