90
CENTER OF GRAVITY
An important part of preparing the aircraft for fl ight is
properly balancing the model.
1. Attach the wing panels to the fuselage. Make sure to
connect the leads from the aileron to the appropriate
leads from the receiver. Make sure the leads are not
exposed outside the fuselage before tightening the
wing bolts. Your model should be fl ight ready before
balancing.
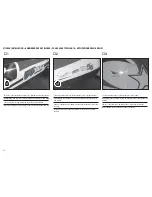
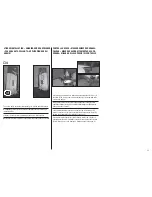
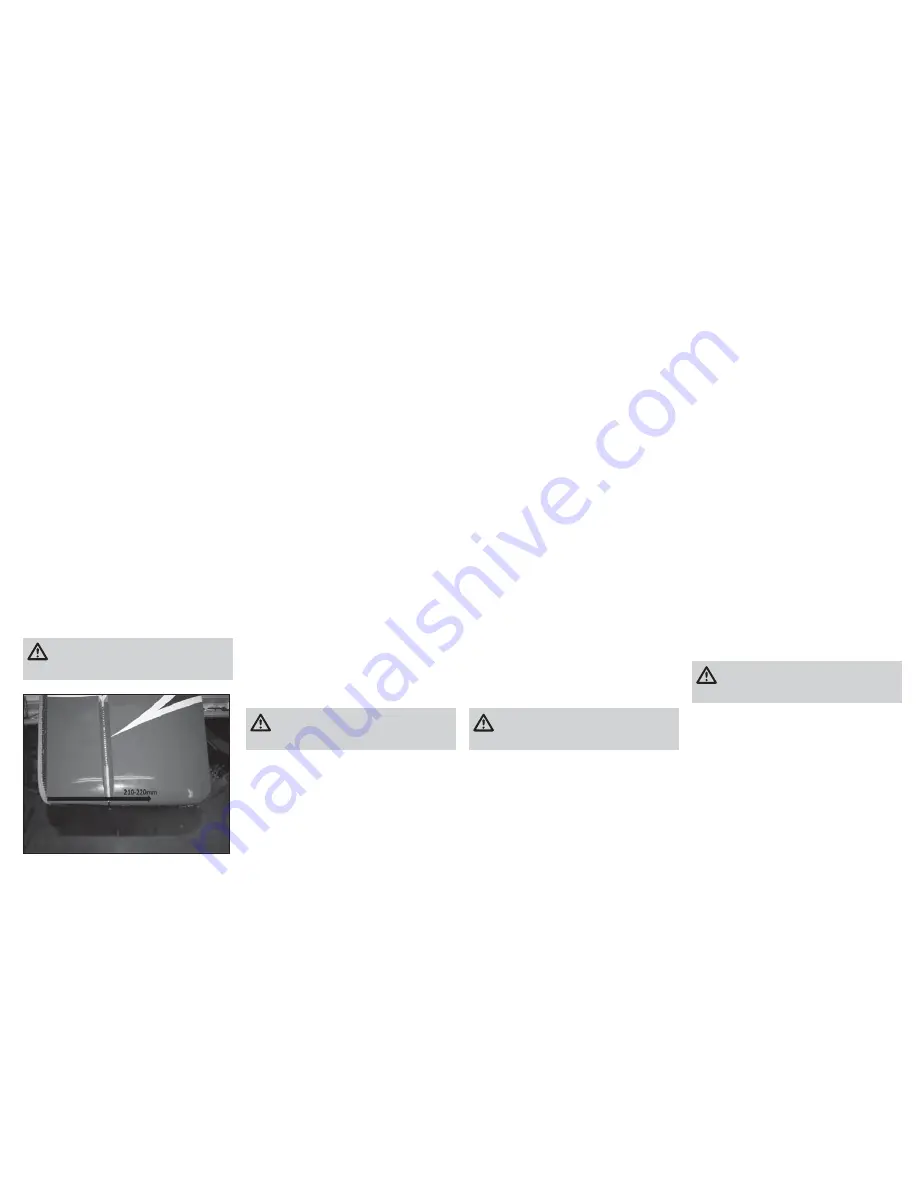
2. The recommended Center of Gravity (CG) location for
your model is (210–220mm) at the wingtip and for-
ward from the trailing edge. It is recommended to use
220mm for precision fl ight and 210mm for 3D fl ight.
3. When balancing your model, make sure it is assembled
and ready for fl ight. Support the plane upright at the
marks made on the wing with your fi ngers or a com-
mercially available balancing stand. This is the correct
balance point for your model.
4. You should fi nd the CG to be very close with the
components installed as shown in this manual. If the
nose of your aircraft hangs low, move batteries to the
rear of the aircraft. If the tail hangs low, add weight to
the nose of the aircraft. Self-stick weights (HAN3626)
are available at your local hobby store and work well
for this purpose.
CAUTION:
You must adjust your aircraft’s center
of gravity and balance your model properly
before attempting fl ights.
DER SCHWERPUNKT
Ein wichtiger Schritt zur Vorbereitung des Flugzeugs für
den Flug ist die Ausbalancierung des Modells.
1. Befestigen Sie die Flügelfl ächen am Rumpf. Stellen
Sie sicher, dass die Kabel von dem Querruder mit dem
richtigen Kabel am Empfänger verbunden sind. Achten
Sie darauf, dass die Kabel nicht aus dem Rumpf aus-
treten, bevor Sie die Flügelbolzen anziehen. Ihr Modell
sollte fertig montiert und fl ugbereit sein, bevor Sie es
ausbalancieren.
2. Der empfohlene Schwerpunkt (CG) befi ndet sich 210
bis 220mm von hinten nach vorne an der Trag-
fl ächenaussenseite gemessen (siehe Abbildung). Wir
empfehlen 220mm für Präzisionsfl iegen und 210mm
für 3D Fliegen zu verwenden.
3. Ihr Modell muss bereits fertig montiert und fl ugbereit
sein, wenn Sie es ausbalancieren. Um Ihr Modell
auszubalancieren, stellen Sie das Flugzeug aufrecht
hin und stützen Sie es mit den Fingern oder auf einem
im Handel erhältlichen Balancierständer an den
markierten Punkten am Flügel. Dies ist der korrekte
Balancepunkt für Ihr Modell.
4. Wenn die Komponenten wie in der Anleitung gezeigt
eingebaut wurden, sollte der Schwerpunkt sehr nahe
an der angegebenen Position liegen. Wenn der Bug
des Flugzeugs nach unten hängt, verschieben Sie die
Akkus in dem Flugzeug ein wenig nach hinten. Wenn
das Heck nach unten hängt, legen Sie in die Nase des
Flugzeugs Gewichte ein. Sie erhalten selbstklebende
Gewichte (HAN3626), die für diesen Zweck geeignet
sind, bei Ihrem Modellbauhändler.
ACHTUNG:
Sie müssen den Schwerpunkt des
Flugzeugs justieren und das Modell richtig
ausbalancieren, bevor Sie es fl iegen.
CENTRE DE GRAVITÉ
Une des opérations essentielles quant à la préparation
de l’appareil pour le vol consiste à équilibrer parfaitement
le modèle.
1. Fixez les panneaux des ailes au fuselage. Assurez-vous
de raccorder les fi ls de l’aileron aux câbles appropriés
du récepteur. Assurez-vous qu’aucun fi l ne ressort
du fuselage avant de serrer les vis des ailes. Votre
modèle doit être bien assemblé et prêt à voler avant de
l’équilibrer.
2. Le centre de gravité est situé à une distance comprise
entre 210 et 220mm en avant du bord de fuite au
niveau du saumon. Il est recommandé de le placer à
220mm pour le vol de précision et à 210mm pour le
vol 3D.
3. Assurez-vous que votre modèle est bien assemblé et
prêt à voler lorsque vous l’équilibrez. Maintenez l’avion
en position verticale au niveau des marques effec-
tuées. Vous pouvez soutenir les ailes avec vos doigts
ou utiliser un support d’équilibrage que vous trouverez
dans le commerce. Il s’agit du point d’équilibre correct
pour votre modèle.
4. Le centre de gravité doit être très proche des
composants installés, tel qu’illustré dans le présent
manuel. Si le nez de votre appareil penche vers le bas,
déplacez les batteries vers l’arrière de l’appareil. Si
la queue penche vers le bas, ajoutez du poids vers le
nez de l’appareil. Des plombs autocollants (référence
HAN3626) sont disponibles dans votre boutique de
maquettes et modélisme. Ils peuvent vous aider à
équilibrer fi nement votre appareil.
ATTENTION :
Vous devez régler le centre de
gravité de votre modèle et l’équilibrer de
manière satisfaisante avant d’essayer de le faire voler.
CENTRO DI GRAVITA’ (BARICENTRO)
Una parte importante nella preparazione di un aereo per il
volo è costituita dal corretto bilanciamento del modello.
1. Fissare i pannelli delle ali alla fusoliera. Assicurarsi di
collegare i connettori degli alettoni ai connettori ap-
propriati del ricevitore. Assicurarsi che i connettori non
fuoriescano dalla fusoliera prima di serrare i bulloni
delle ali. Il modello deve essere pronto per il volo prima
del bilanciamento.
2. La posizione consigliata per il baricentro (CG) si trova
a 210-220mm davanti al bordo di uscita dell’estremità
alare. Si raccomanda di usare 220mm per i voli di
precisione e 210mm per il volo 3D.
3. Quando si bilancia l’aeromodello, assicurarsi che sia
assemblato e pronto per il volo. Sostenere l’aereo in
posizione dritta con le dita o con un supporto disponi-
bile in commercio, in corrispondenza dei contrassegni
fatti sulla parte superiore dell’ala. Questo è il punto di
bilanciamento corretto per l’aeromodello.
4. Il centro di gravità dovrebbe essere molto vicino ai
componenti installati come mostrato nel presente
manuale. Se il muso dell’aereo tende verso il basso,
spostare le batterie verso la parte posteriore dell’aereo.
Se la coda tende verso il basso, aggiungere peso al
muso dell’aereo. Presso i negozi di articoli di hobbis-
tica sono disponibili pesi autoadesivi (HAN3626) adatti
a questo scopo.
ATTENZIONE:
è necessario regolare il centro di
gravità e bilanciare correttamente l’aeromodello
prima di andare in volo.
Summary of Contents for Composite QQ Yak 54 2.6 m
Page 99: ...99 ...


