35
4
5
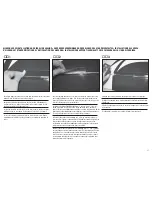
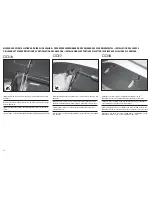
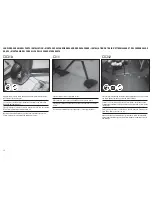
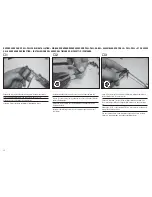
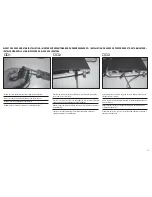
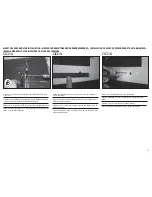
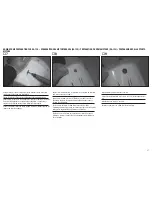
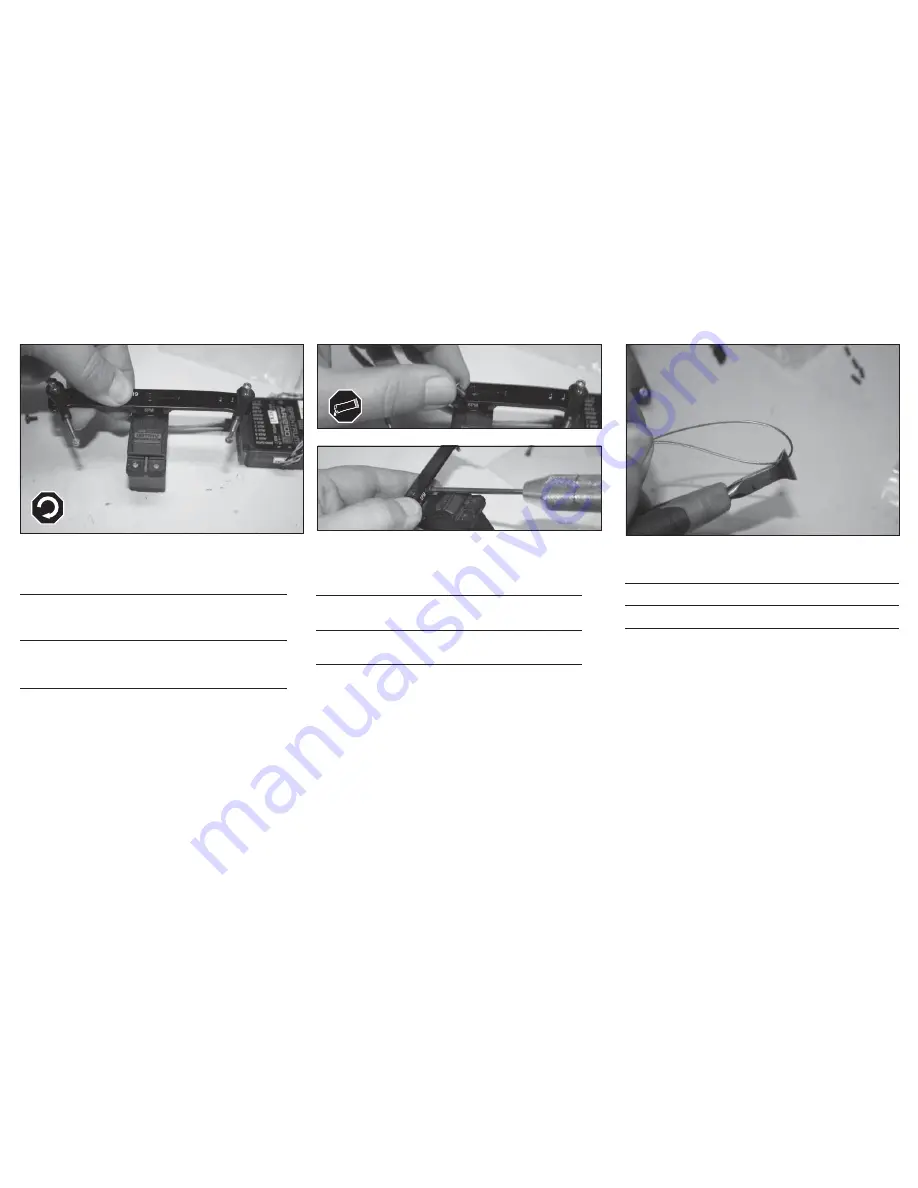
Apply threadlock to the servo arm center screw. Install the center screw
and both setscrews.
Schrauben Sie die Servoschraube und die beiden Madenschrauben fest.
Sichern Sie die Servoschraube mit Schraubensicherungslack.
Mettez du frein fi let sur la vis de la tête du servo. Vissez cette vis ainsi que
les vis du bras de servo.
Mettere del frenafi letti sulla vite centrare della squadretta. Montare la vite
centrale ed entrambi i grani.
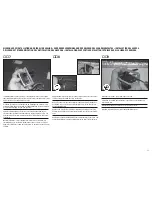
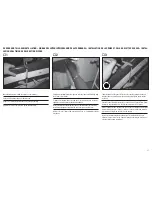
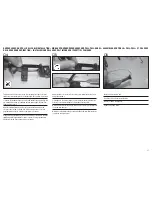
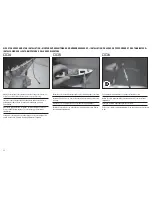
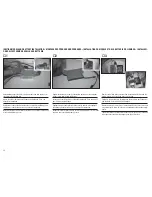
Temporarily connect the servo to the receiver and power up the receiver.
Install the arm perpendicular to the output shaft. Use sub-trim if necessary.
Schließen Sie testweise das Servo an den Empfänger an und schalten ihn
ein. Setzen Sie den Arm rechtwinklig auf und nutzen ggfl s. die Sub-Trim
Funktion des Senders.
Alimentez temporairement le servo en les branchant directement au
récepteur. Avec le trim et le sub-trim à 0, montez le bras de servo à la
perpendiculaire du servo. Utilisez le sub-trim si nécessaire.
Collegare momentaneamente il servo al ricevitore per metterlo in funzione.
Installare quindi la squadretta sul servo in modo che sia perpendicolare
all’albero di uscita. Usare il sub trim se necessario.
6
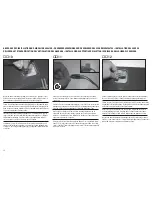
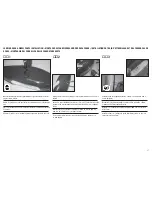
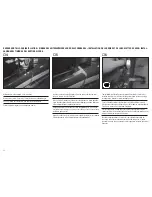
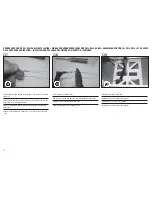
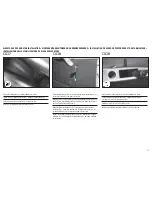
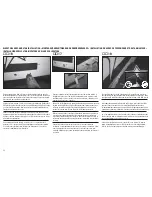
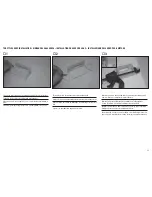
Cut the pull-pull cable in half.
Schneiden Sie das Kabel in zwei Hälften.
Coupez le câble à mi-longueur.
Tagliare il cavetto a metà.
RUDDER SERVO AND PULL-PULL CABLE INSTALLATION • EINBAU VON HÖHENRUDERSERVO UND PULL-PULL-KABEL • ASSEMBLAGE DU CÂBLE « PULL-PULL » ET DU SERVO
DE LA GOUVERNE DE DIRECTION • INSTALLAZIONE DEL SERVO DEL TIMONE E DEI CAVETTI DI COMANDO
Summary of Contents for Composite QQ Yak 54 2.6 m
Page 99: ...99 ...

