Drive Management
115
2
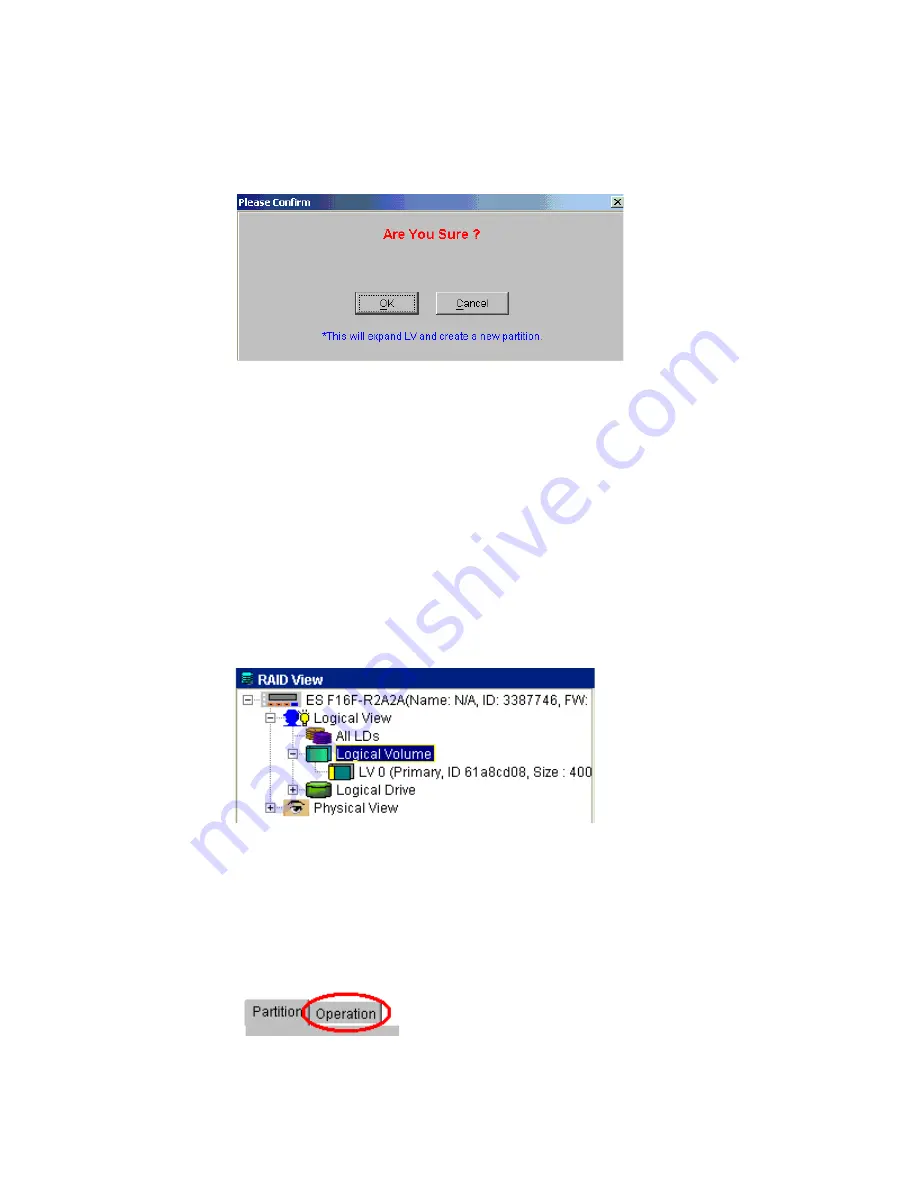
A confirmation window shown in Figure 8–50will appear. If you are certain that you want to create
the LV with the settings you have selected, click the “OK” button.
3
If you selected the “OK” button in the “Please Confirm” window the “Create In Progress” content
window will display logical volume expansion progress.
4
The logical drive will now have a new last partition the same size as the expansion. Look at the View
and Edit LD Partition Table to verify this.
8.3.4 Delete a Logical Volume
1
Select the “Logical Volume” icon from the Logical View Navigation Panel shown in Figure 8–1. As
shown in Figure 8–51, all the LVs that have been created will appear below the “Logical Volume”
icon.
2
From the list shown in Figure 8–46, select the LV that you wish to delete. Once this LV has been
selected a “View and Edit LV Partition” table will appear in the content panel. At the top of this
window the two tabs (“Partition” and “Operation”) shown in Figure 8–47 will appear. Select the
“Operation” tab.
Figure 8–50
Confirm LV Expansion
Figure 8–51
List of LVs
Figure 8–52
Select Operation
Summary of Contents for Altos RAIDWatch
Page 1: ...Isssue 2 0 1 May 2004 ...
Page 8: ...viii ...
Page 13: ...Preface xiii ...
Page 14: ...Altos RAIDWatch User Guide xiv ...
Page 44: ...Altos RAIDWatch User Guide 30 ...
Page 60: ...Altos RAIDWatch User Guide 46 ...
Page 84: ...Altos RAIDWatch User Guide 70 ...
Page 88: ...Altos RAIDWatch User Guide 74 ...
Page 98: ...Altos RAIDWatch User Guide 84 ...
Page 148: ...Altos RAIDWatch User Guide 134 ...
Page 158: ...Altos RAIDWatch User Guide 144 ...
Page 169: ...The NPC 155 2 Two levels Warning and Alert 3 Only the most serious events Alert messages ...
Page 170: ...Altos RAIDWatch User Guide 156 ...
Page 186: ...Altos RAIDWatch User Guide 172 ...
Page 196: ...Altos RAIDWatch User Guide 182 ...
Page 202: ...Altos RAIDWatch User Guide 188 ...
Page 206: ...Altos RAIDWatch User Guide 192 ...
Page 212: ...6 ...


