Altos RAIDWatch User Guide
18
Once the additional components have been selected, and if you wish to proceed with the
installation process, select the “Next” button. If you do not wish to proceed with the installation
process, select the “Stop” button and if you wish to re-select the installation options, then select
the “Back” button.
4
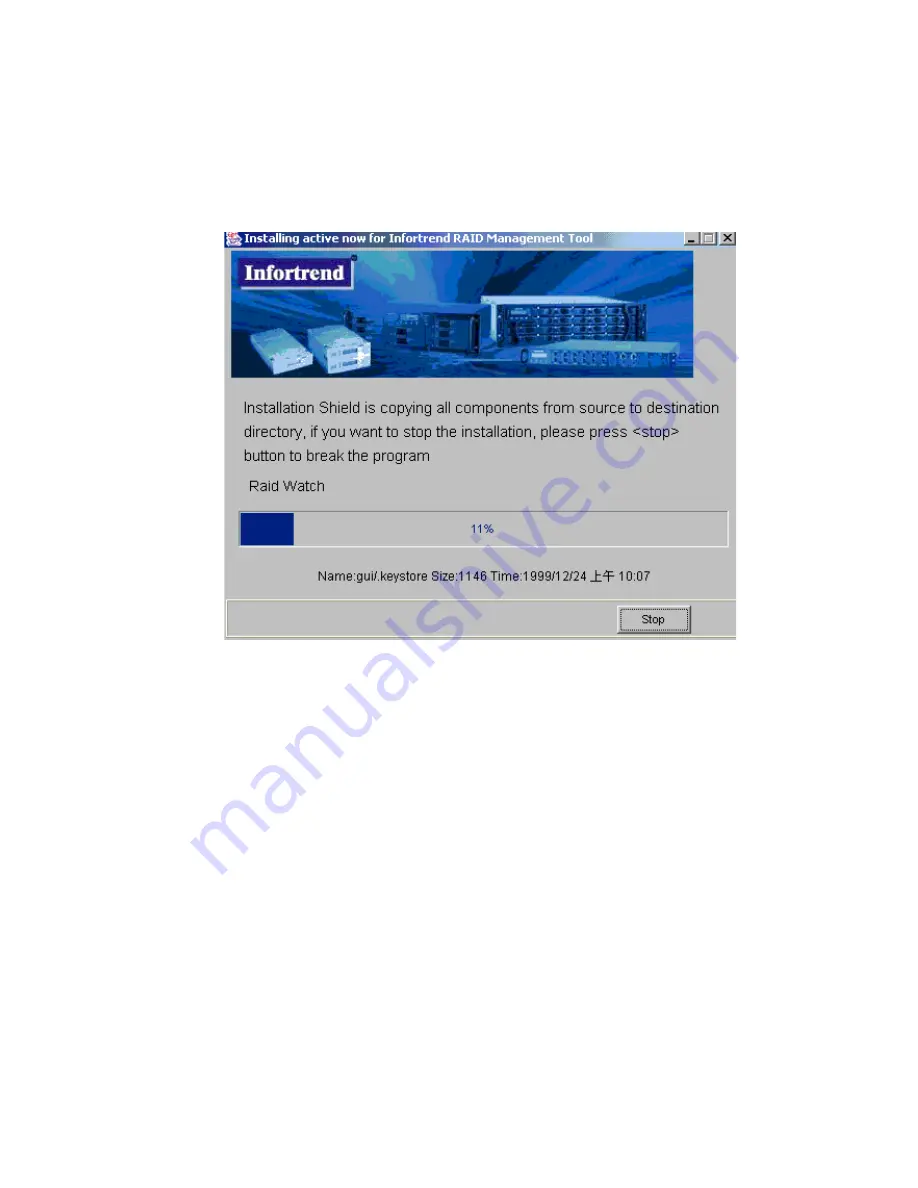
If the “Next” button from Figure 2–4 was selected, the Install Active window shown in Figure 2–5
will appear. If you wish to stop the installation procedure, then click the “Stop” button. If you wish
to continue installing the
Out of Band
components, allow the installation shield to continue the
installation process uninterrupted.
5
Once the
Out of Band
components have been successfully installed, a window indicating the
successful installation, shown in Figure 2–6, will appear. To complete the process and to make the
window disappear, click on the “OK” button.
Figure 2–5
Installing Active
Summary of Contents for Altos RAIDWatch
Page 1: ...Isssue 2 0 1 May 2004 ...
Page 8: ...viii ...
Page 13: ...Preface xiii ...
Page 14: ...Altos RAIDWatch User Guide xiv ...
Page 44: ...Altos RAIDWatch User Guide 30 ...
Page 60: ...Altos RAIDWatch User Guide 46 ...
Page 84: ...Altos RAIDWatch User Guide 70 ...
Page 88: ...Altos RAIDWatch User Guide 74 ...
Page 98: ...Altos RAIDWatch User Guide 84 ...
Page 148: ...Altos RAIDWatch User Guide 134 ...
Page 158: ...Altos RAIDWatch User Guide 144 ...
Page 169: ...The NPC 155 2 Two levels Warning and Alert 3 Only the most serious events Alert messages ...
Page 170: ...Altos RAIDWatch User Guide 156 ...
Page 186: ...Altos RAIDWatch User Guide 172 ...
Page 196: ...Altos RAIDWatch User Guide 182 ...
Page 202: ...Altos RAIDWatch User Guide 188 ...
Page 206: ...Altos RAIDWatch User Guide 192 ...
Page 212: ...6 ...


