3 Repairs
Copyright © WOODLEY EQUIPMENT COMPANY LTD.
83
3. If it is only the electromagnetic valve on the left or right clapboard that needs to be replaced,
open the corresponding left- or right-side door; if the one on the front panel needs to be replaced,
remove the front panel cover by following the instructions in
Disassembly
1. Disassemble the peripheral fluid tubes connected to the valve assembly.
2. Use a #2 (Ph2) Phillips screwdriver to disassemble the two M3×8 cross-recessed pan-head
combination screws which affix the valve assembly, and carefully take out the valve assembly
while making sure to unplug the attached wires. See Figure 3-15.
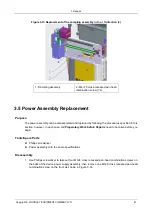
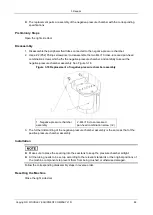
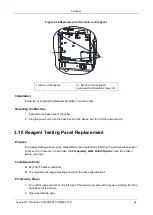
Figure 3-15 Replacement of valve assembly
1 - the corresponding replacement valve 2 - Installation panel affixing the valve
3 - M3×8 cross-recessed pan-head
combination screw (×2)
Installation
⚫
Make sure to the use correct model of valve and create a reliable connection
⚫
All the wirings need to be set up according to the original positions of the machine components
to prevent them from being crushed or otherwise damaged.
⚫
This machine involves a great number of valves. Only one valve is discussed as an example
here, and all the other valves follow the same maintenance procedures.
Follow the corresponding disassembly steps in reverse order.
Содержание InSight V5
Страница 1: ...DMR MB 007 1 5...
Страница 126: ...7 Maintenance Inventory Copyright WOODLEY EQUIPMENT COMPANY LTD 120...
Страница 127: ...7 Maintenance Inventory Copyright WOODLEY EQUIPMENT COMPANY LTD 121...


