3. (Optional), If necessary, touch
to adjust illumination, or touch
to adjust the
focus.
4. Hold the patient end of the RetinaVue 100 Imager two to three inches directly in
front of the patient's examined eye. Continue forward to compress the eye cup
against the examined eye.
5. Direct the patient to focus on the green fixation lights inside the barrel of the
RetinaVue 100 Imager.
6. Look for a white circular reflection at the top of the eye's image on the LCD
touchscreen. This is your initial target.
7. Guide the green circle on the RetinaVue 100 Imager LCD touchscreen towards the
initial target by slowly moving the RetinaVue 100 Imager towards the eye.
8. Once the reflection has filled the screen, push slightly forward until a “bubble”
appears.
9. Move the patient end of the RetinaVue 100 Imager toward the bubble.
10. Align the bubble inside the diamond icon.
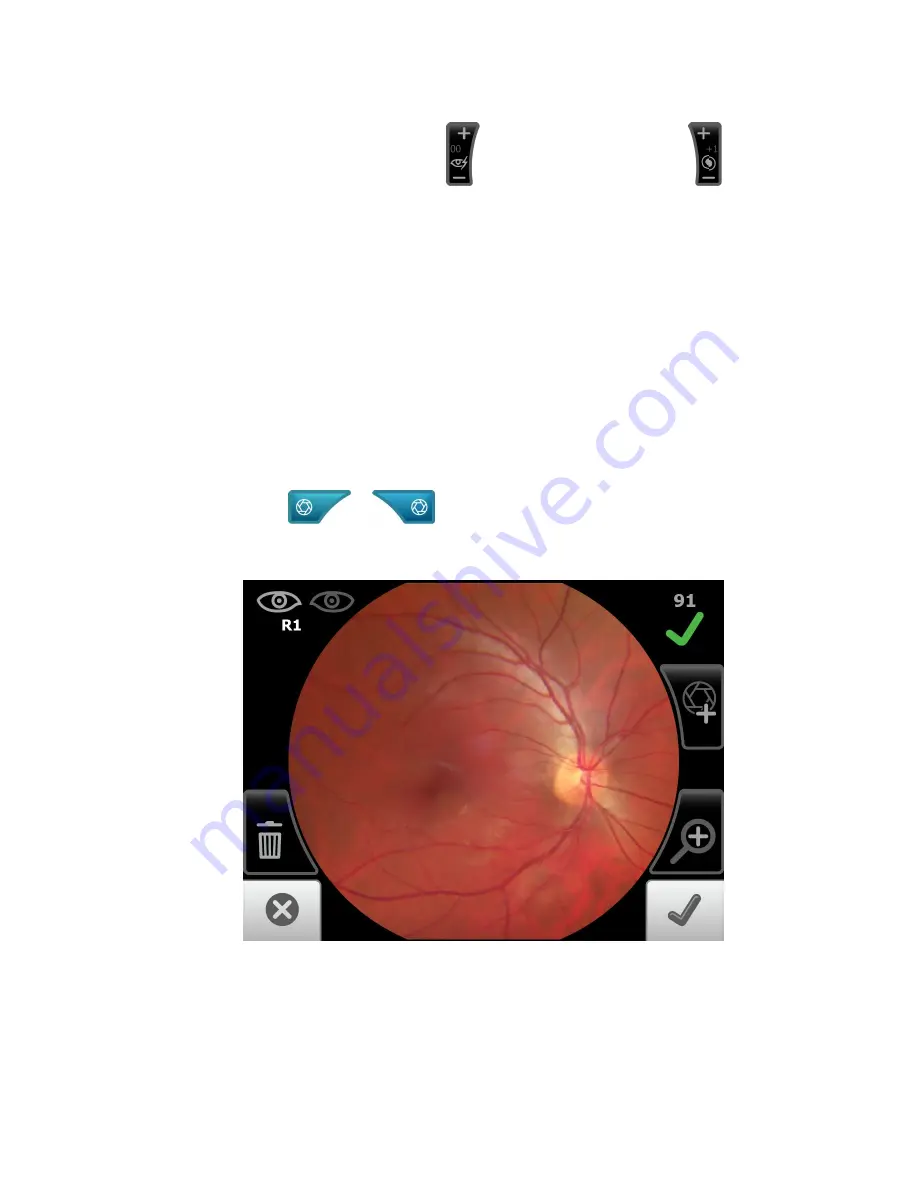
11. Touch
or
(image capture) to manually capture an image.
An audible tone alerts you that the image has been captured. The acquired image
appears on the LCD touchscreen for review in about five seconds.
58 Using the RetinaVue 100 Imager
Welch Allyn RetinaVue™ 100 Imager
Содержание RetinaVue 100 Imager
Страница 1: ...Welch Allyn RetinaVue 100 Imager Directions for use Software version 6 XX...
Страница 8: ...4 Symbols Welch Allyn RetinaVue 100 Imager...
Страница 14: ...10 Introduction Welch Allyn RetinaVue 100 Imager...
Страница 59: ...Directions for use Using the RetinaVue 100 Imager 55...
Страница 86: ...82 General compliance and standards Welch Allyn RetinaVue 100 Imager...
Страница 112: ...108 Appendix Welch Allyn RetinaVue 100 Imager...
Страница 114: ......
Страница 115: ......
Страница 116: ...Material No 411492...


