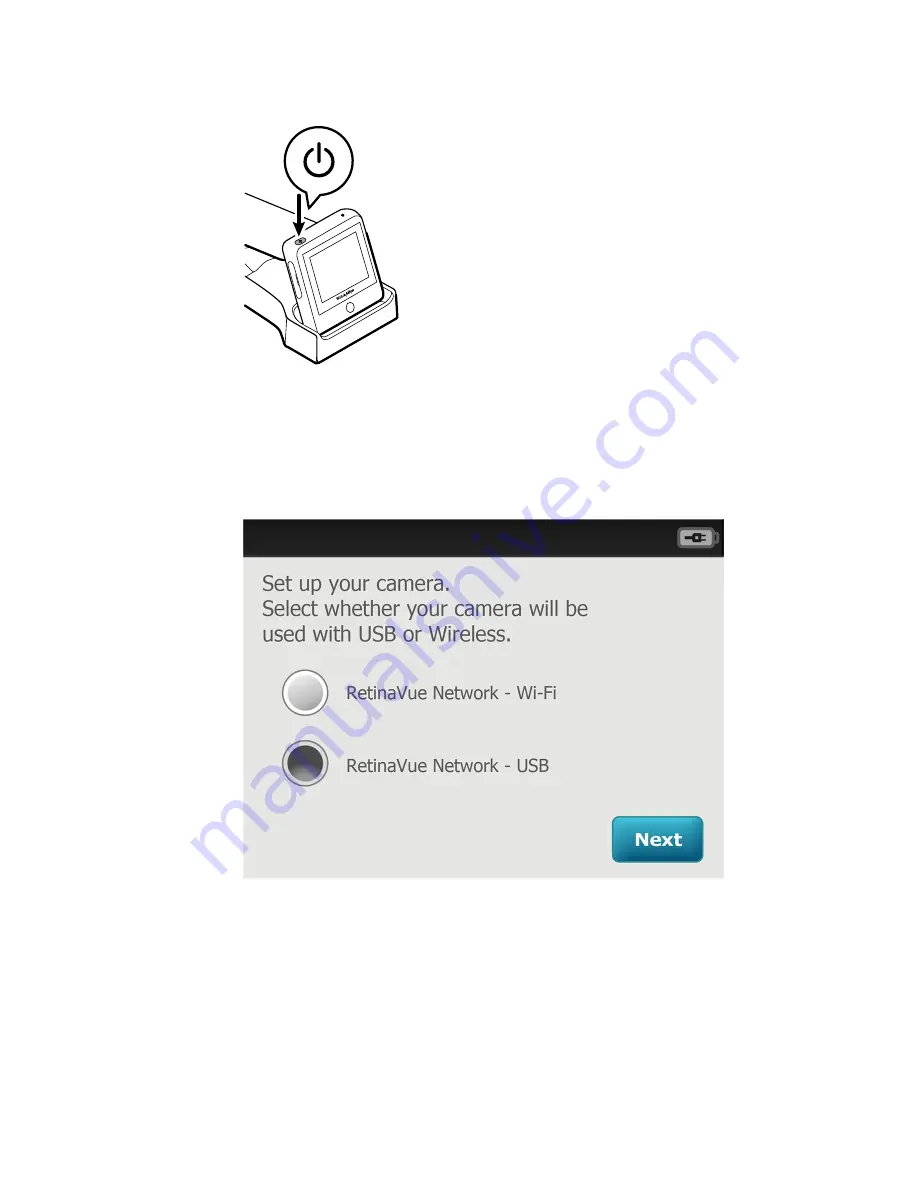
After the RetinaVue 100 Imager displays the Welch Allyn logo, the first-time camera
setup wizard screen appears.
Note
The USB or Wi-Fi camera setup only needs to be completed
once unless a change to the connectivity workflow is
desired.
2. Touch
RetinaVue Network - USB
to select the USB workflow and touch
Next
.
Note
For the USB workflow, the RetinaVue 100 Imager must be
connected to a computer running the RetinaVue Network
software (requires additional software) to transfer exams.
Note
To change the connectivity workflow settings after the initial
set up, touch
Settings
>
Advanced settings
>
Restore
factory defaults
. Touch
OK
at the dialog:
Reset all the
settings to defaults?
and then touch
OK
at the dialog
All
settings were restored to factory defaults.
20 Using the RetinaVue 100 Imager
Welch Allyn RetinaVue™ 100 Imager
Содержание RetinaVue 100 Imager
Страница 1: ...Welch Allyn RetinaVue 100 Imager Directions for use Software version 6 XX...
Страница 8: ...4 Symbols Welch Allyn RetinaVue 100 Imager...
Страница 14: ...10 Introduction Welch Allyn RetinaVue 100 Imager...
Страница 59: ...Directions for use Using the RetinaVue 100 Imager 55...
Страница 86: ...82 General compliance and standards Welch Allyn RetinaVue 100 Imager...
Страница 112: ...108 Appendix Welch Allyn RetinaVue 100 Imager...
Страница 114: ......
Страница 115: ......
Страница 116: ...Material No 411492...


