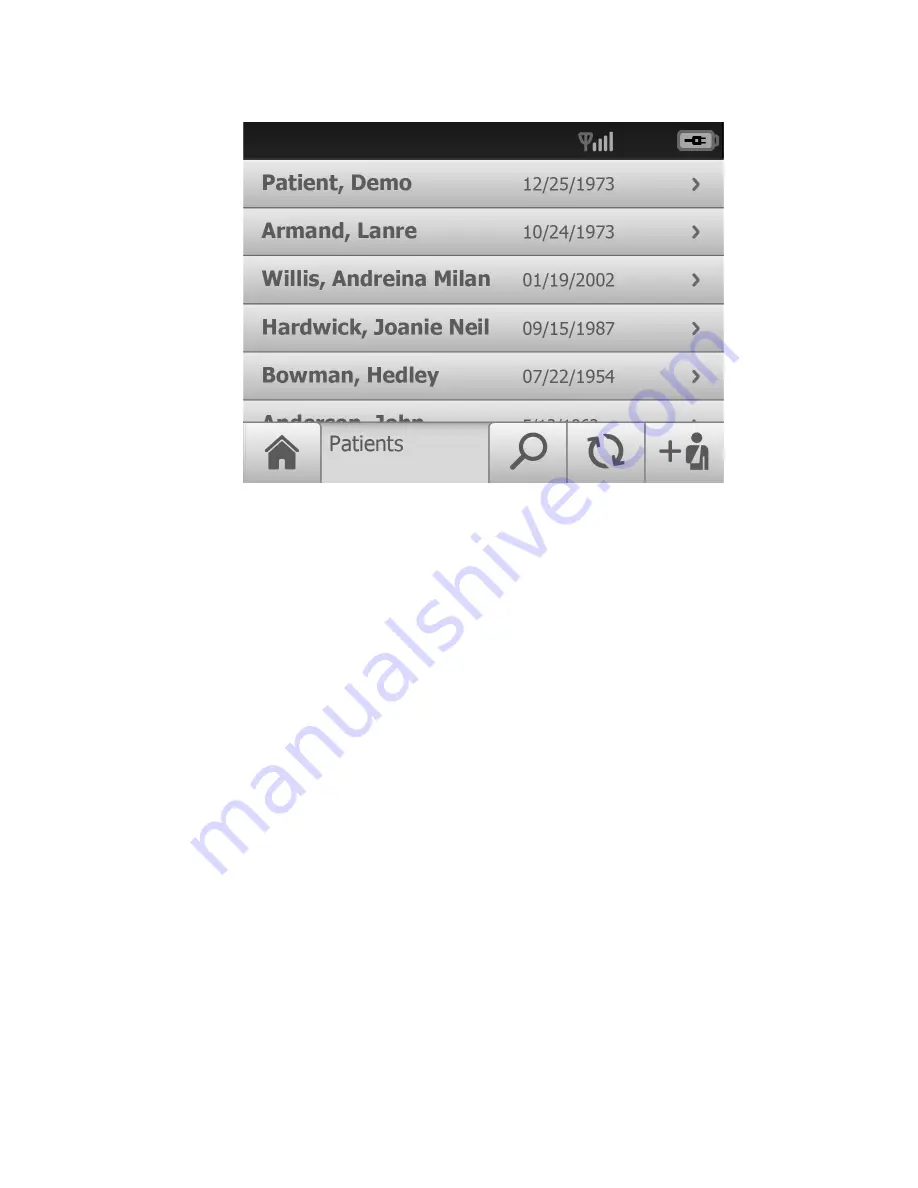
6. Touch on
Patient, Demo
to select the Demo Patient. The
Patient Summary
screen
appears.
7. Confirm the demo patient demographics and touch
More
to view the second
Patient
summary
screen with additional Referring Physician and Diabetes type required
fields.
8. Touch
OK
to start a new exam to practice with a demo patient without submitting
the exam for over-read on the RetinaVue Network Customer Portal.
9. Refer to the section
Perform an eye exam using the Auto exam mode
for
instructions on performing exams and acquiring images.
Create a new patient on the RetinaVue 100 Imager camera
(wireless and USB)
1. From the
Home screen
, touch
Patients
. The
Patients screen
appears. (
Wireless
workflow images shown
)
Directions for use
Using the RetinaVue 100 Imager 37
Содержание RetinaVue 100 Imager
Страница 1: ...Welch Allyn RetinaVue 100 Imager Directions for use Software version 6 XX...
Страница 8: ...4 Symbols Welch Allyn RetinaVue 100 Imager...
Страница 14: ...10 Introduction Welch Allyn RetinaVue 100 Imager...
Страница 59: ...Directions for use Using the RetinaVue 100 Imager 55...
Страница 86: ...82 General compliance and standards Welch Allyn RetinaVue 100 Imager...
Страница 112: ...108 Appendix Welch Allyn RetinaVue 100 Imager...
Страница 114: ......
Страница 115: ......
Страница 116: ...Material No 411492...


