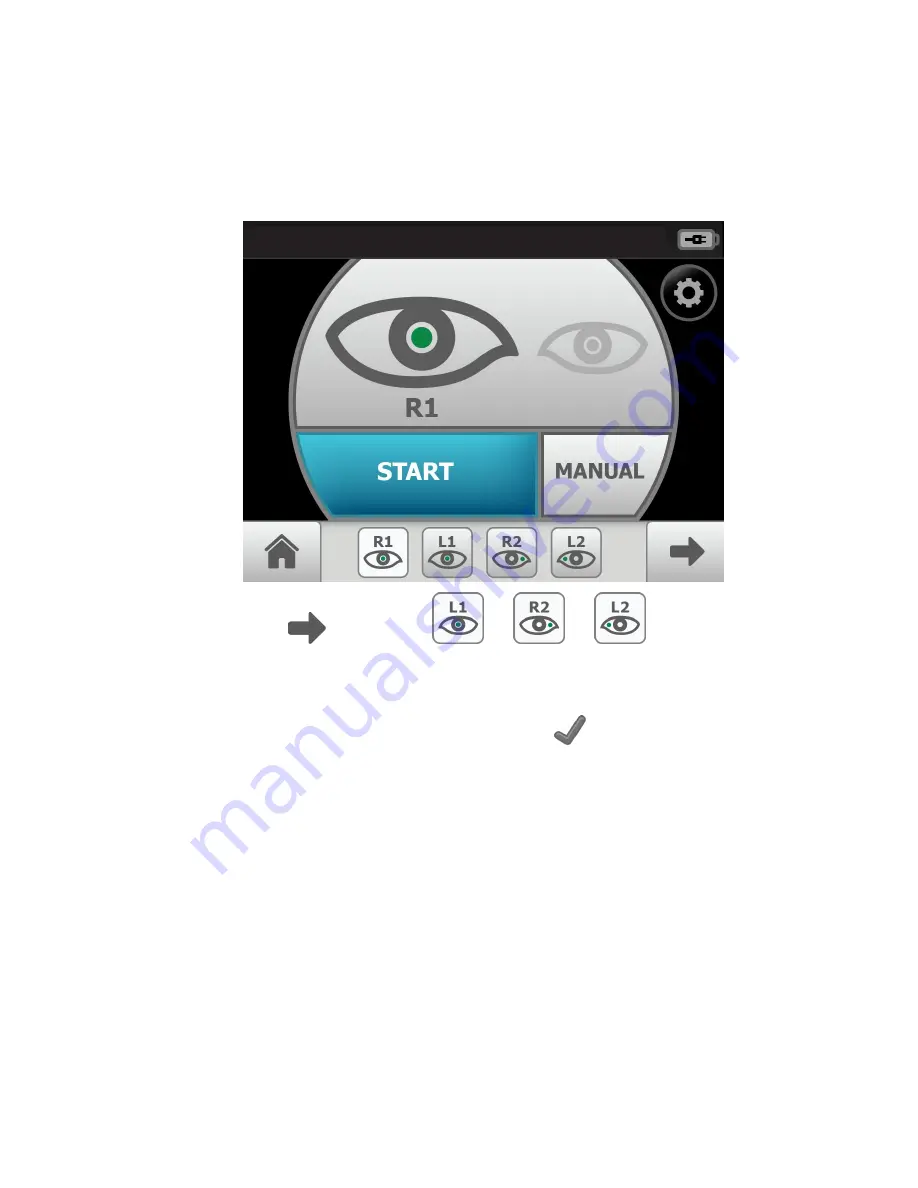
Skip an image capture while in Auto exam mode
1. From the Home screen, touch
Exam
.
The
Pre-acquisition screen
appears.
2. Touch
(Next) or touch
, or
, or
(Image Order) to skip to
the next image in the sequence.
3. Touch
Start
to enter
Image acquisition mode
and begin the exam of the patient's
eye using the next image in the sequence. The
Exam acquisition screen
appears.
4. If this is the last image in the sequence, touch
(Accept) on the
Image inspection
screen
and navigate to the
Exam summary screen
. If an image is missing in the 1-
image, Macula-centered Exam setup, touch
Override
to access the Save button (for
USB) or the Submit button (for wireless) and to save or send the image. Or, touch
Override
to access the Save or Submit button and to save, or send, multiple images
in the 2-image, Optic Disc-centered Exam setup.
56 Using the RetinaVue 100 Imager
Welch Allyn RetinaVue™ 100 Imager
Содержание RetinaVue 100 Imager
Страница 1: ...Welch Allyn RetinaVue 100 Imager Directions for use Software version 6 XX...
Страница 8: ...4 Symbols Welch Allyn RetinaVue 100 Imager...
Страница 14: ...10 Introduction Welch Allyn RetinaVue 100 Imager...
Страница 59: ...Directions for use Using the RetinaVue 100 Imager 55...
Страница 86: ...82 General compliance and standards Welch Allyn RetinaVue 100 Imager...
Страница 112: ...108 Appendix Welch Allyn RetinaVue 100 Imager...
Страница 114: ......
Страница 115: ......
Страница 116: ...Material No 411492...


