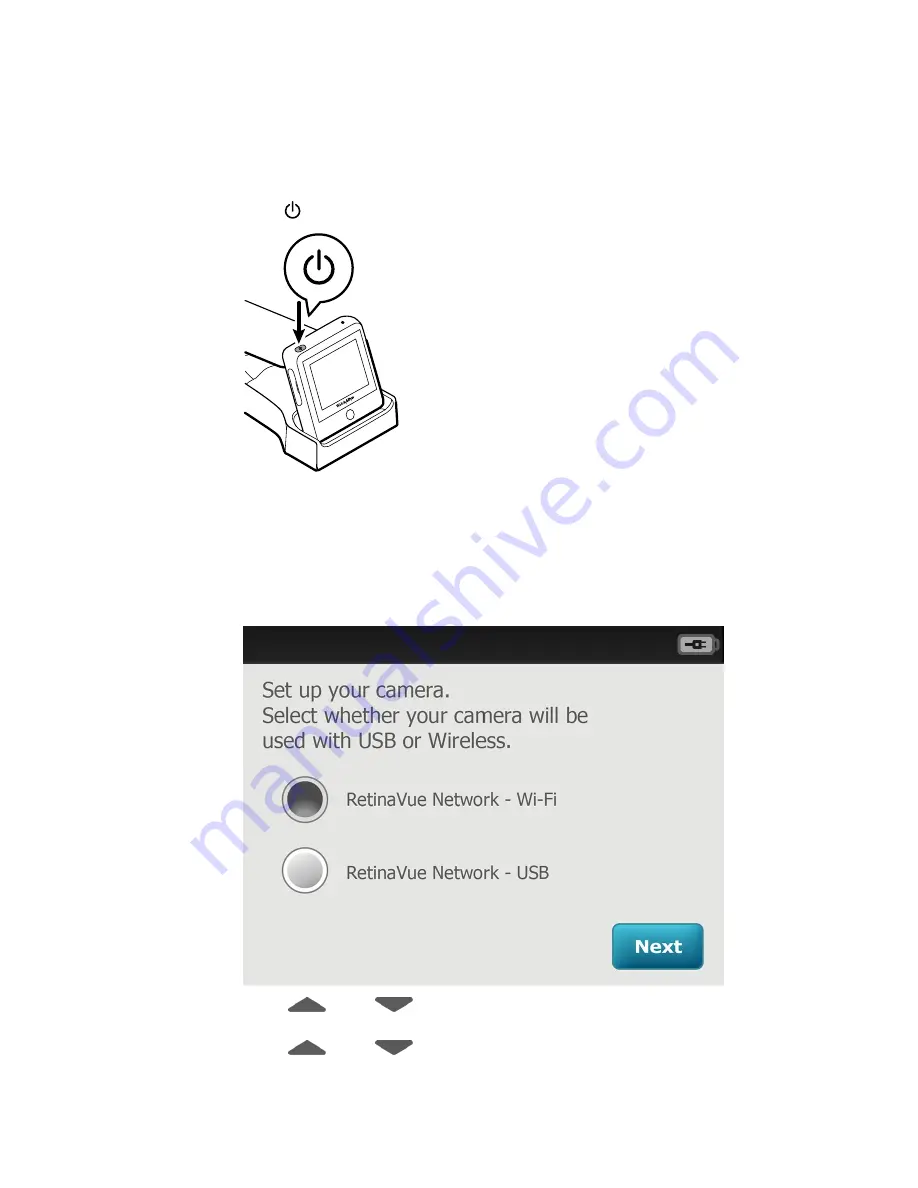
First time selection of Wi-Fi connectivity workflow
The RetinaVue 100 Imager runs a brief diagnostic self-test each time it powers up.
1. Press to power up the RetinaVue 100 Imager.
After the RetinaVue 100 Imager displays the Welch Allyn logo, the first-time camera
setup wizard screen appears.
Note
The USB or Wi-Fi camera setup only needs to be completed
once unless a change to the connectivity workflow is
desired.
2. Touch
RetinaVue Network - Wi-Fi
to select the wireless workflow and touch
Next
.
3. Touch
(up) or
(down) to enter, or adjust, the Day, Month, and Year.
Touch
Next
.
4. Touch
(up) or
(down ) to enter, or adjust, the Hour, Minute (Min),
Continent, and Location. Touch
Next.
Directions for use
Using the RetinaVue 100 Imager 21
Содержание RetinaVue 100 Imager
Страница 1: ...Welch Allyn RetinaVue 100 Imager Directions for use Software version 6 XX...
Страница 8: ...4 Symbols Welch Allyn RetinaVue 100 Imager...
Страница 14: ...10 Introduction Welch Allyn RetinaVue 100 Imager...
Страница 59: ...Directions for use Using the RetinaVue 100 Imager 55...
Страница 86: ...82 General compliance and standards Welch Allyn RetinaVue 100 Imager...
Страница 112: ...108 Appendix Welch Allyn RetinaVue 100 Imager...
Страница 114: ......
Страница 115: ......
Страница 116: ...Material No 411492...


