Network Video Recorder User Manual
Strong Password recommended
–We highly recommend you create a strong password of
your own choosing (Using a minimum of 8 characters, including at least three of the
following categories: upper case letters, lower case letters, numbers, and special
characters.) in order to increase the security of your product. And we recommend you
reset your password regularly, especially in the high security system, resetting the
password
monthly
or
weekly
can
better
protect
your
product.
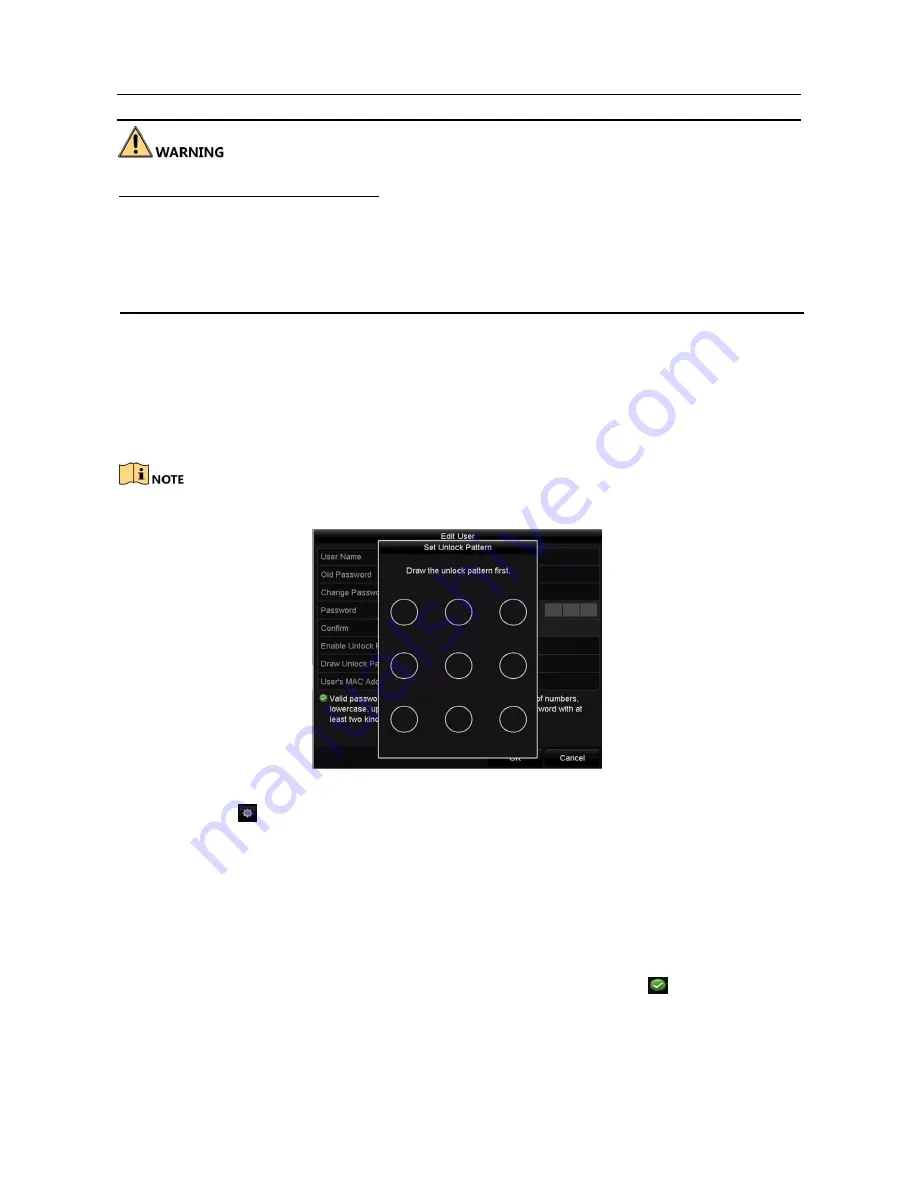
Step 5 Edit the unlock pattern for the admin user account.
5)
Check the checkbox of
Enable Unlock Pattern
to enable the use of unlock
pattern when logging in to the device.
6) Use the mouse to draw a pattern among the 9 dots on the screen. Release
the mouse when the pattern is done.
Please refer to Chapter 2.3.1 Configuring the Unlock Pattern for detailed instructions.
Figure 16-13 Set Unlock Patter for Admin User
Step 6 Click the
of
Export GUID
to enter the reset password interface to export the
GUID file for the admin user account.
When the admin password is changed, you can re-export the GUID file to the
connected
U-flash disk for the future password resetting. Please refer to Chapter 2.1.5
Resetting Your Password for details.
Step 7 Click the
OK
button to save the settings and exit the menu.
Step 8 For the
Operator
or
Guest
user account, you can also click the
button on the
user management interface to edit the permission.
Содержание VZ-NVR-161080-P
Страница 1: ...NETWORK VIDEO RECORDER Quick Start Guide...
Страница 115: ...Network Video Recorder User Manual Figure 6 19 Interface of External File Playback...
Страница 145: ...Network Video Recorder User Manual Figure 8 18 Copy Settings of Alarm Output...
Страница 214: ...Network Video Recorder User Manual Figure 13 26 View HDD Status 2...
Страница 220: ...Network Video Recorder User Manual Figure 14 3 Set Privacy Mask Area Step 6 Click the Apply button to save the settings...


