


Network Video Recorder User Manual
12.2 Configuring Advanced Settings
12.2.1
Configuring Cloud P2P
Purpose:
The Cloud P2P provides the mobile phone application and as well the service platform
page to access and manage your connected NVR, which enables you to get a convenient
remote access to the surveillance system.
Step 1 Enter the Network Settings interface.
Step 2 Menu > Configuration > Network
Step 3 Select the
Platform Access
tab to enter the Cloud P2P Settings interface.
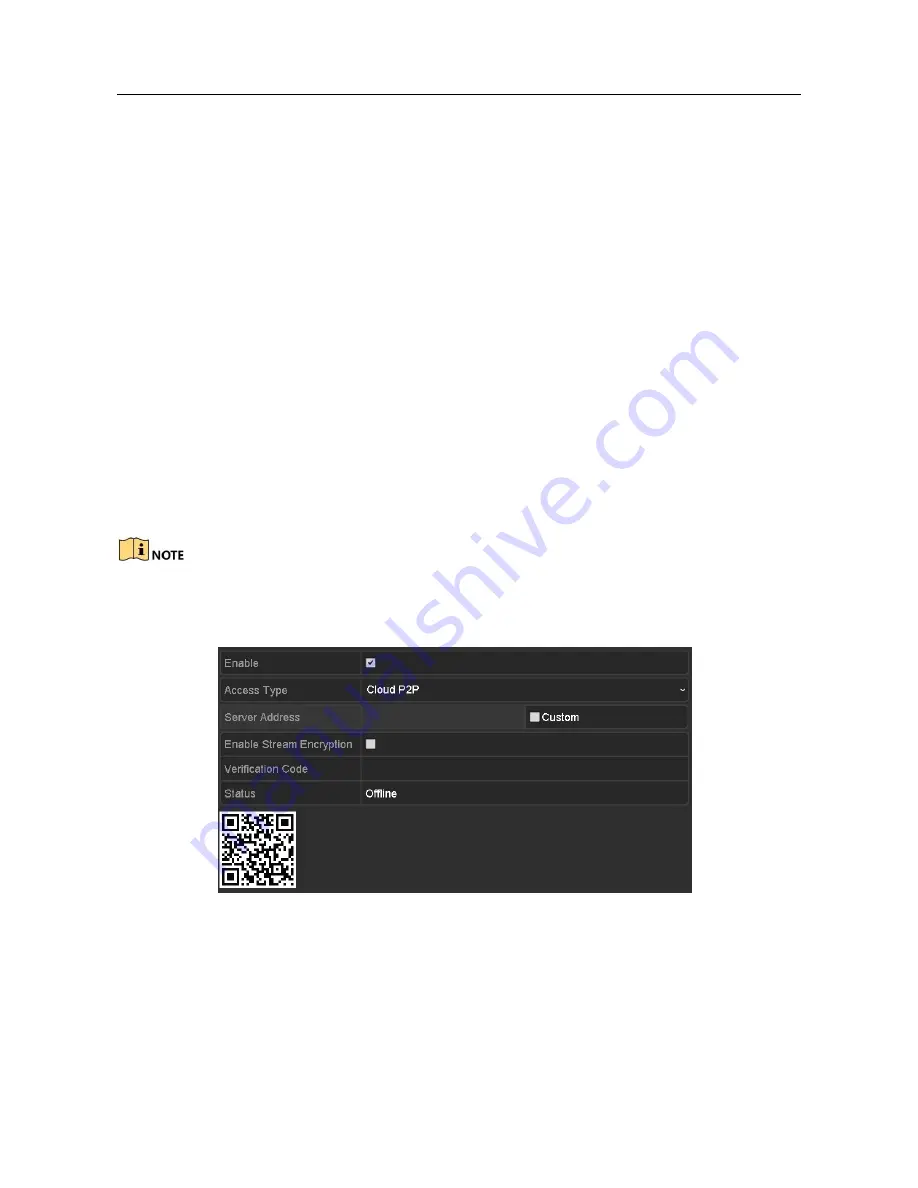
Step 4 Check the
Enable
checkbox to activate this feature.
Step 5 (Optional) If required, select the checkbox of
Custom
and input the
Server
Address
. The default server address is
dev. hicloudcam.com
.
Step 6 To turn the
Enable Stream Encryption
on, you can select its checkbox.
Step 7 Enter the
Verification Code
of the device.
The verification code consists of 6 capital letters and is located at the bottom of the DVR.
You can also use the scanning tool of your phone to quickly get the code by scanning the
QR code below.
Figure 12-2 Cloud P2P Settings Interface
Step 8 Click the
Apply
button to save and exit the interface.
After configuration, you can access and manage the NVR by your mobile phone on
which the Cloud P2P application is installed.
Содержание VZ-NVR-161080-P
Страница 1: ...NETWORK VIDEO RECORDER Quick Start Guide...
Страница 115: ...Network Video Recorder User Manual Figure 6 19 Interface of External File Playback...
Страница 145: ...Network Video Recorder User Manual Figure 8 18 Copy Settings of Alarm Output...
Страница 214: ...Network Video Recorder User Manual Figure 13 26 View HDD Status 2...
Страница 220: ...Network Video Recorder User Manual Figure 14 3 Set Privacy Mask Area Step 6 Click the Apply button to save the settings...


