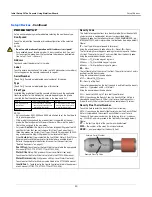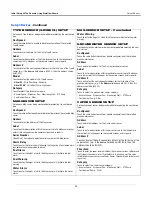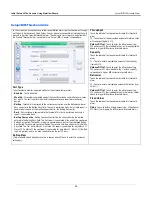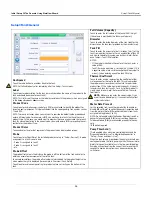
Initial Setup Of The Console Using Workflow Wizard
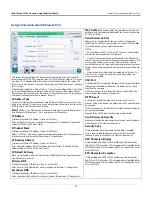
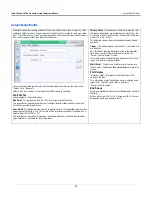
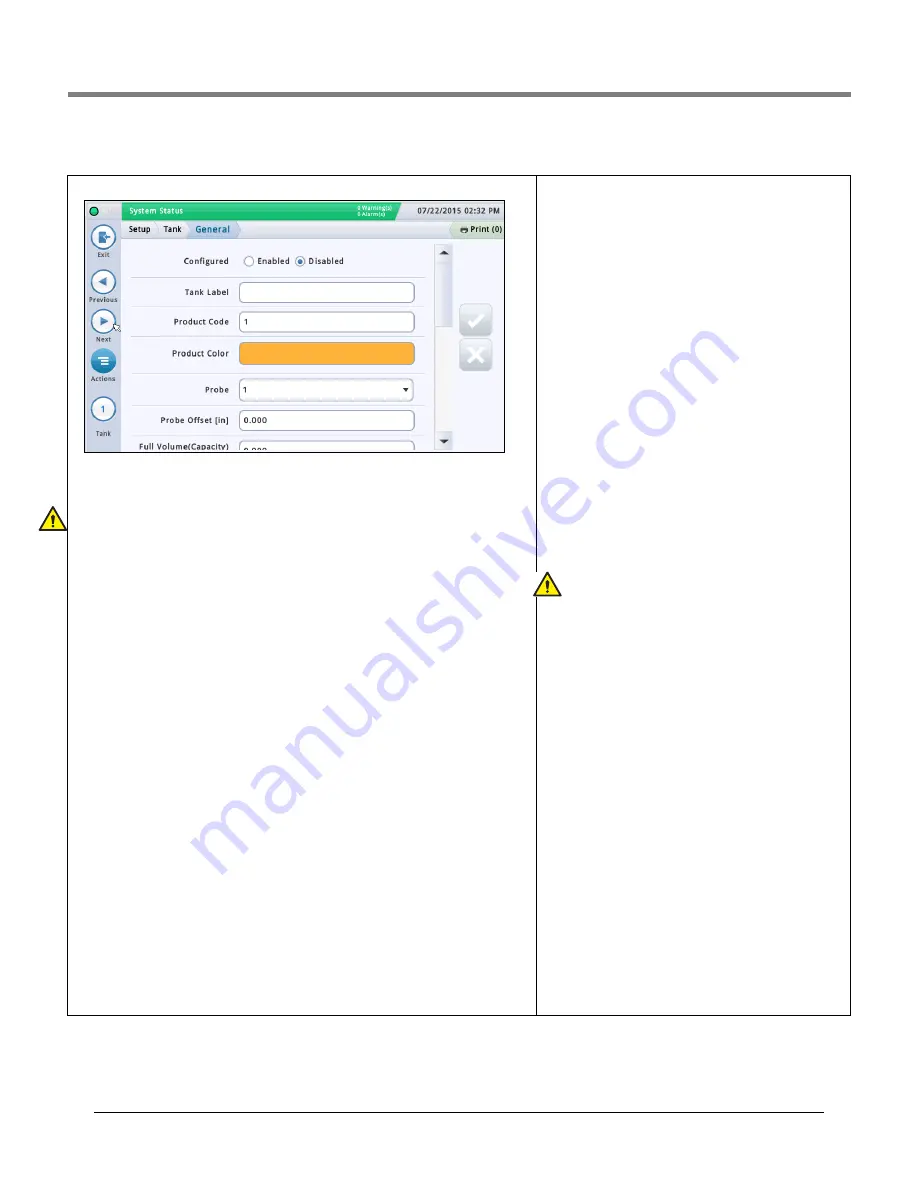
Setup>Tank>General
26
Setup>Tank>General
Configured
Touch the radio button to enable or disable the tank.
NOTE: Set to Enabled only after co
m
pleting all of the Setup>Tank screens.
Label
Touch to enter a description for the tank (nor
m
ally based on the na
m
e of the product in the
tank and should be unique for each tank).
NOTE: This field is not the sa
m
e as the label associated with the product, which is assigned
in the
Setup > Product > Labels
screen.
Product Code
Touch to enter an alphanu
m
eric code for a POS ter
m
inal used to identify the product for
inventory control purposes. This typically defaults to the corresponding tank nu
m
ber, such as
T1 and PC 1.
NOTE: There are instances when you
m
ay want to override the default value provided and
enter a different code. For exa
m
ple, in BIR, you
m
ay have two tanks that have the sa
m
e
product type. In this case, you would want to progra
m
the sa
m
e product code the for each
tank. By
m
anually entering in the correct code, you would ensure BIR is presenting the cor-
rect data for the product type..
Product Color
Touch and select a color that represents this product when displayed on screen.
Probe
Touch to enter an Identifier of the installed probe (as set up in “Setup>Devices”). A probe
assign
m
ent to a tank is one to one:
• Probe 1 is assigned to tank 1
• Probe 2 is assigned to tank 2
• etc.
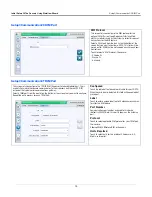
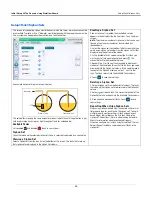
Probe Offset
The probe offset value is the distance the probe is off the botto
m
of the tank and helps to
obtain an accurate
m
easure
m
ent of fuel in the tank.
In console calculations, the probe offset value is always added to the product height value
when product height is displayed (for exa
m
ple, in Overview>Tank Detail).
Touch to enter a value co
m
pensating for probes that are not resting on the botto
m
of the
tank.
Full Volume (Capacity)
Touch to enter the full volu
m
e of the tank at 100% height
(this volu
m
e is provided by the tank
m
anufacturer).
Diameter
Touch to enter the inside dia
m
eter of the tank (look for this
di
m
ension on the tank chart provided by the
m
anufacturer).
Tank Tilt
Touch to enter the a
m
ount of offset (in inches [
mm
]) of the
tank fro
m
a perfect horizontal. For an explanation of tank tilt
and how to calculate this value, see Actions>Help>Refer-
ence Tables>Tank Tilt Calculation.
NOTES:
• If the probe is installed in the center of the tank, enter a
value of 0.00.
• Tank Tilt
m
ay be a positive (+) or negative (-) value. If it is
a negative value,
m
ake sure to change the value sy
m
bol to
m
inus (-) when entering a negative tank tilt value.
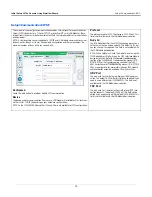
Thermal Coefficient
Touch to enter a value representing the coefficient of ther-
m
al expansion for the fuel in the tank. This value provides
the proper expansion and contraction rate for a particular
product type. If this value is entered incorrectly, it i
m
pacts
inventory and tank test results. For a list of ther
m
al coeffi-
cients, see Actions>Help> Reference Tables>Ther
m
al
Coefficients.
NOTE:
Make sure you enter the correct value. If you
are off by one deci
m
al point, it can substantially affect
syste
m
calculations.
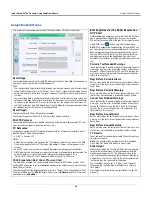
Meter Data Present
For the selected tank, touch the radio button to enable or
disable BIR software
*
to collect dispenser transaction data
fro
m
the
m
eters. (Note: BIR
m
onitors data only fro
m
tanks
assigned to Mag probes 1 to 32).
NOTE: Do not enable unless the Veeder-Root electronic Dis-
penser Interface Module (DIM) or current loop Dispenser
Interface Module (DIM) are connected properly to the con-
sole.
*
BIR option required
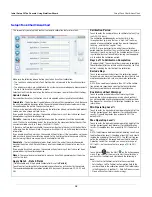
Pump Threshold %
[Field enabled when using line
m
anifolded tanks and the
Dispense Mode field is set to ‘Manifolded:Sequential’ in
“Setup>Pu
When the tank volu
m
e drops below the pu
m
p threshold per-
centage entered in this field, pu
m
ping will switch over i
mm
e-
diately to the next available tank in the line-
m
anifolded line.
Pu
m
ping will continue fro
m
the current tank for another 10
seconds to avoid a disruption in any dispenser during the
switch-over.


