scaling feature respectively. Keep in mind that this feature DOES NOT scale raster images. If you are
combining raster and vector images in one file, the raster image may not align with your vectors. Raster
objects cannot be scaled after printing. If it is necessary to scale raster objects, adjust their size in the
graphic application you are using.
Vector Performance
There is a tradeoff between quality of output and speed of processing when printing vectors. For longer
straight line vectors (over 1 inch [25.4 mm]) you can adjust the speed of processing in the color table until
you achieve the desired results. However, the motion system rarely achieves the selected processing
speed when processing curves and small line segments because of the constant directional changes that
occur when processing these types of vectors. Processing speed for these types of vectors is controlled
by other rules in the software. This control allows you some adjustment of processing speed of curves
and small line segments in order to achieve desired results. Using the quality setting jobs will take longer
to complete, but will improve curve and small line segment quality. Using the throughput setting will
compromise quality a bit to improve job completion time if desired.
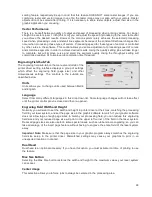
Engraving Field Sub-Tab
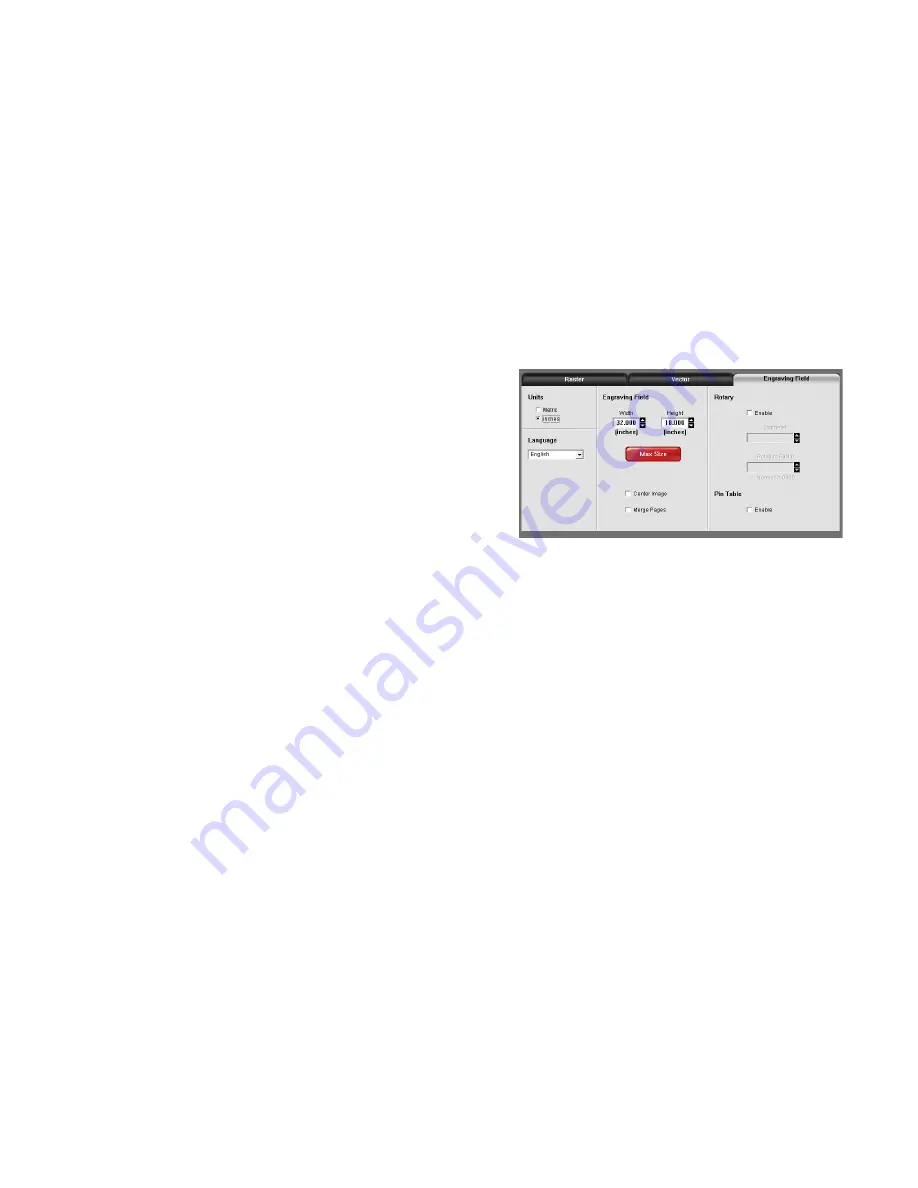
The engraving field sub-tab on the manual control tab of the
printer driver setting interface displays a group of settings
which affect the engraving field (page size) and other
miscellaneous settings. The controls in the sub-tab are
described below:
Units
Units allows you to change units used between Metric
and English.
Language
Select from many different languages in this drop down list. Some language changes will not take effect
until the printer control panel is closed and then re-opened.
Engraving Field Width and Height
Normally you will want to set the width and height in printer driver at their max, matching the processing
field in your laser system, and set the page size in the graphic software to match. If your graphic software
does not allow large enough page sizes to match your processing field, you can reduce this engraving
field size and your reduced page size will print in the upper left corner of the field in the laser system.
Reduced page sizes are also useful in some special cases, such as rubber stamp engraving, so you can
take advantage of the invert page feature without having to engrave the entire field of the laser system
away.
Important Note:
Make sure that the page size in your graphic program always matches the engraving
field size setup in the printer driver. Mismatched settings may cause your graphics to print in an
unexpected location or not at all.
Dual Head
Dual head is an optional accessory. If you have this option, you must activate it at time of printing to use
the feature.
Max Size Button
Selecting the Max Size button restores the width and height to the maximum values your laser system
can accept.
Center image
This selection allows you to force jobs to always be centered in the processing area.
68
Содержание PLS4.75
Страница 1: ...PLS User Guide PLS4 75 PLS6 75 PLS6 150D PLS6MW www ulsinc com Revision August 2012...
Страница 5: ...Chapter 1 Specifications 5...
Страница 8: ...Chapter 2 Safety 8...
Страница 14: ...Tamper Proof Labels Safety Labels...
Страница 15: ...ULS Fiber Laser Cartridge Labels 15...
Страница 16: ......
Страница 17: ...PLS4 Back View 17...
Страница 18: ...PLS6 Front View 18...
Страница 19: ......
Страница 22: ...Chapter 3 Installation 22...
Страница 40: ......
Страница 48: ...Chapter 4 Operation 48...
Страница 83: ...Chapter 5 Accessories 83...
Страница 99: ...Example Connection for PNP mode Example Connection for NPN mode 99...
Страница 111: ...Chapter 6 Maintenance 111...
Страница 119: ...www ulsinc com...

