Focusing
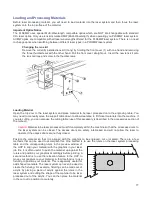
Once you have positioned the material, you will need to focus the laser system by adjusting the Z axis up or down
until the top surface of the material to be laser processed is at the focal plane of the lens installed in the laser
system. This can be done in one of four ways.
The first focusing method
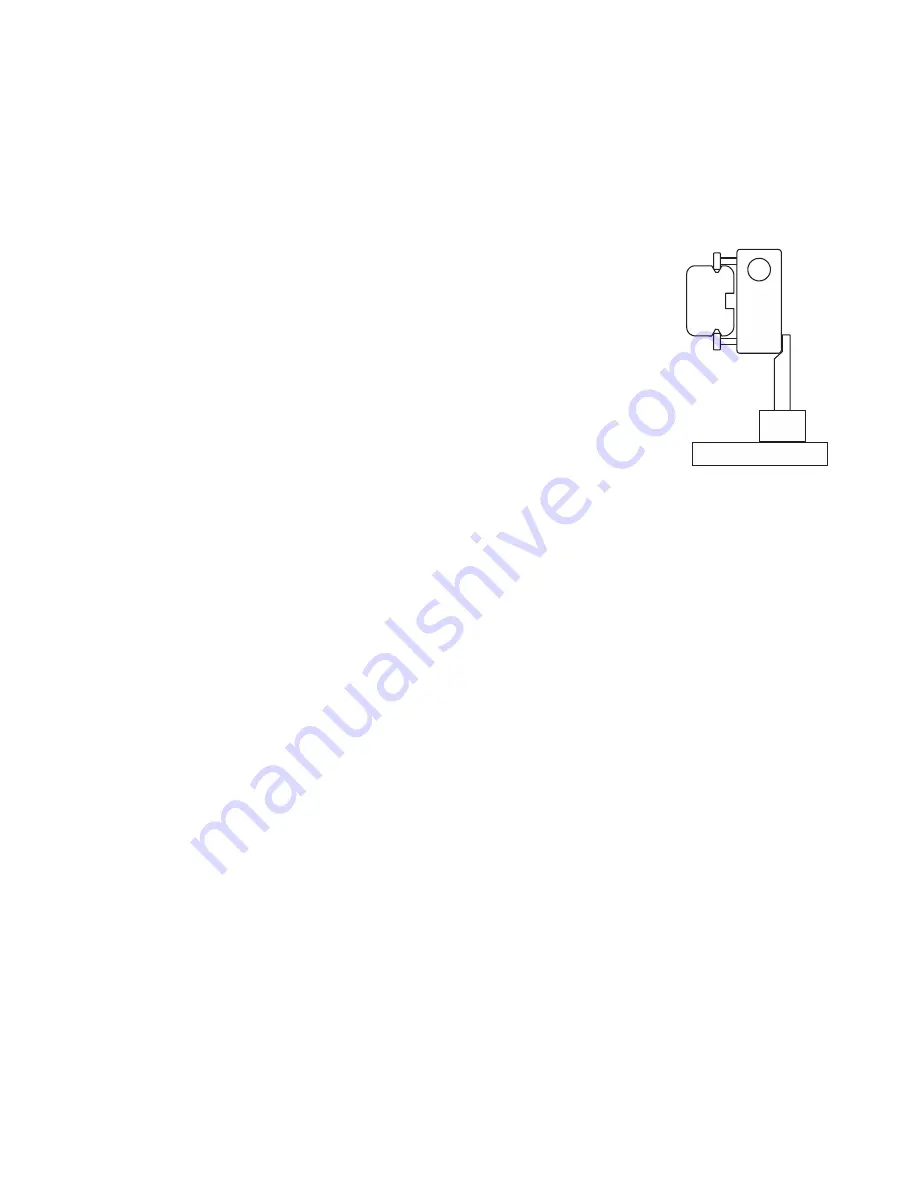
is to use the calibrated focus tool provided with the lens kit. Every lens kit is
provided with a calibrated focus tool so make sure to use the one provided with the lens being used.
Manual focusing steps:
1.
Manually move the focus carriage out over the material to be laser
processed.
Note
: For the PLS6MW, make sure you are using the correct focus tool for
the currently installed laser wavelength. The type of laser the focus tool is
calibrated for is marked on the tool.
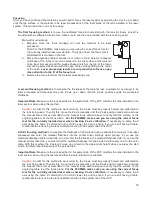
2.
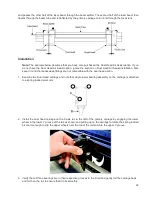
Move the engraving table manually up or down in the Z axis as necessary
until base of the focus tool can be placed on the top surface of the material
to be laser processed and the wedge shaped notch at the top of the focus
tool can be placed as shown with the edge of the carriage fitting in the corner
of the notch.
Laser processing results are very sensitive to focus so pay
close attention to the fit of the focus tool.
3.
Remove the focus tool from the material processing area.
A second focusing method
is to measure the thickness of the material (use a calipers for accuracy) to be
laser processed and manually move the Z axis up or down until the Z axis position equals the measured
thickness.
Important Note:
Make sure the lens specified in the system tab of the UCP matches the lens installed in the
laser system when using this method.
Caution:
In order for this method to work correctly, the Z axis must be properly homed and calibrated to
the lens being used. To verify this, move the Z axis manually until the Z axis position reads zero and use
the manual focus tool as described in the manual focus section above to verify that the surface of the
engraving table is at the focus plane.
For the PLS6MW, make sure you are using the correct focus
tool for the currently installed laser when checking Z axis calibration.
If necessary, re-home the Z
axis using the home Z command in the UCP viewer tab and re-check. If you are still having trouble,
recalibrate the lens using the lens calibrate function in the system tab of the UCP.
A third focusing method
is to measure the thickness of the material (use a calipers for accuracy) to be laser
processed and enter the material thickness into the printer driver settings when printing. If you use the
materials database printer driver tab, you will enter the thickness in the material thickness field. If you use the
manual printer driver tab, you must enter the material thickness into the Z axis field for every color in the color
table. With this method, the Z axis will move up or down to the appropriate height when you press the start
button to initiate laser processing of the selected job.
Important Note:
Make sure the lens specified in the system tab of the UCP matches the lens installed in the
laser system when using this feature and that the Auto-Z function is enabled.
Caution:
In order for this method to work correctly, the Z axis must be properly homed and calibrated to
the lens being used. To verify this, move the Z axis manually until the Z axis position reads zero and use
the manual focus tool as described in the manual focus section above to verify that the surface of the
engraving table is at the focus plane.
For the PLS6MW, make sure you are using the correct focus
tool for the currently installed laser when checking Z axis calibration.
If necessary, re-home the Z
axis using the home Z command in the UCP viewer tab and re-check. If you are still having trouble,
recalibrate the lens using the lens calibrate function in the system tab of the UCP.
78
Содержание PLS4.75
Страница 1: ...PLS User Guide PLS4 75 PLS6 75 PLS6 150D PLS6MW www ulsinc com Revision August 2012...
Страница 5: ...Chapter 1 Specifications 5...
Страница 8: ...Chapter 2 Safety 8...
Страница 14: ...Tamper Proof Labels Safety Labels...
Страница 15: ...ULS Fiber Laser Cartridge Labels 15...
Страница 16: ......
Страница 17: ...PLS4 Back View 17...
Страница 18: ...PLS6 Front View 18...
Страница 19: ......
Страница 22: ...Chapter 3 Installation 22...
Страница 40: ......
Страница 48: ...Chapter 4 Operation 48...
Страница 83: ...Chapter 5 Accessories 83...
Страница 99: ...Example Connection for PNP mode Example Connection for NPN mode 99...
Страница 111: ...Chapter 6 Maintenance 111...
Страница 119: ...www ulsinc com...


