38
UBI EasyCoder 501 – Technical Manual
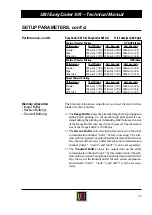
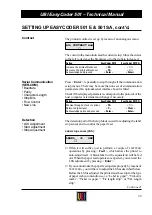
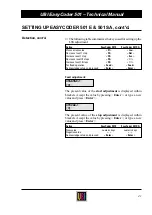
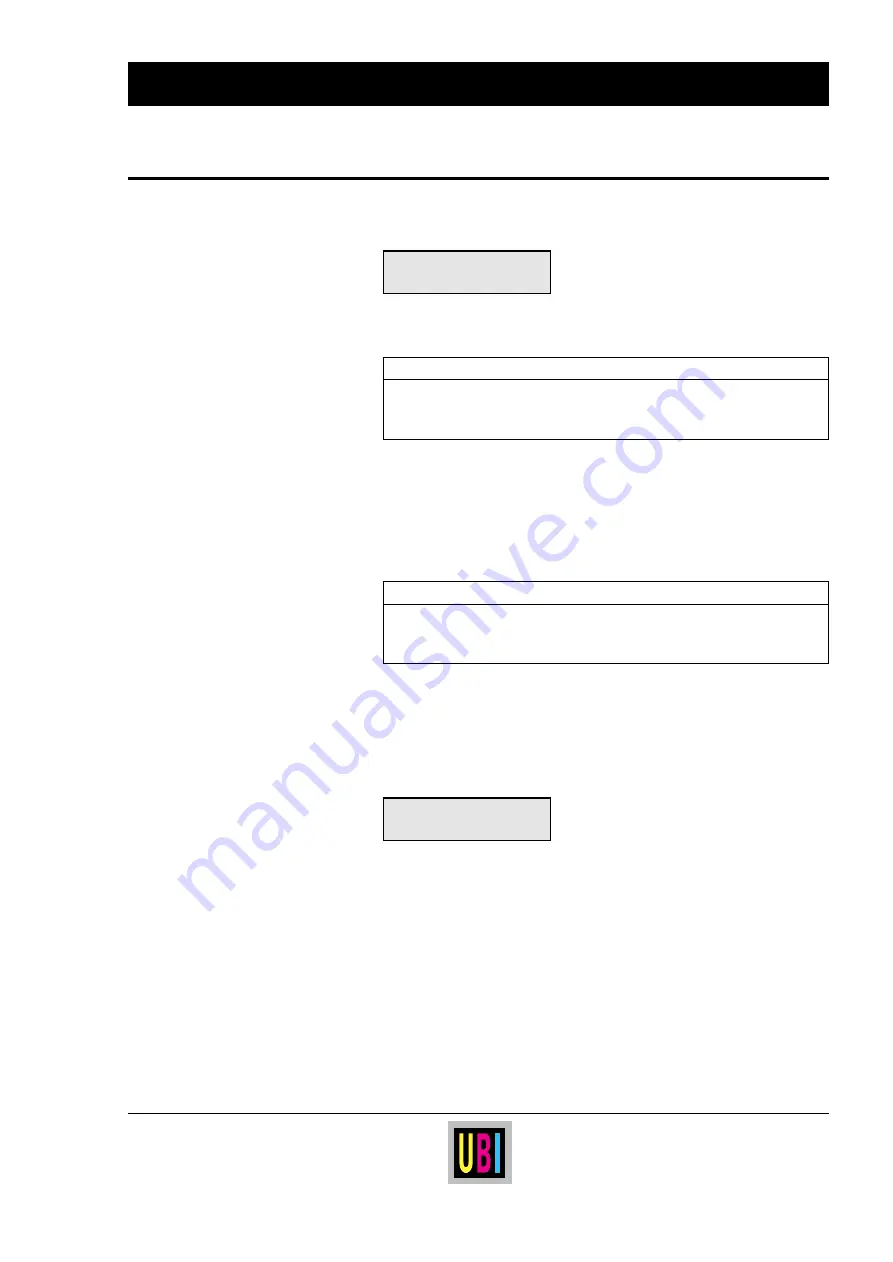
The printout contrast is set up by means of an analogous menu:
min CONTRAST max
■
The cursor in the menu indicates the current setup. Move the cursor
to the left to decrease the blackness or to the right to increase it:
Action
EasyCoder 501 E
EasyCoder 501 SA
Increase the printout blackness
<
F5
>
<
⇒
>
Decrease the printout blackness
<
F4
>
<
⇐
>
Acknowledge and proceed
<
Enter
>
<
Enter
>
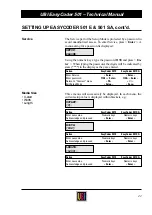
Press < Enter > repeatedly to step through all the communication
setup menus. There may be more than one set of communication
parameters if an optional serial interface board is fitted.
Check if the displayed parameters correspond to the protocol of the
host computer or terminal and change if necessary:
Action
EasyCoder 501 E
EasyCoder 501 SA
Browse through a stack of options
<
F5
>
<
⇒
>
Return to higher level
<
C
>
<
Clear
>
Acknowledge option and proceed
<
Enter
>
<
Enter
>
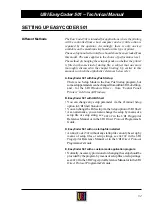
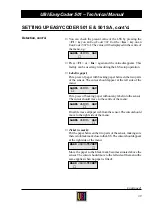
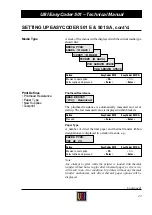
The detection part of the Setup Mode is used for adjusting the label
stop sensor and to control the paper feed.
Label stop sensor (LSS):
LABEL <> GAP
■
❑
Often it will suffice just to perform a couple of
TESTFEED
operations by pressing < Feed >, which allows the printer to
auto-adjust itself. A blank label (or the equivalent) will be fed
out. When the paper feed operates as expected, you can exit the
LSS adjustment by pressing < Enter >.
❑
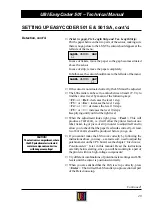
If you cannot make the paper feed operate properly by means of
TESTFEEDs
, you will have to adjust the LSS as described below.
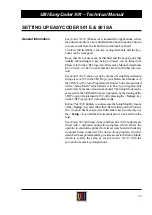
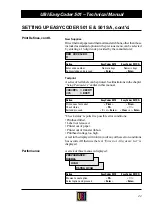
Before the LSS is adjusted, the printer must be set up for the type
of paper web you intend to use, i.e. “Label (w gaps)”, “Ticket (w
mark)”, “Ticket (w gaps) ”, “Fix length strip”, or “Var. length
strip”.
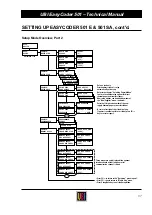
SETTING UP EASYCODER 501 E & 501 SA, cont'd.
Contrast
Continued!
Serial Communication
(SER-COM)
• Baudrate
• Parity
• Character Length
• Stop Bits
• Flow Control
• New Line
Detection
• LSS Adjustment
• Start Adjustment
• Stop Adjustment
Содержание EasyCoder 501
Страница 106: ...106 UBI EasyCoder 501 Technical Manual NOTES...

