12
UBI EasyCoder 501 – Technical Manual
Installation Check List
❑
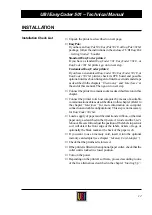
Unpack the printer as described on next page.
❑
EasyPak:
If you have an EasyPak 501, EasyPak 501 E, or EasyPak 501 SA
package, follow the instructions in the enclosed “UBI EasyPak
– Getting Started” booklet.
Standard EasyCoder printer:
If you have a standard EasyCoder 501, EasyCoder 501 E, or
EasyCoder 501 SA printer, go on to next step.
Customized EasyCoder printer:
If you have a customized EasyCoder 501, EasyCoder 501 E, or
EasyCoder 501 SA printer, check its CPU board and possible
optional interface board in regard of interface circuits and straps
as described in the chapters “Electronics” and “Interfaces” at
the end of this manual. Then go on to next step.
❑
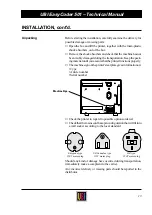
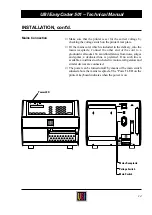
Connect the printer to a mains socket as described later on in this
chapter.
❑
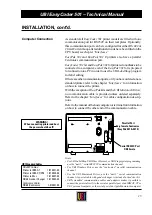
Connect the printer to its host computer by means of a suitable
communication cable as described later in this chapter. (Refer to
the chapter “Interfaces” for more information on computer
connection and cable configurations). This step is not necessary
for EasyCoder 501 SA.
❑
Load a supply of paper and thermal transfer ribbon, or thermal
paper only, as described in the Operator's Guide and the User's
Manual. Be careful to adjust the position of the label stop sensor
so it will detect the front edge of the labels, tickets or tags, or
optionally the black marks at the back of the paper web.
❑
If you want to use a memory card, insert it into the optional
memory card adapter (see chapter “Memory Card Adapter”).
❑
Check that the printhead is lowered.
❑
If the printer is fitted with an optional paper cutter, check that the
cutter unit is locked in closed position.
❑
Turn on the power.
❑
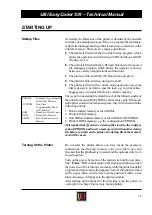
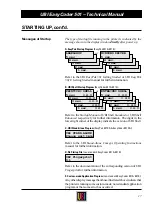
Depending on the printer's software, proceed according to one
of the five alternatives described in the chapter “Starting Up”.
INSTALLATION
Содержание EasyCoder 501
Страница 106: ...106 UBI EasyCoder 501 Technical Manual NOTES...


