6-20
CHAPTER 6 TROUBLESHOOTING
C. Light-Emitting Diodes (LED) and Check Pins by PCB
This section discusses the LED s and check pins used in the machine that are needed in the
field.
Caution:
The VRs and check pins not discussed in this section are for factory use only. Making adjustments
and checks using these will require special tools and instruments and adjustments must be to high
accuracy. Do not touch them in the field.
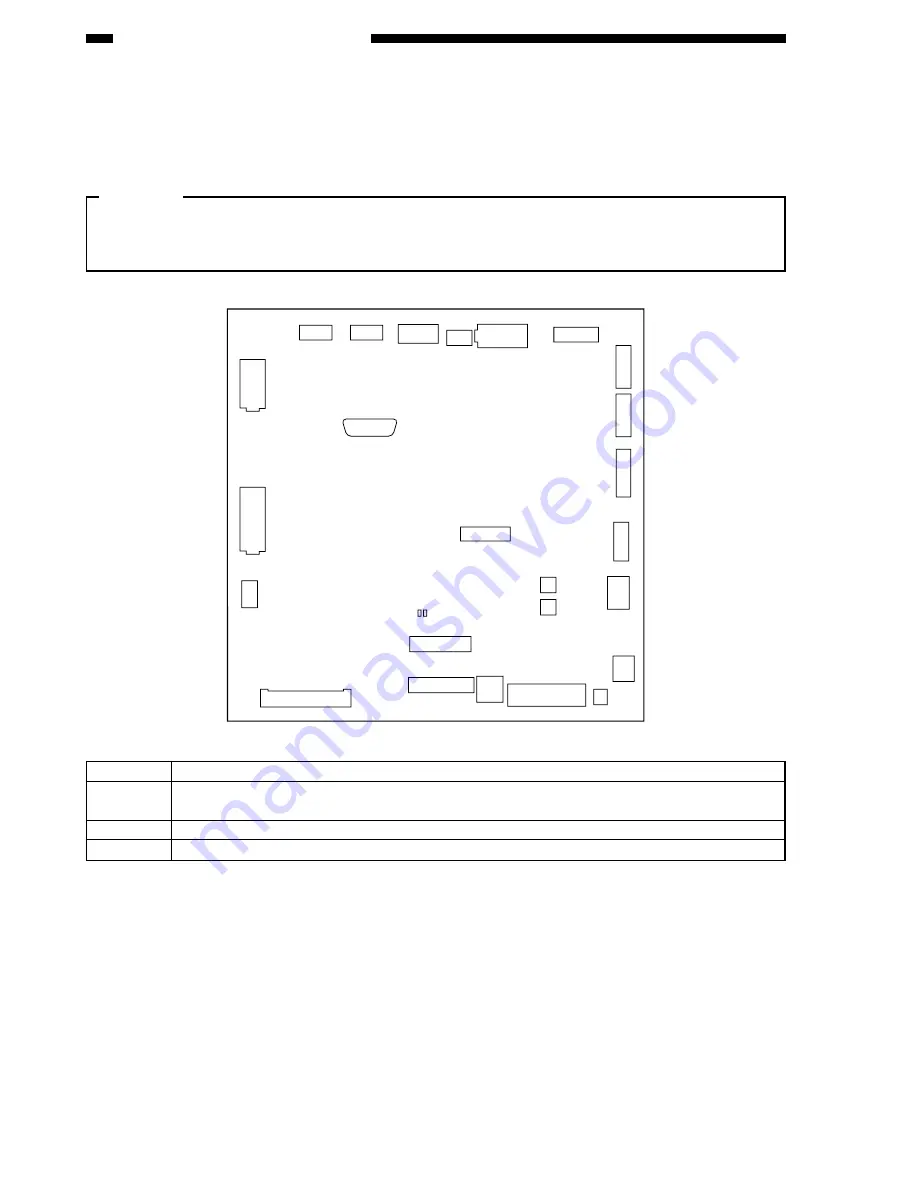
. Finisher Controller PCB
SW1
SW2
SW3
LED2
LED1
J14
1
6
J3
J2
J6
J11
J16
J24
J17
J10
J7
J1
J19
J5
J27
J26
J25
J31
J8
J23
J21
J12
J9
B
A
1
8 1
7
11
1
1
1
7
1
9
1
1
6
1
3
1
1
2
1
2
13
1
12
1
1
4
14
1
1
14
A
10
1
A
B
1
1
17
19
33
10
B
15
1
1
9
2
11
10
1
11
Figure 6-25
Switch
Function
SW1
Adjust the height sensor/alignment plate position/stapling position and move the trays up,
etc.
SW2
Adjust the alignment plate position/staple position and move the trays down, etc.
SW3
Adjust the height sensor/alignment plate position and stapling position, etc.
Table 6-25
Содержание MJ-1027
Страница 1: ...SERVICE MANUAL FINISHER MJ 1027 1028 File No SME040041A0 R04102169300 TTEC Ver01_2007 09 ...
Страница 5: ...ii ...
Страница 9: ...vi ...
Страница 70: ...2 41 CHAPTER 2 FINISHER UNIT BASIC OPERATION Height sensor PS1 Paper Figure 2 240 ...
Страница 101: ...3 15 CHAPTER 3 SADDLE STITCHER UNIT BASIC OPERATION Figure 3 301 ...
Страница 104: ...3 18 CHAPTER 3 SADDLE STITCHER UNIT BASIC OPERATION 2 A3 LD Paper Path 3 sheets Figure 3 303 ...
Страница 116: ...3 30 CHAPTER 3 SADDLE STITCHER UNIT BASIC OPERATION Cam Mount Figure 3 404 ...
Страница 150: ...4 20 CHAPTER 4 MECHANICAL CONSTRUCTION 7 Remove the tension springs front 5 rear 6 Figure 4 216 Figure 4 217 5 6 ...
Страница 173: ...6 CHAPTER 6 TROUBLESHOOTING II ARRANGEMENT OF ELECTRICAL PARTS A Finisher Unit ...
Страница 235: ...2 17 2 HIGASHIGOTANDA SHINAGAWA KU TOKYO 141 8664 JAPAN ...

