e-STUDIO350/352/353/450/452/453
© 2003 - 2008 TOSHIBA TEC CORPORATION All rights reserved
ADJUSTMENT
3 - 34
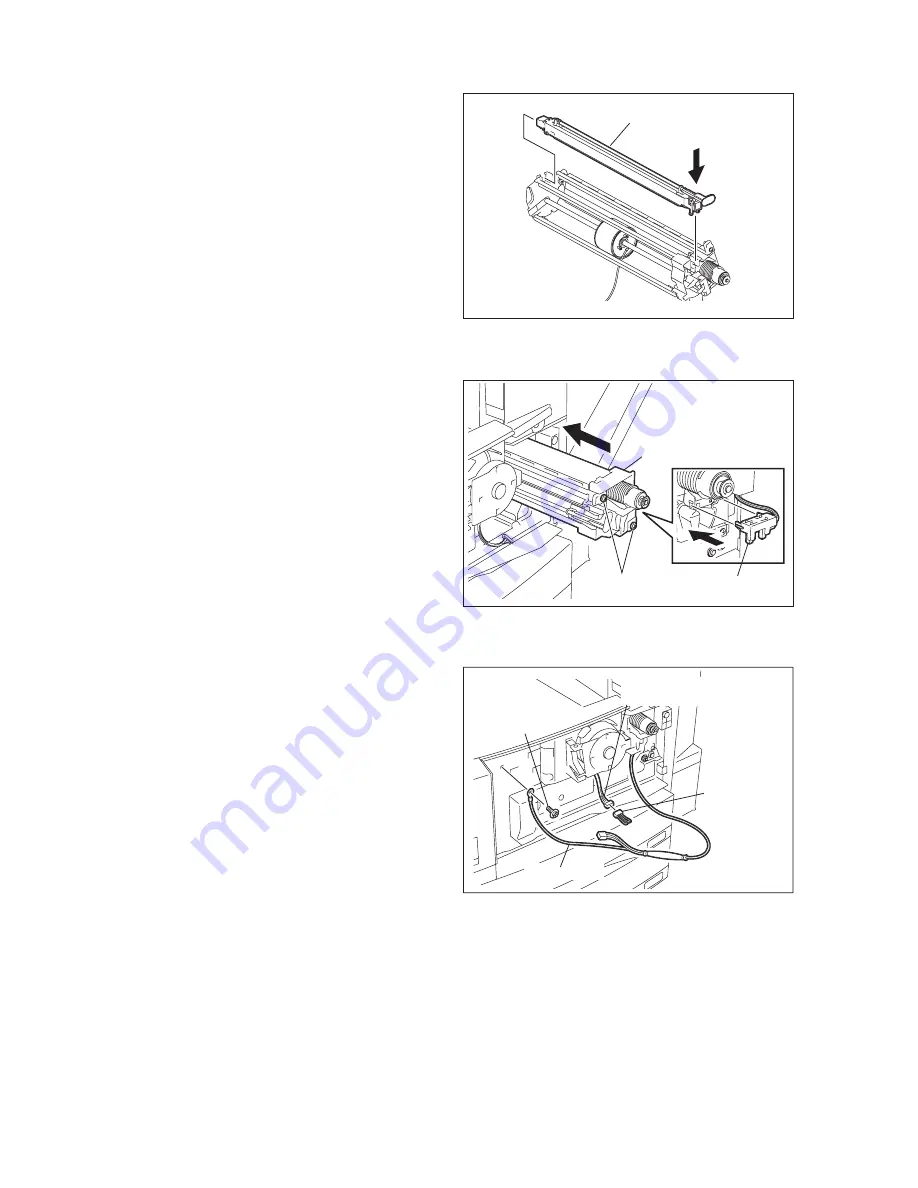
(16) Install the main charger unit.
Fig. 3-25
(17) Install the cleaner unit and fix it with 2
screws.
(18) Install the toner bag full detection sensor-2.
Fig. 3-26
(19) Fix the green cable of the current measuring
jig to the frame of the equipment, and con-
nect the jig detection connector to the con-
nector of the developer unit in the
equipment.
Fig. 3-27
Main charger unit
Cleaner unit
Toner bag full
detection sensor-2
Screw
Jig detection
connector
Connector of
developer unit
Green cable
Screw
07/07
Содержание e-Studio 350
Страница 6: ......
Страница 436: ...e STUDIO350 352 353 450 452 453 2003 2008 TOSHIBA TEC CORPORATION All rights reserved PREVENTIVE MAINTENANCE PM 4 36 ...
Страница 576: ...e STUDIO350 352 353 450 452 453 2003 2008 TOSHIBA TEC CORPORATION All rights reserved TROUBLESHOOTING 5 140 ...
Страница 763: ......
Страница 764: ......


