31
7. INSTRUMENT SETTINGS
The built-in camera automatically takes photographs of the entire scanning range and saves the
photograph data in the image file when scanning. (when selecting “Wide” or “Tele”)
The photograph data of the entire scanning range consists of several photographs. As the scanning area
becomes wider, the number of photographs taken will increase.
Also, as the resolution becomes finer, the file size will increase. Set the resolution as needed.
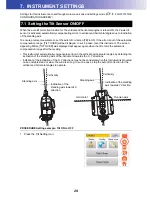
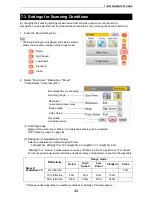
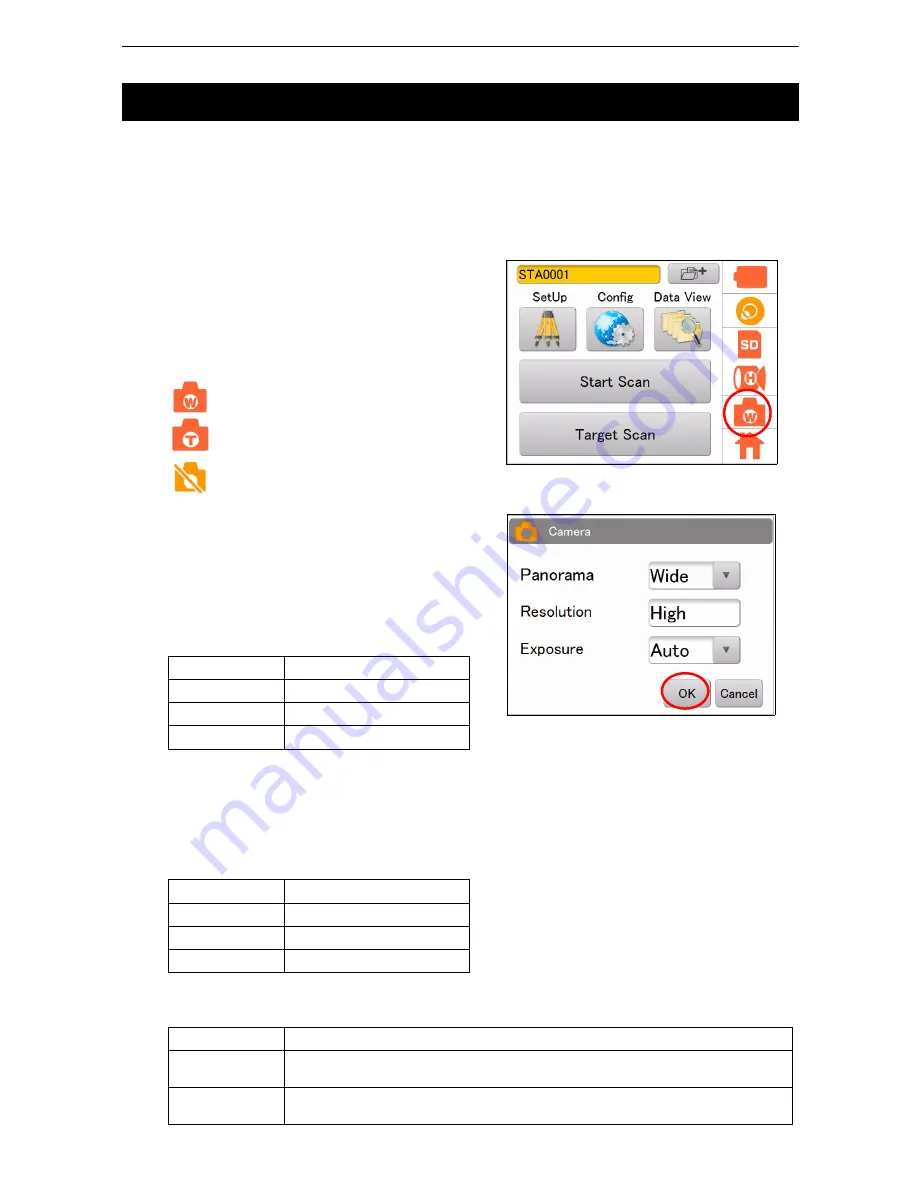
1. Press the Camera Setting icon.
• The Camera Setting icon displayed in the status
screen shows the selective condition of the
Panorama selected.
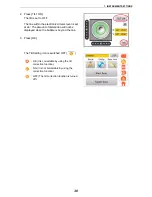
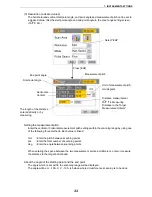
2. Select “Panorama,” “Resolution,” “Exposure,”
and press [OK.]
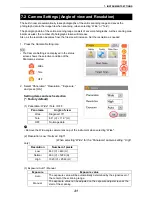
Setting items and each selection
(*: Factory default)
(1) Panorama: Wide* / Tele / OFF
• Remove the Wide-angle camera lens cap of the instrument when selecting “Wide".
(2) Resolution: Low / Normal / High*
(When selecting “Wide” for the “Panorama” camera setting: “High”
only)
(3) Exposure: Auto* / Manual
7.2 Camera Settings (Angle of view
and Resolution)
Panorama
Angle of view
Wide
Diagonal 170°
Tele
8.9° (V) × 11.9° (H)
OFF
No image data
Resolution
Number of pixels
Low
480 (V) × 640 (H)
Normal
960 (V) × 1280 (H)
High
1920 (V) × 2560 (H)
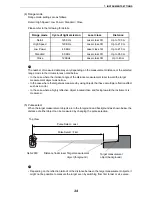
Exposure
Exposure value
Auto
The exposure value will be automatically determined by the signal level of
the center of the scanning range.
Manual
The exposure value can be adjusted on the exposure adjust screen at the
start of the scanning.
: Wide
: Tele
: OFF
Содержание GLS -2000 Series
Страница 1: ...GLS 2000 SERIES LASER SCANNER INSTRUCTION MANUAL 64652 90261 ...
Страница 71: ...67 10 MEASURING SCANNING 12 The scanning results will be displayed Check the scanning range and then press OK ...
Страница 93: ...89 17 REGULATIONS EU EU Battery Directive Region Country Directives Regulations Labels Declarations ...


