Perform calibrations
1.
In the home screen tap
(Settings)
4
Maintenance and service
4
Calibration
.
The
Calibration
screen is displayed.
2.
In the
Calibration
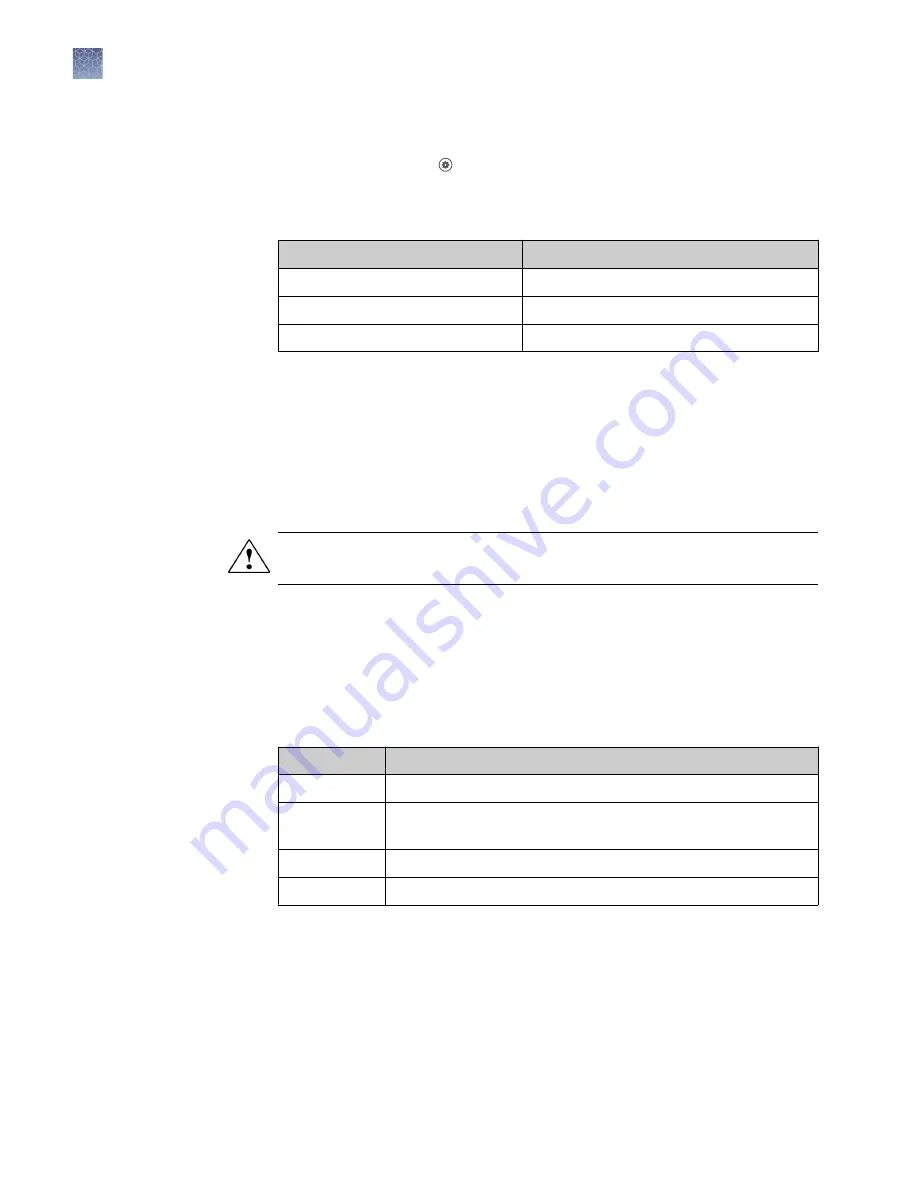
screen, select a calibration type.
Calibration type
Tap
ROI/uniformity
ROI and uniformity
Background
Background
Dye
System dye
Note:
You will be prompted to perform a background calibration after a
ROI/Uniformity calibration.
3.
(System dye calibration only)
Select the calibration plate.
4.
Follow the instructions on the screen to start the calibration.
5.
Load the plate into the instrument.
CAUTION!
The instrument should be used by trained operators who have been
warned of the moving parts hazard.
6.
Tap
Start
.
When the ROI/Uniformity run is complete, you will be prompted to perform a
background calibration.
When the Background calibration is complete, the
Calibration Status
will
display. It will indicate whether the calibration passed or failed.
7.
(For calibrations that pass)
Select an option.
Option
Description
Details
View the calibration images.
Transfer EDS
Transfer the calibration file to Connect, a USB drive, or a network
drive.
Reject results
The calibration file is deleted.
Accept results
The calibration file is saved.
If the results are accepted and the calibration file is saved, previous calibration
files associated with the combination of the instrument and the block will no
longer be used.
Chapter 7
Calibrate and verify instrument performance
Perform ROI/uniformity, background, and dye calibrations
7
86
QuantStudio
™
6 Pro and 7 Pro Real-Time PCR Systems User Guide
Содержание QuantStudio 6 Pro
Страница 215: ......
Страница 216: ...thermofisher com support thermofisher com askaquestion thermofisher com 27 April 2020...


