


Chapter 2. Initial Configuration
13
Setting the IP Address for RXT Drives
Use the web interface, as described in this section, whenever possible.
• Have on hand an Ethernet cable, either standard or crossover, that you can connect
to a computer that can display the RXT web interface. You can use the web
interface to set the drive’s IP addressing information, as well as to view RXT drive
and RXT media status and to perform all functions described throughout this guide.
• Have on hand a non-networked computer that you can use as a temporary host.
Caution:
If you use a networked computer, your network service may be
seriously disrupted if addresses conflict. Contact a network
administrator before attaching the RXT350 to your network.
• Note that RXT drives are shipped with a default static IP address of
192.168.200.200. Make sure that the temporary host IP address is in the same
network range as that IP address, gateway, and subnet: 192.168.200.NNN, where
NNN is not 0, 200, or 255. You may need to assign the temporary host computer a
static IP address that conforms to these requirements.
• Make sure that the temporary host can accept the IP address 192.168.200.200.
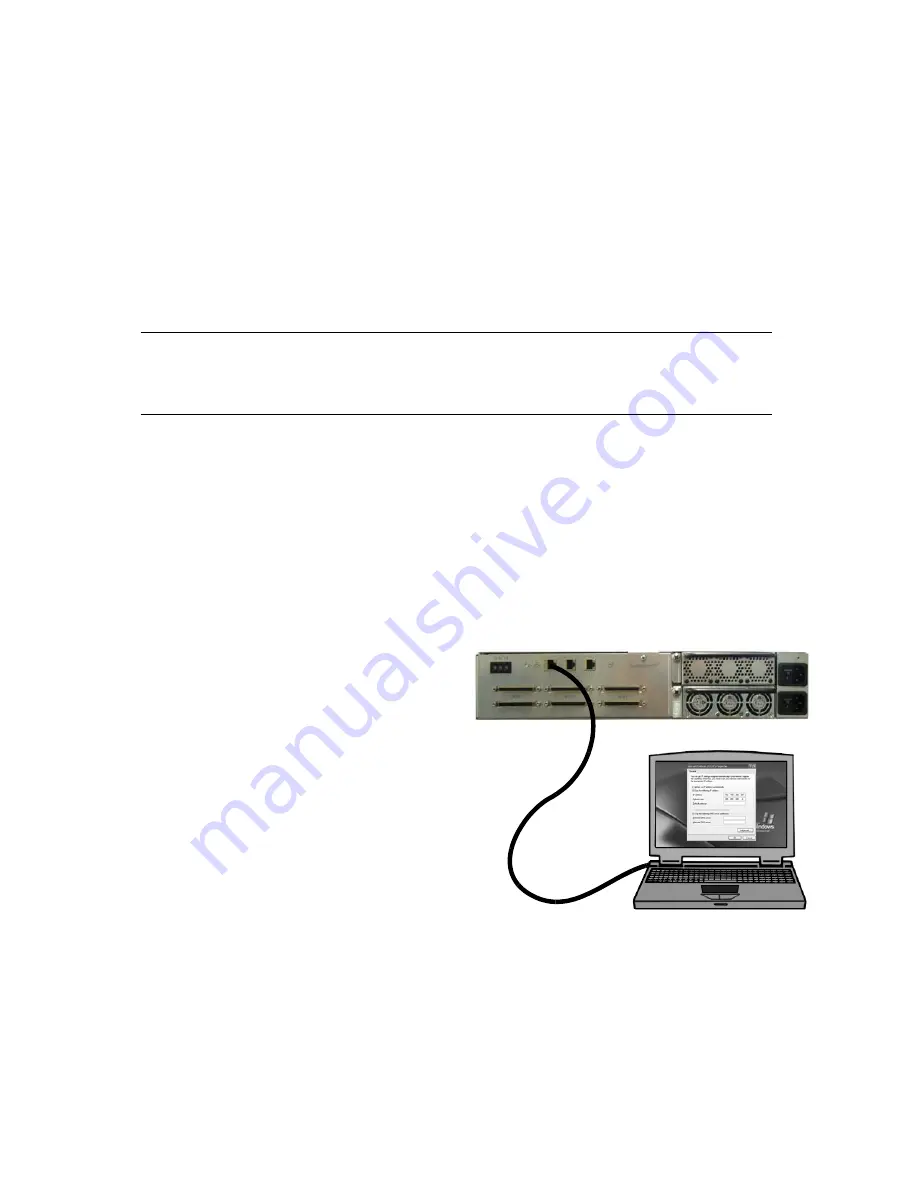
Attaching the RXT Drive to the Temporary Host
1.
Plug in the RXT350’s AC power
cord.
2.
Connect one of the RXT drives to
the host using an Ethernet cable.
You can use either a crossover or
standard Ethernet cable; the RXT
Ethernet port auto-detects the cable
type.
3.
If necessary, set the temporary
host’s IP address to
192.168.200.NNN.
4.
Turn on the RXT350 and let it fully
initialize.


