Chapter 3
Preparations
3-20
Chapter 3
Preparations
5
Set the In-depth Information parameters as
required.
The In-depth Information parameters are as
follows.
Stripe Size: Select the data stripe size, in the range
1 Kbyte to 1024 Kbytes.
Access Privileges: Select the type of access
privileges that you want to grant to other
Digital Media Workstations for the RAID drive
created here.
Global: Other Digital Media Workstations can
read from and write to the drive.
Local: Other Digital Media Workstations can
neither read from nor write to the drive.
LOG Data Length: Specify the unit size of the
log area within firmware (0 to 2048 bytes).
Specifying 0 sets the system default value.
6
Click the OK button.
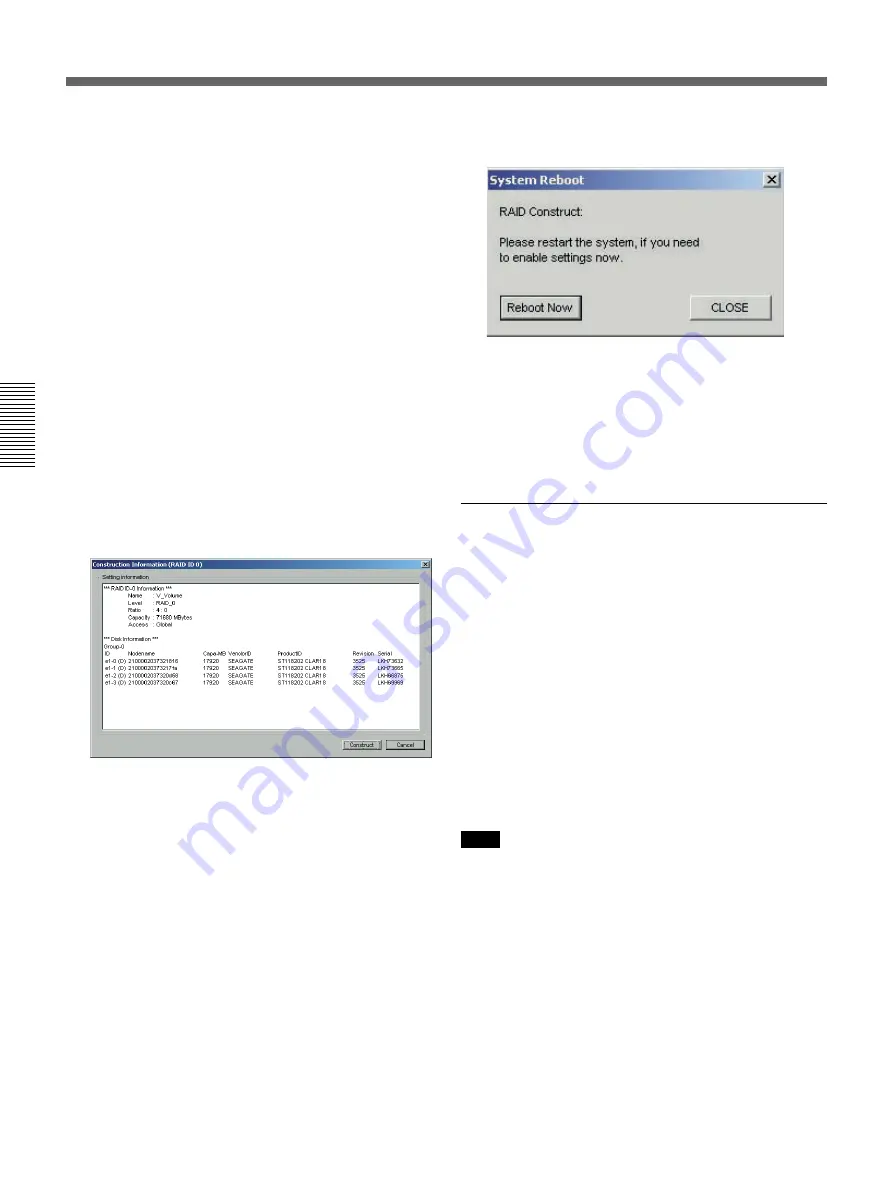
The Construction Information dialog appears.
The information entered in steps
5
and
6
appears
in Setting Information.
7
Click the Construct button.
Creation of the RAID drive starts.
A few seconds may be needed for initialization
when creating a RAID drive.
When processing ends, the System Reboot dialog
appears.
If you want to enable the settings immediately,
click the Reboot Now button to reboot the Main
Unit.
If you want to continue by creating or releasing
more RAID drives, click the CLOSE button to
close the dialog.
Executing an NTFS Format
After rebooting the system, you can check the newly
created RAID drive in the Windows 2000 [Disk
Management] tool, where it appears as a volume.
This tool also allows to perform operations such as
executing an NTFS format of the newly created RAID
drive.
To start the Disk Management tool, select Start >
Settings > Control Panel > Management Tools >
Computer Management, and click the Disk
Management folder.
Refer to the Windows 2000 online help for more information
about using the Disk Management tool and the NTFS
format.
Note
Do not upgrade basic disks to dynamic disks.
3-5
Fibre Channel Storage Unit Setup — Configuring Logical Drives


