49
D.5.2. My Map
By selecting
My Map
icon, you can edit area, delete area, load/refresh map, change icon
size and add camera.
D.5.2.1. Edit Area
STEP 1:
Select My Map icon.
STEP 2:
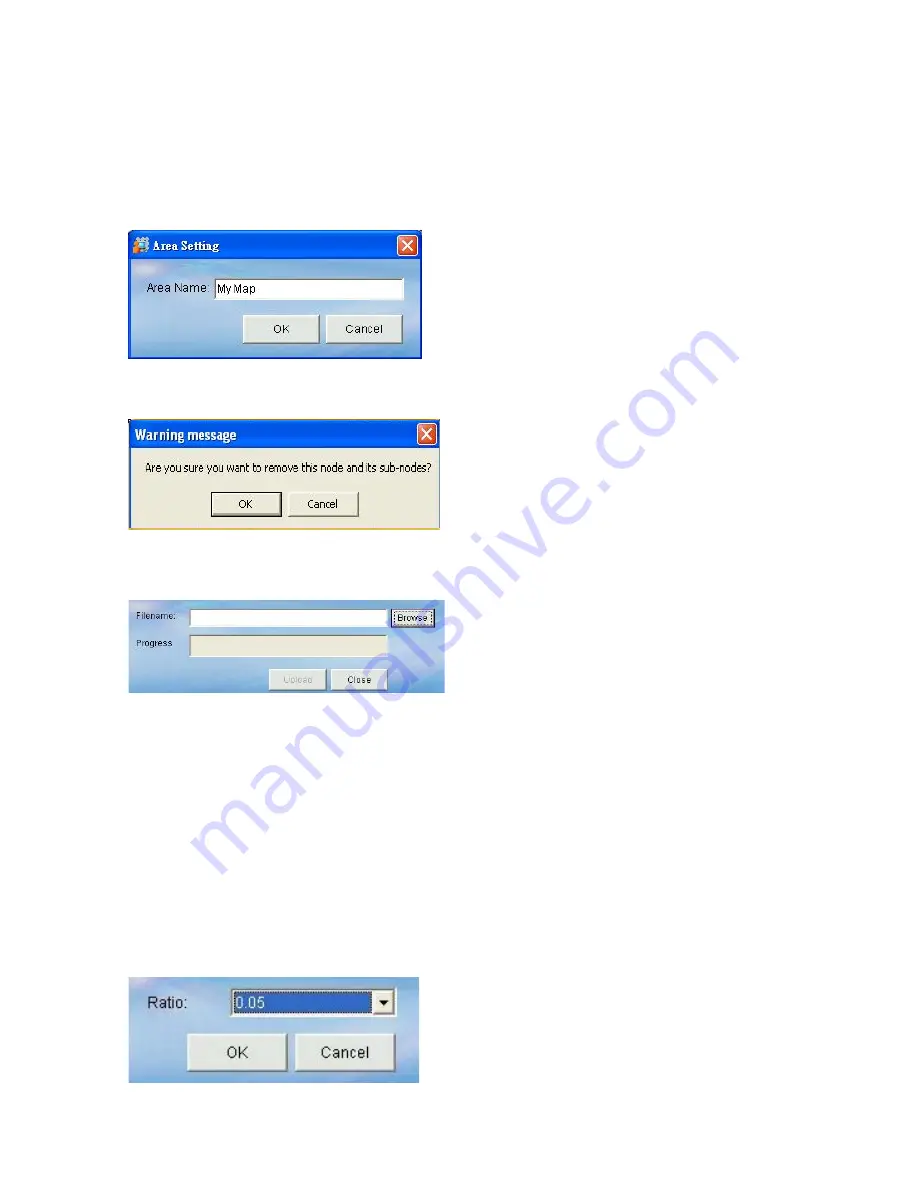
Click the Edit Area button. You can
modify the area name.
D.5.2.2. Delete Area
STEP 1:
Select My Map icon.
STEP 2:
Click the Remove Area button. A
warning message will pop up for
confirmation. Click “OK” to
confirm.
D.5.2.3. Load Map
STEP 1:
Select Upload eMap button in the
Menu Bar. Upload eMap window
will pop up.
STEP 2:
Click “Browse” to navigate the
image file representing the area
that you wish to secure, and then
click “Upload” button.
[Note]
Supported
image file
formats: .jpg, .gif, .bmp, .wmf, .emf, .ico.
C.5.2.4. Refresh eMap
For optimal system performance, all admin settings are kept by cache, if the server eMap
is changed from the client PC, all servers or client PCs will need to refresh the eMap
background manually by clicking the Refresh eMap button.
D.5.2.5. Change Icon Size
STEP 1:
Select Device Ratio button in the
Menu Bar. A Resize eMap icon
window pops up.
STEP 2:
Select the ratio of device and click
“OK”. The icon display in eMap
interface will change its ratio
accordingly.
Содержание EZ Connect Vision SMCWIPCFN-G
Страница 1: ...USER GUIDE SMCWIPCFN G EZ Connect VisionTM Wireless Night Vision IP Camera...
Страница 18: ...17 MPEG4 Wireless Day Night IP camera User Manual SMCWIPCFN G Version 1 0 March 2008...
Страница 34: ...33 STEP 4 Click OK to continue the uninstall process Uninstall Complete STEP 5 Click Finish to exit the window...


