


43
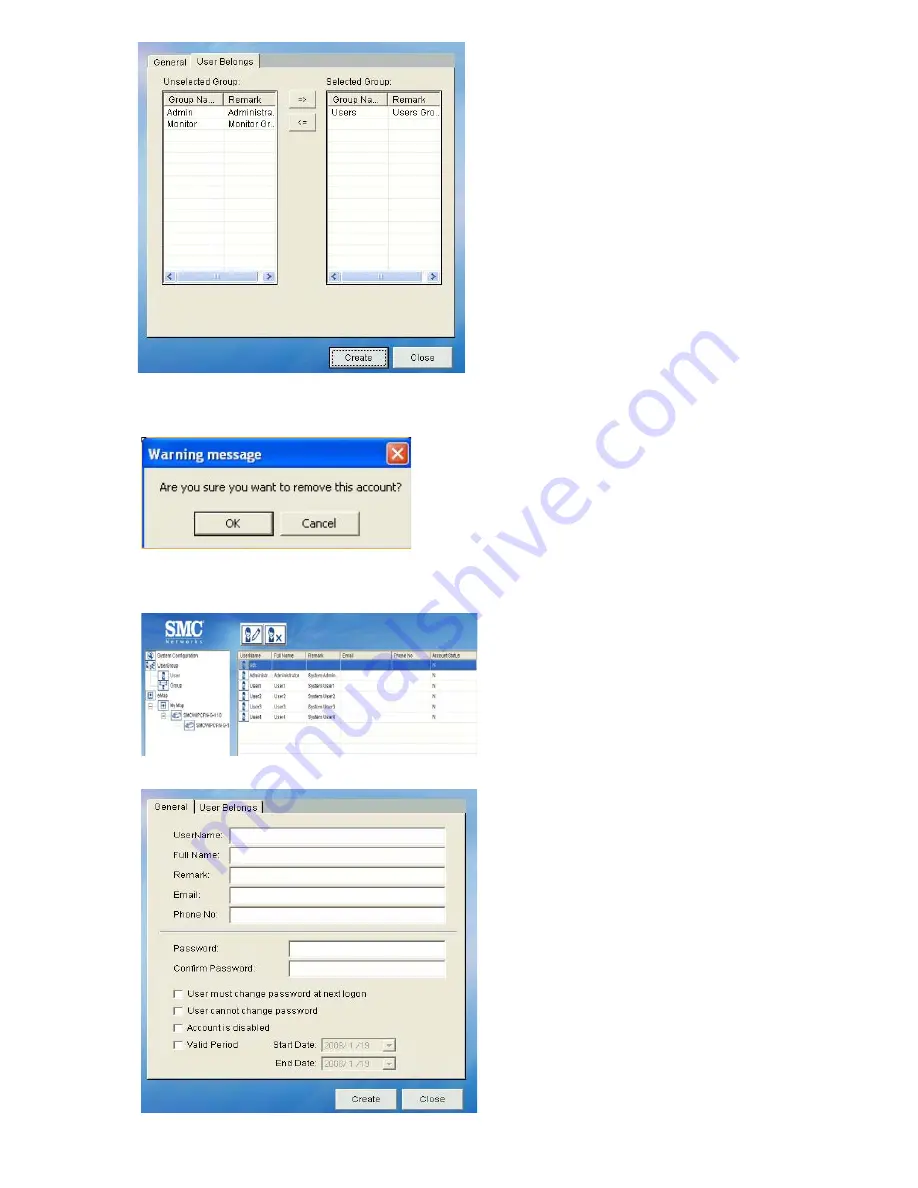
Designating a User to a Group.
STEP 3:
Select the “User Belongs”
tab to designate a user to
a group.
Select the group name
and move it between
“Selected group” and
“Unselected group”. Click
“OK” to continue.
STEP 4:
After setting both general
information and user
belongs, click “Create” to
save the setting.
D.4.1.2. Delete User
Select Delete User button from the
Menu Bar and a warning message box
will appear. Click “OK” to delete the
user.
D.4.1.3. Edit User
STEP 1:
Select User icon in the
System Setup area; the
User Table display in the
eMap Interface area.
STEP 2:
Then select a user from
the User Table; the User
Setting Button will display
in the Menu Bar
accordingly.
STEP 3:
Click the Edit User button
in the Menu Bar; You can
change the information by
modifying the general
information or user
belongs of that user.
Содержание EZ Connect Vision SMCWIPCFN-G
Страница 1: ...USER GUIDE SMCWIPCFN G EZ Connect VisionTM Wireless Night Vision IP Camera...
Страница 18: ...17 MPEG4 Wireless Day Night IP camera User Manual SMCWIPCFN G Version 1 0 March 2008...
Страница 34: ...33 STEP 4 Click OK to continue the uninstall process Uninstall Complete STEP 5 Click Finish to exit the window...


