40
Specifying Pads and Performing
8
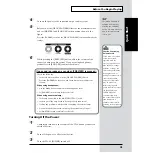
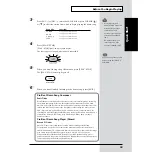
Use the tuning key (included with the pad) to turn all the tuning
bolts so that the indicator reaches the position shown in the
diagram.
fig.Q2-021
If the indicator tends toward the right, turn the tuning key toward the left to
decrease the tension. If the indicator is toward the left, turn the tuning key
toward the right to increase the tension.
9
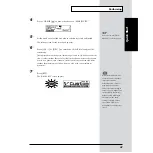
Press [KIT].
The “DRUM KIT” screen appears.
fig.Q2-022
This completes the basic settings. Follow the procedure described
below to check the settings.
Checking the Settings
Strike all the pads and press all the pedals, to verify that sounds are
produced correctly. If any sound is not correctly played, check the settings
once again, and refer to “Troubleshooting” (p. 166).
The PD-80 and PD-80R
have tuning bolts at five
positions around the head,
the PD-100 and PD-120 at
six positions.
• If the indicator moves
greatly to the left or
right, adjust the tension
of the entire head before
making this setting.
• The head tension
adjustment does not
work correctly when the
“SCAN TIME” (p. 131)
setting is excessively
low. The “SCAN TIME”
setting is automatically
set to the most efficient
values for each pad
when you select the
“TRIGGER TYPE.” If
you have changed the
“SCAN TIME” setting,
select the “TRIGGER
TYPE” again (p. 128).
• You cannot adjust the
head tension when the
TD-8 is set to the brush
play (BRUSH
SWITCH=ON; p. 80).
For details on adjusting the
head tension, refer to the
PD-80, PD-80R, PD-100, or
PD-120 owner’s manual.
Содержание V-Drums TD-8
Страница 24: ...24 ...
Страница 25: ...25 Quick Start Quick Start ...
Страница 76: ...76 ...
Страница 77: ...77 Advanced Use Advanced Use ...
Страница 164: ...164 ...
Страница 165: ...165 Appendices Appendices ...
Страница 178: ...178 ...

