


63
Chapter 3. Versatile Performance Functions
7.
Press [7 (STP REC)] to add a check mark (
✔
).
Now you’re ready to step-record.
• To move to the desired input location, press cursor buttons.
• To input notes, play the keyboard.
• To input a tie, press [3 (TIE)].
• To input a rest, press [4 (REST)].
• To erase the note, hold down [SHIFT] and press [7 (CLR NOTE)].
• To erase all notes at the current step, hold down [SHIFT] and
press [6 (CLR STEP)].
• By pressing [5 (PREVU)] to add a check mark (
✔
) you can
listen to the style that you’re entering.
A maximum of sixteen note numbers (pitches) can be used in a
single style.
8.
When you have finished, press [6 (EXIT)].
Entry Using the VALUE Dial and Buttons
With this method, you use the cursor to specify the step and pitch to
input, and use the VALUE dial or [DEC] [INC] to enter the values.
This method is convenient when you need to edit or modify a style
that’s already been input.
1.
In the ARPEGGIO STYLE EDIT screen, press [7 (STP REC)] to clear
the check mark (
✔
).
Proceed as follows to input the steps.
• Use the cursor buttons to specify the step and pitch to input.
* When using this method to input, you can’t use the
keyboard to specify pitches. (You won’t be entering notes
as you did in Step Recording.)
• Use the VALUE dial or [DEC] [INC] to enter the velocity value.
You can enter a tie by turning the VALUE dial all the way to
the right (or by pressing [INC] to raise the value all the way).
• You can also enter a tie by pressing [3 (TIE)].
• To enter a rest, press [4 (REST)].
• If you press [5 (PREVU)] to display the check mark (
✔
), you’ll
be able to hear the pattern you’re inputting.
A maximum of sixteen different note numbers (pitches) can be
used in a single style.
2.
When you’ve finishing inputting, press [6 (EXIT)].
You will return to the ARPEGGIO STYLE screen.
An arpeggio style you’ve created is temporary, and will be lost when
you turn off the power or select a different style. If you want to keep a
style you’ve created, you must save it in the JUNO-STAGE’s user
memory.
In Performance mode, the arpeggio parameters (Arpeggio Style,
Grid, Motif, Duration, etc.) can be saved for each performance
(p. 133). These parameters cannot be saved in a patch.
1.
When you’ve finished creating an arpeggio style in the
ARPEGGIO STYLE EDIT screen, press [EXIT] to access the
ARPEGGIO STYLE screen.
2.
Press [7 (WRITE)].
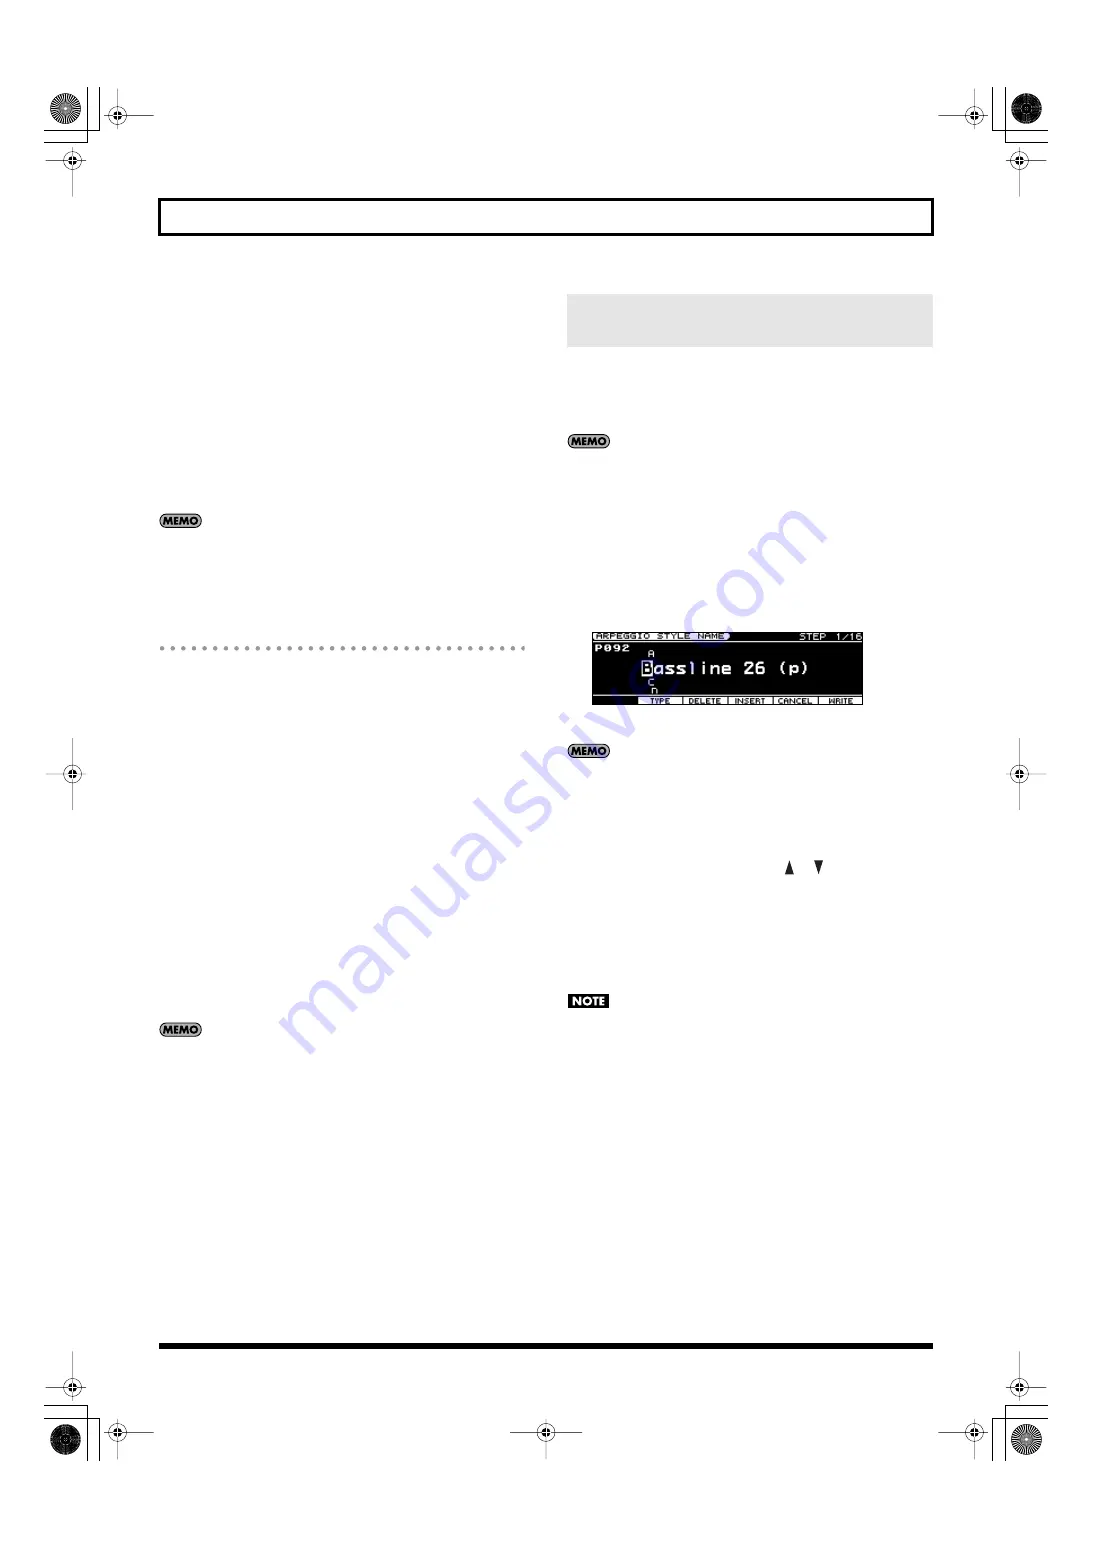
The ARPEGGIO STYLE NAME screen will appear.
fig.ArpWrite_70
3.
Assign a name to the arpeggio style.
For details on assigning a name, refer to p. 44.
4.
When you’ve finished assigning the name, press [7 (WRITE)].
A screen in which you can specify the save destination will
appear.
5.
Use the VALUE dial, [DEC] [INC], or [
] [
] to specify the save
destination.
6.
Press [7 (WRITE)].
A confirmation message will appear.
If you decide to cancel, press [6 (CANCEL)].
7.
Press [7 (EXEC)] to save the arpeggio style.
Never turn off the power while data is being saved.
Saving an Arpeggio Style You’ve Created
(WRITE)
JUNO-STAGE_e.book 63 ページ 2008年10月17日 金曜日 午後12時27分
Содержание Juno-Stage
Страница 1: ...5 1 0 0 0 0 0 0 4 0 0 2 JUNO STAGE_Cover_e1 fm 1...
Страница 13: ...13 Introduction JUNO STAGE_e book 13...
Страница 17: ...17 MEMO JUNO STAGE_e book 17...
Страница 23: ...23 Quick Start JUNO STAGE_e book 23...
Страница 37: ...37 Reference JUNO STAGE_e book 37...
Страница 157: ...157 Appendices JUNO STAGE_e book 157...
Страница 253: ...For EU Countries For China JUNO STAGE_e book 253...
Страница 256: ...5 1 0 0 0 0 0 0 4 0 0 2 JUNO STAGE_Cover_e1 fm 1...


