PT113
Instruction Manual
17
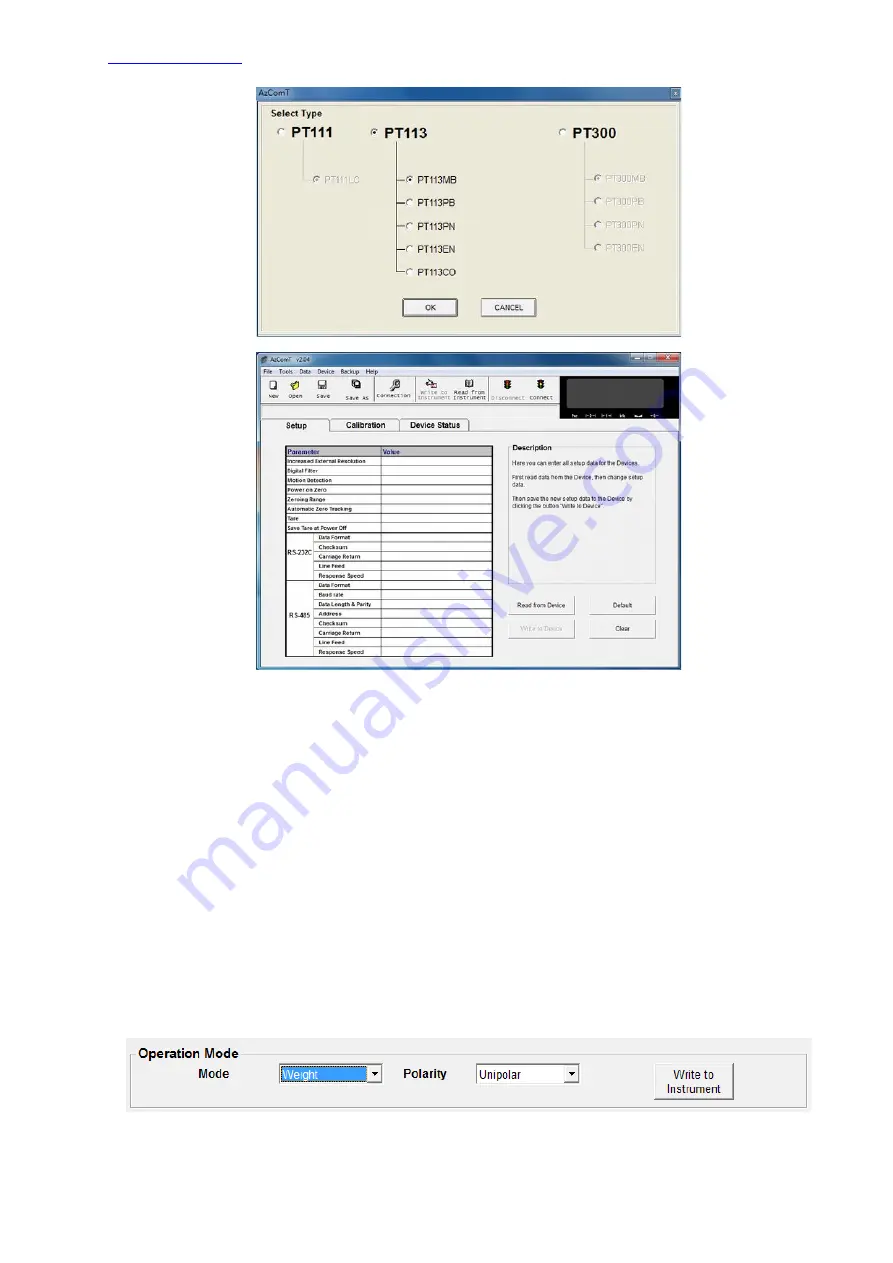
From the menu select Tools>Connection Settings (or from the tool bar click Connection) and enter the
correct Com port, use RS-232C protocol unless you have a PT113MB configured for and connected to
the RS-485 port.
Then select Tools>Connect (or from the tool bar click the connect traffic light). The traffic lights of the
Connect icon turns from red to green when the communication is made between the PT113 and your
PC.
Click on the “Read from Device” button to read current settings from the PT113.
NOTE: If necessary use Windows device manager to check the Com port if you are using a USB serial
adapter.
6.3 SCALE BUILD, CALIBRATION AND GATEWAY
Warning:
Read this manual carefully before programming and calibration of the instruments. This will
increase your weighing system performance by applying proper programming and calibration.
Note: There is an additional Gateway tab in AzComT for the PT113EN, PT113PB, PT113PN and
PT113CO.
6.3.1 Scale Parameter Setup
Warning:
The Setup tab items change to suit the operating mode. Set the mode first. 6.3.3.1
Click on the Calibration tab. Select the mode and polarity from the drop down lists.
Click “Write to Instrument”
Now that the PT113 is in the correct mode, click back on the Setup tab. To change a value click on the
value in the right column.


