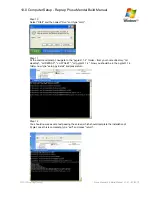

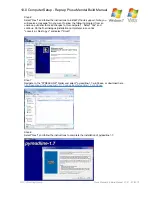

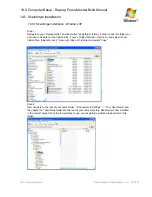

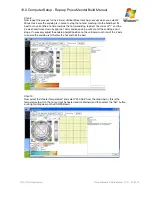

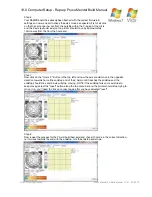

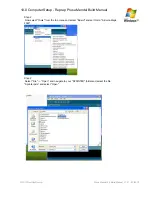

Step 6
Your RAMPS board has already been flashed with the correct firmware & settings so now
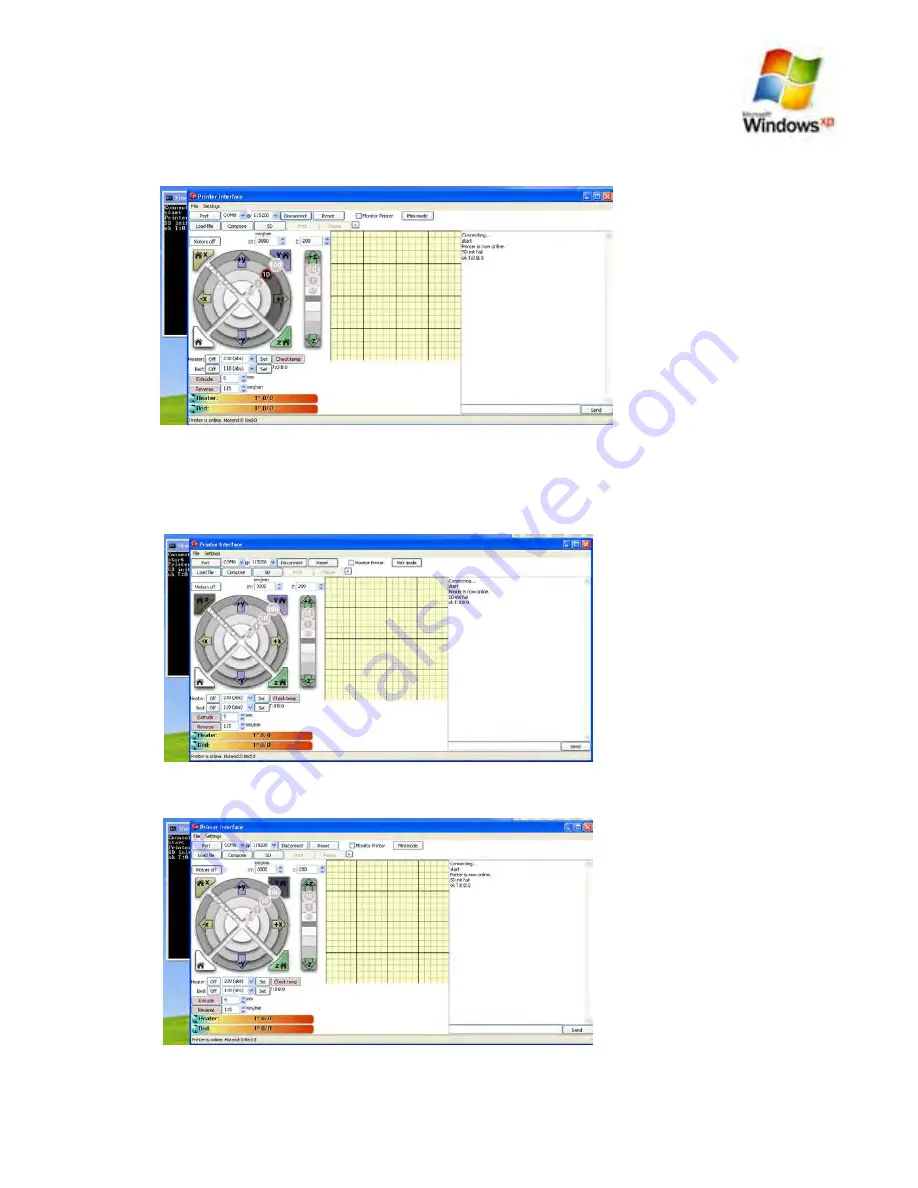
we need to check the axis’s move as expected, first of all click on the the circle one row
out from the outside within the X region of the circle and the X axis (extruder axis) should
move by approximately 10mm away from the from the home end
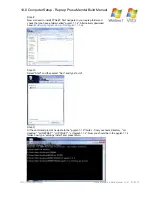
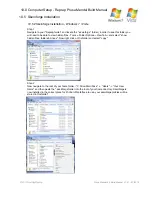
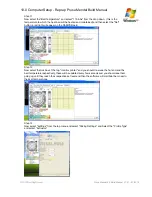
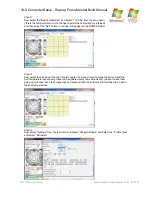
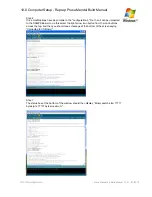
Step 7
Now click on the “Home X” Button in the top left and now the axis should move in the opposite
direction towards home (the endstop end of the X Axis) until it reaches the endstop and the
endstop should click and X Axis will stop moving - NOTE if the endstop fails and x axis tries to
keep moving select the “reset” button along the top menu bar and the printer should stop trying to
move ( n.b. you’ll need to click on connect again after you have selected “reset”
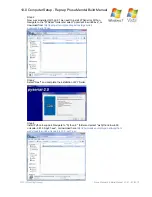
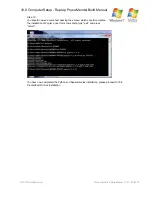
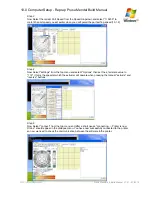
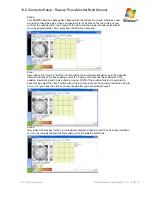
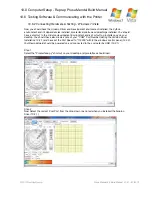
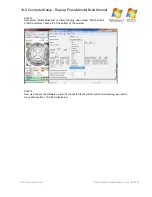
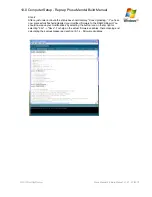
Step 8
Now repeat the process for the Y Axis (build bed axis) and check it home’s in the correct direction,
i.e it moves towards the end with the endstop, hits the endstop and stops.
10.0 Computer Setup - Reprap Prusa Mendel Build Manual
©2012 NextDayReprap
Prusa Mendel Kit Build Manual V1.01 - 07/2012