


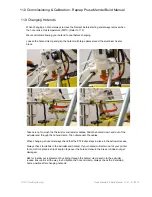


Always keep the electronics in an open, ventilated area, located in such away that you’re not
going to drop any conductive debris on them ( such as nuts & washers etc).
Regularly check that the pc header connectors on the Ramps board haven’t worked loose or
become disconnected, especially the Endstop and thermistor connections.
Every so often, check all of the slotted screw terminals on the the associated power
connections on the RAMPS board and tighten them where necessary.
Make sure both the Bed Thermistor and Hot End Thermistors haven’t moved or dislodged from
their positions on the printer.
Make sure the connectors on the endstops are still homed tight and in position.
12.6
Pulley Grub Screws & Belt Tensions
Make sure that the grub screws holding the X & Y Pulleys and the Extruder Drive Gear are tight
and that the pulleys never/ can’t slip.
Over time and the more you use your 3d printer the X and Y timing belts will loosen slightly, so
you need to check their tensions and tighten them if they have become loose or looser
12.5
Electronics
12.7
Build Surface
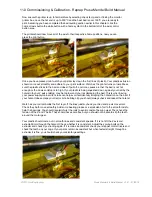
Make sure you keep your build surface, clean, dry and free of oil/grease. In order for ABS
Plastic to adhere to the build surface and to prevent warping, you will be using kapton tape on
your build surface. The kapton tape will need to be replaced and re applied to the build plate
when it gets damaged, scratched and scuffed. You can use your judgment as to when you
need to, but to ensure a smooth base on the printed object, you’ll need to ensure the kapton
tape is in good order.
12.8
Bed Leveling
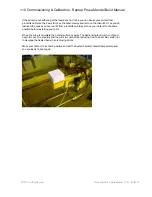
When ever you move your printer or place it on a different surface, you should re level your bed
as in section 11.0 Commissioning to ensure an even gap between the hot end nozzle and the
build surface.
It is very important that your bed is correctly leveled, for example if the bed is too high in one
corner of the build bed, when the hot end moves over that area of the bed it will drag and
scrape on the bed, potentially damaging the hot end and the build bed surface.
12.0 Maintenance - Reprap Prusa Mendel Build Manual
©2012 NextDayReprap
Prusa Mendel Kit Build Manual V1.01 - 07/2012