


Assuming you have worked though section 10.0 Computer setup and installed all the required
software & drivers, you are now ready to complete your 1st test print.
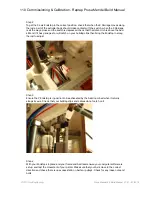
The printer should be powered up and connected to the computer (as in section 10.0) and
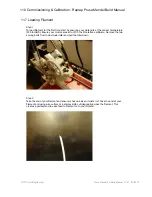
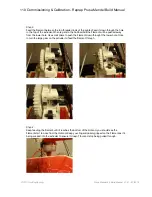
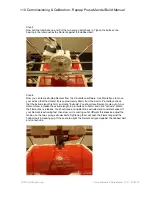
Filament loaded into the extruder and hot end (Section 11.6)
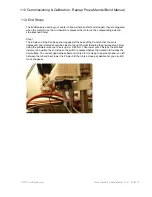
Now open Pronterface ( by clicking on the pronterface.py shortcut that we created in section
10.0). Now connect to the printer and set the temperature of hot end (heater) and the heat bed
and wait a few minutes whilst the printer gets up to temperature.
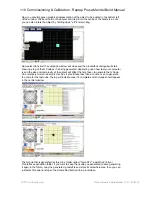
Now we need to generate some Gcode from an STL 3D Design file. The Gcode is the list of
commands that is directly transmitted to the printer. In order to generate the G Code we need
to use the “compose” function of Pronterface, this creates a graphical representation of your
print bed, allows you to position the object on the heat bed and then pronterface generates the
Gcode by using Skeinforge (Pronterface acts as a front end for Skeinforge).
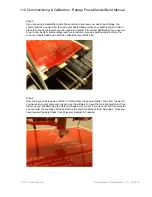
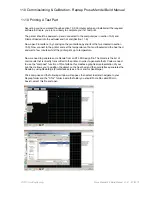
Click compose and the following window will appear, then select load and navigate to your
Reprap folder and the “STLs” folder inside the folder you should find a file called 20mm-
box.stl, select this file and open.
11.0 Commissioning & Calibration - Reprap Prusa Mendel Build Manual
©2012 NextDayReprap
Prusa Mendel Kit Build Manual V1.01 - 07/2012
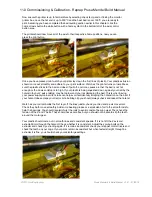
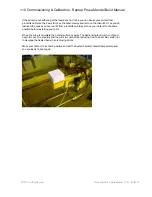
11.10 Printing A Test Part