
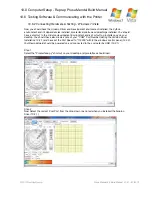


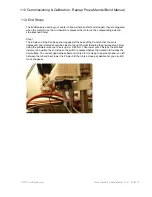


Step 5
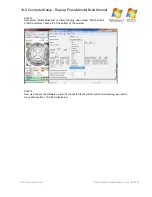
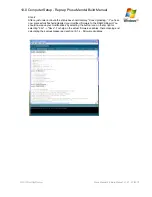
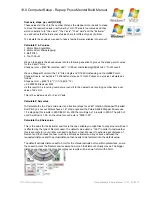
Now we can select the “configuration.h” file and here we can make
modifications to the firmware variables, such as setting the main board type,
thermistor types, steps per mm etc. Please refer to section 11.7.4 “Firmware
variables” for guidance on what the values within this file mean and
calculating them.
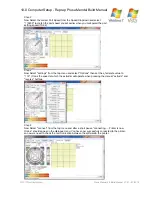
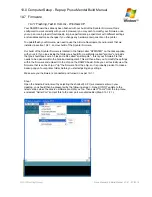
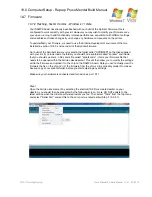
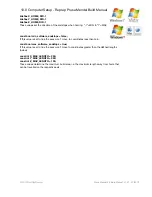
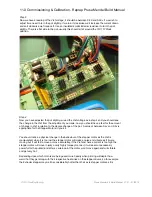
Step 6
Once modifications have been made to the “configuration.h” file, then it can be uploaded
to the RAMPS Board, to do this select the right arrow icon button from the icon buttons
across the top, and then you should see a message at the bottom of the screen saying
“Uploading to I/O Board”
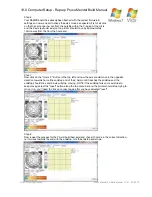
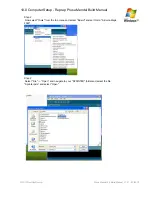
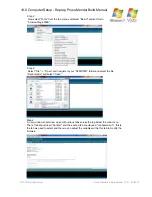
Step 7
The status box at the bottom of the window should then display “Binary sketch size: ?????
bytes (of a ????? bytes maximum”.
10.0 Computer Setup - Reprap Prusa Mendel Build Manual
©2012 NextDayReprap
Prusa Mendel Kit Build Manual V1.01 - 07/2012