


11.0 Commissioning & Calibration - Reprap Prusa Mendel Build Manual
©2012 NextDayReprap
Prusa Mendel Kit Build Manual V1.01 - 07/2012
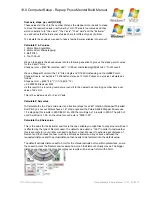
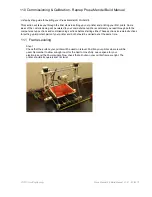
Step 2
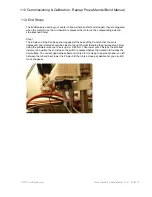
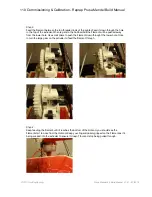
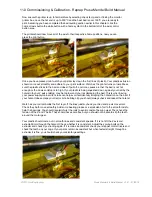
To get the X axis Endstop in the correct position, check that when the X Carriage moves along
the rods, part of the extruder body should make contact with the switch. when the X Carriage
is all the way across and the switch is depressed check that the Hotend nib is above the bed
still and if it has gane past or will catch on your bulldog clips then bring the Endstop in along
the rod to adjust.
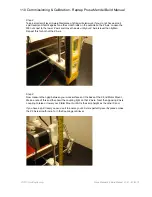
Step 3
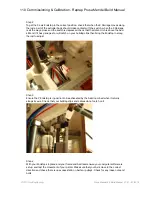
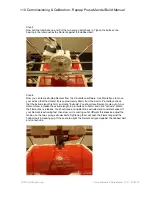
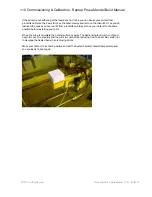
Ensure the Y Endstop is in position to be activeated by the Aluminum bed when it returns
alongs its axis. Check that your bulldog clips and cables do not catch on it.
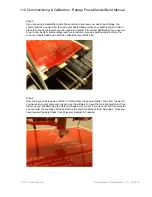
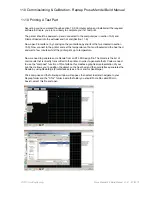
Step 4
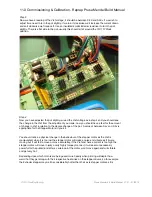
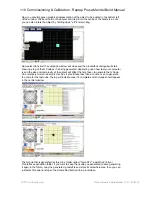
With your Endstops in place and your frame and bed level ensure your computer software is
set up and test the movement of your printer. Make sure that your Axis move in the correct
direction and check there is no excess statin on belts or pulleys. Check for any loose nuts and
bolts.